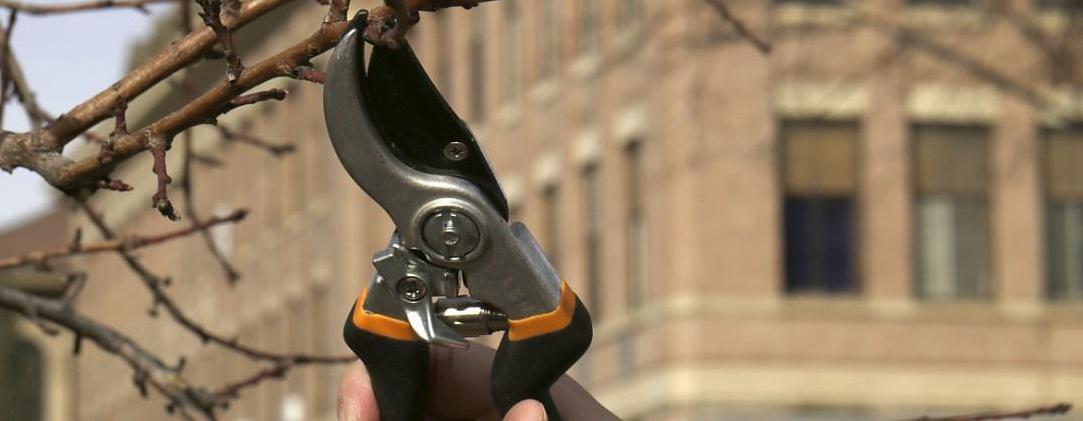
Steps To Pruning
1) Remove any dead, diseased, or damaged branches. These are identified by peeling bark, hardened wood, and are sometimes light in color (gray).
2) Remove crossing branches, since they are competing for the same sunlight.
3) Remove branches that rub together. They are also competing with one another, and damage each other’s bark.
4) Remove water sprouts (best to do before mid-summer). Water sprouts grow straight up from the trunk and have little attachment to anchor it onto the branch. They grow quickly sometimes reaching several feet in one season.
5) Remove small branches in the interior of the tree that receive little sunlight themselves and blocks sunlight for lower branches.
6) Remove branches that are hanging down, or growing down in awkward directions on lower limbs. These branches get very little sunlight and take resources away from the rest of the tree. They also get broken easily as we walk or bump into them. They can also be annoying and poke you in the eye or face.
7) Main Pruning - With all of these other branches out of the way, now comes the main pruning. When several branches are in the same space, choose which branch out of those around it to keep. It might be the one with the best attachment, or that is most central to that space. These are often called THINNING cuts.
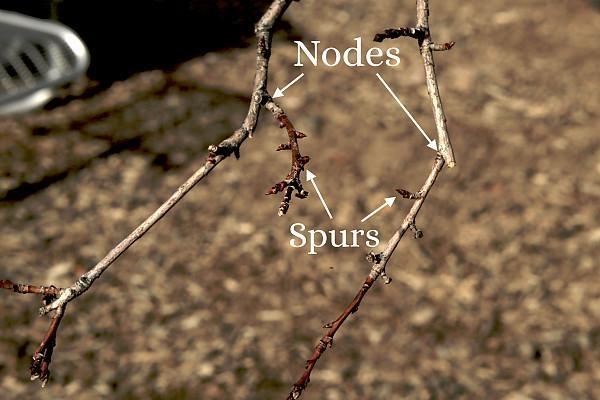
8) Heading Back - If your tree is too tall, it can be tempting to HEDGE all of the branches back to some desirable height, disregarding the anatomy of the tree and the location of nodes. This ruins the tree and causes extra unhealthy growth. Tree anatomy tells us to use a HEADING BACK cut, which removes a few of the long undesirable tips at a node or branch collar while leaving most tips. This creates new a tip bud by cutting the branch at strategic nodes, from which the tree can grow healthy, fruitful branches.
If you live in Utah and have a garden or garden project that you'd like to be featured on Modern Gardener, click here!