
Missy's Braided Bracelet

Email share

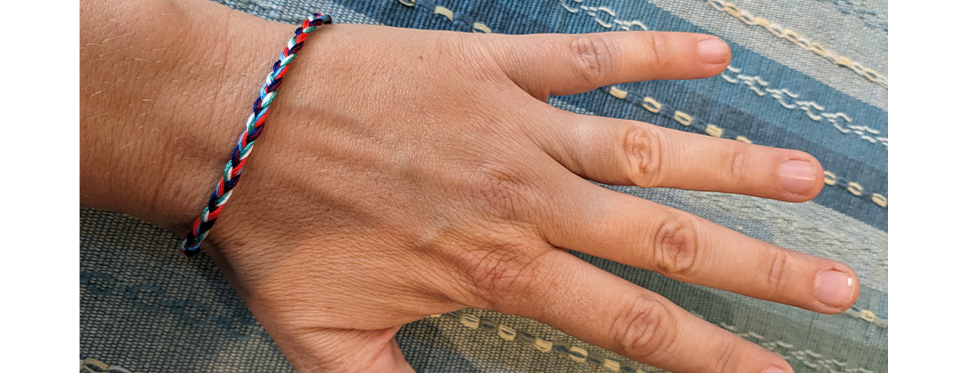
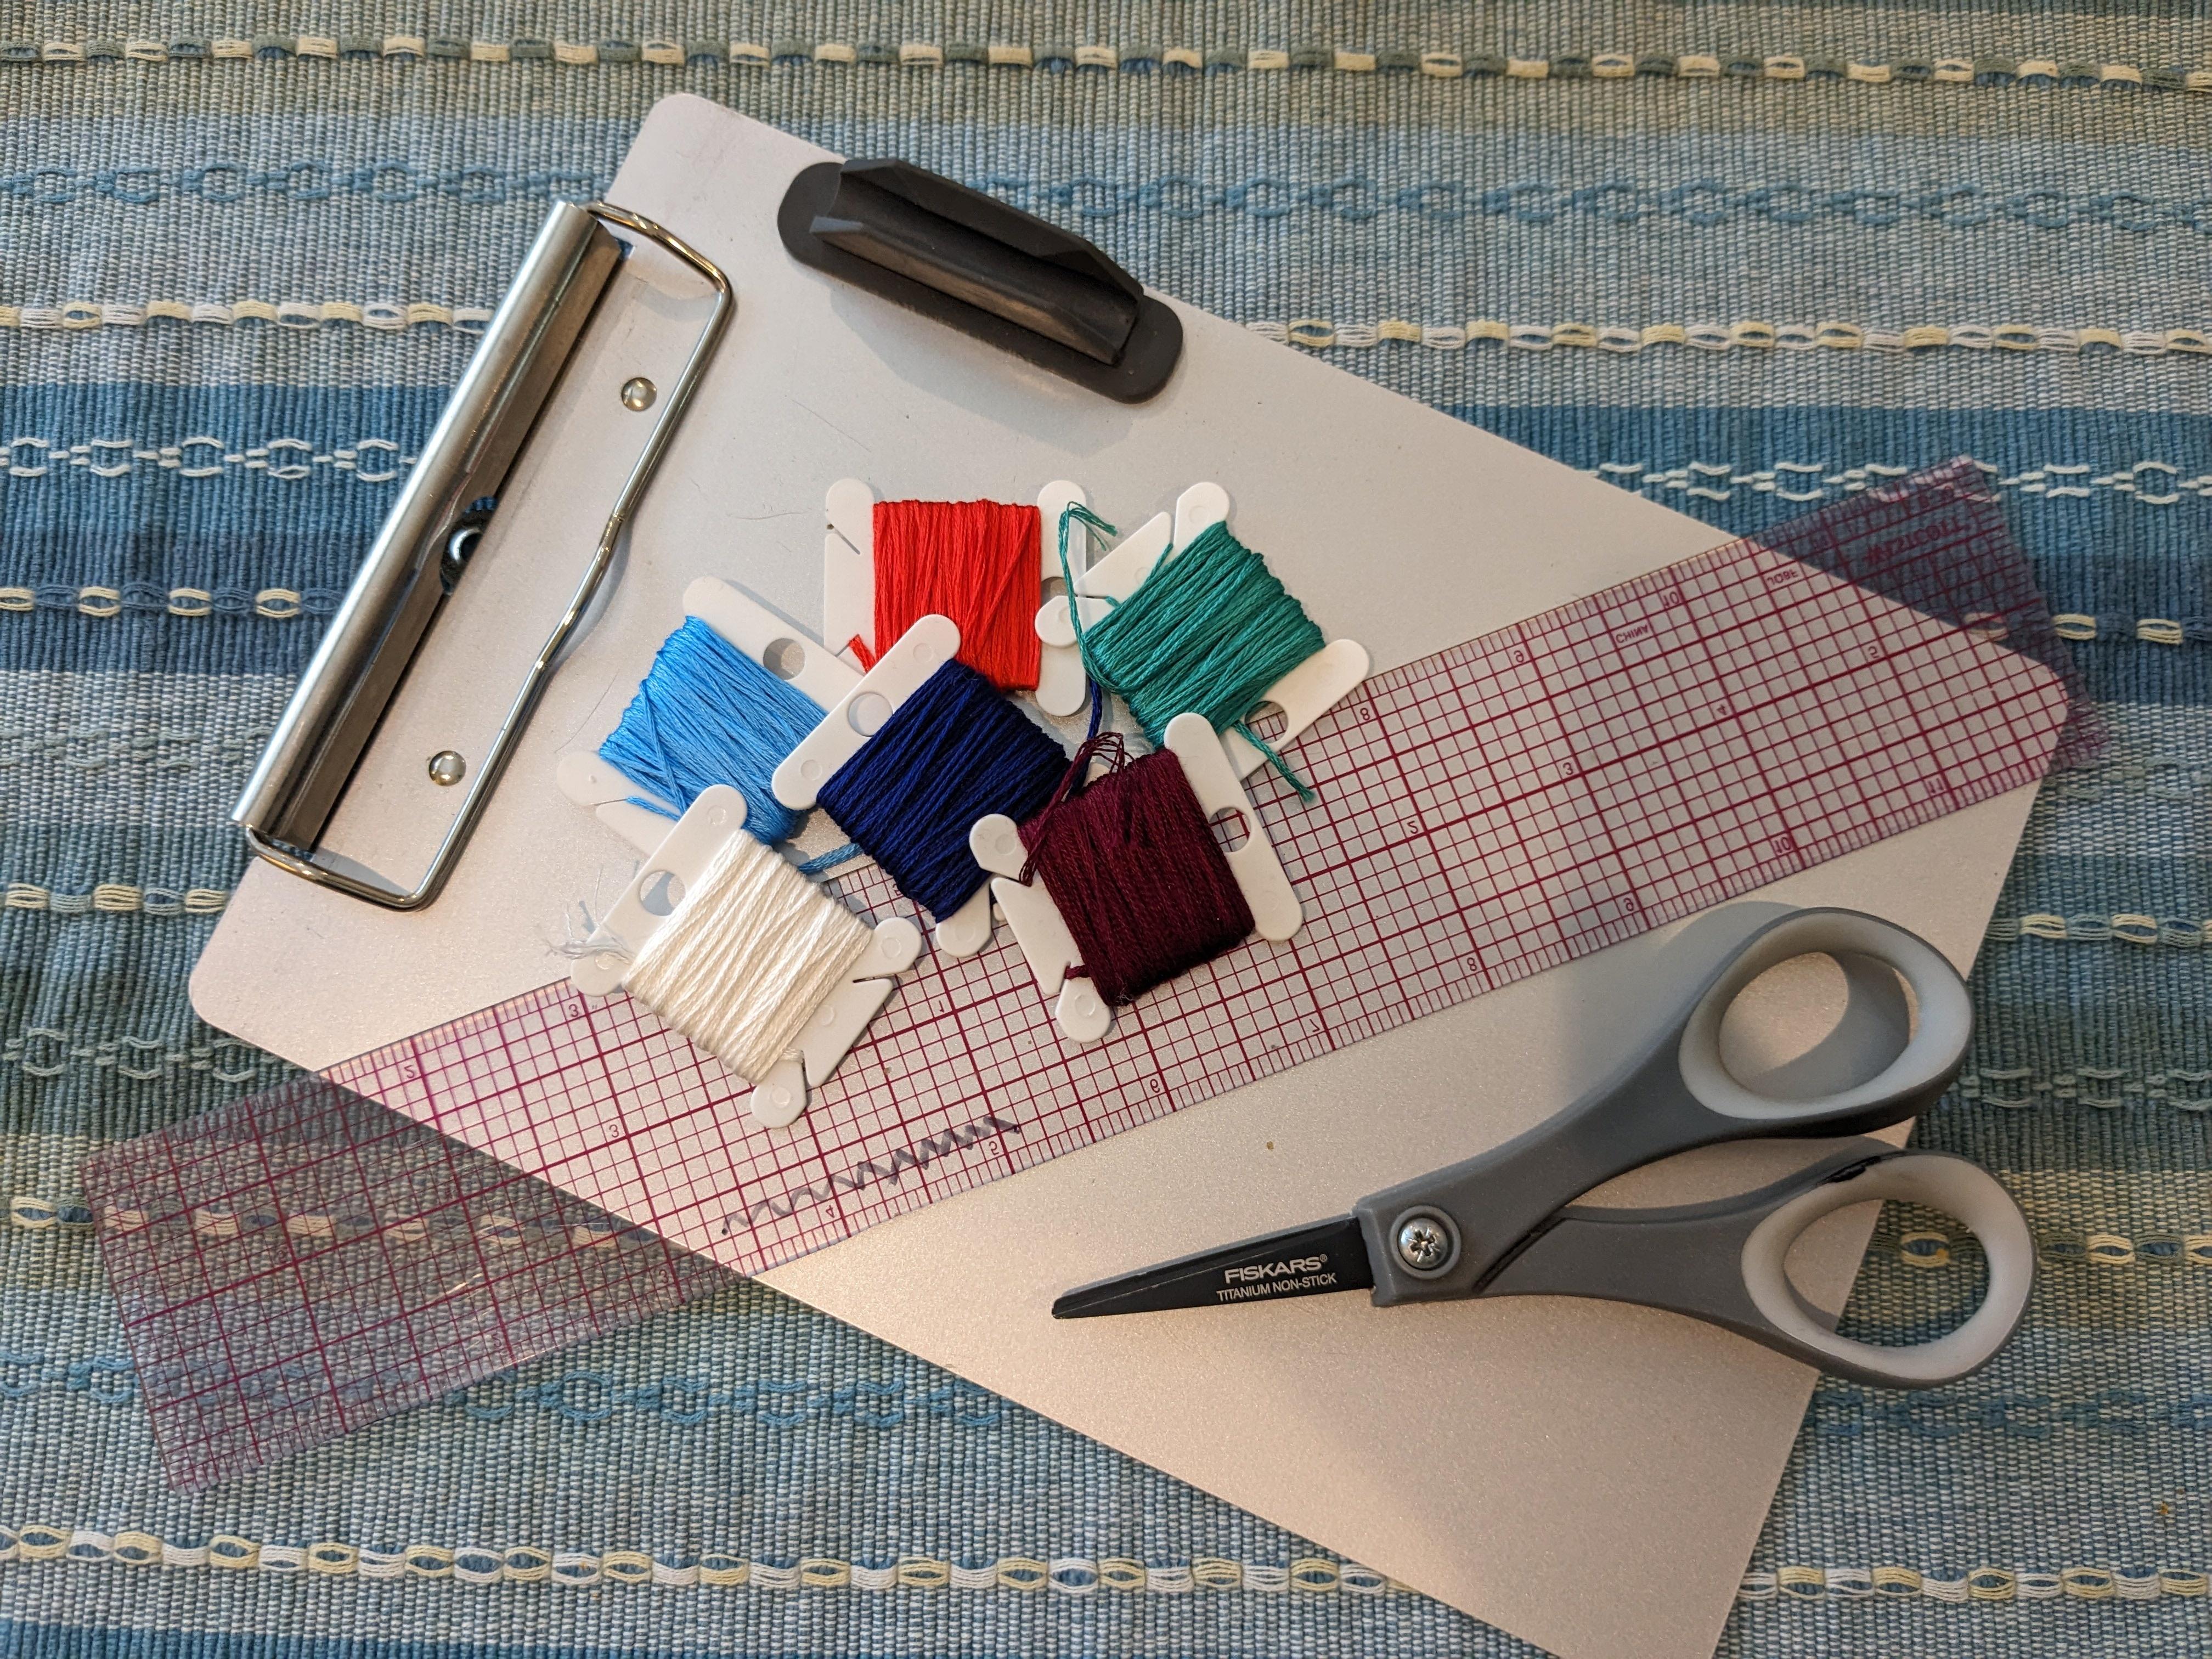
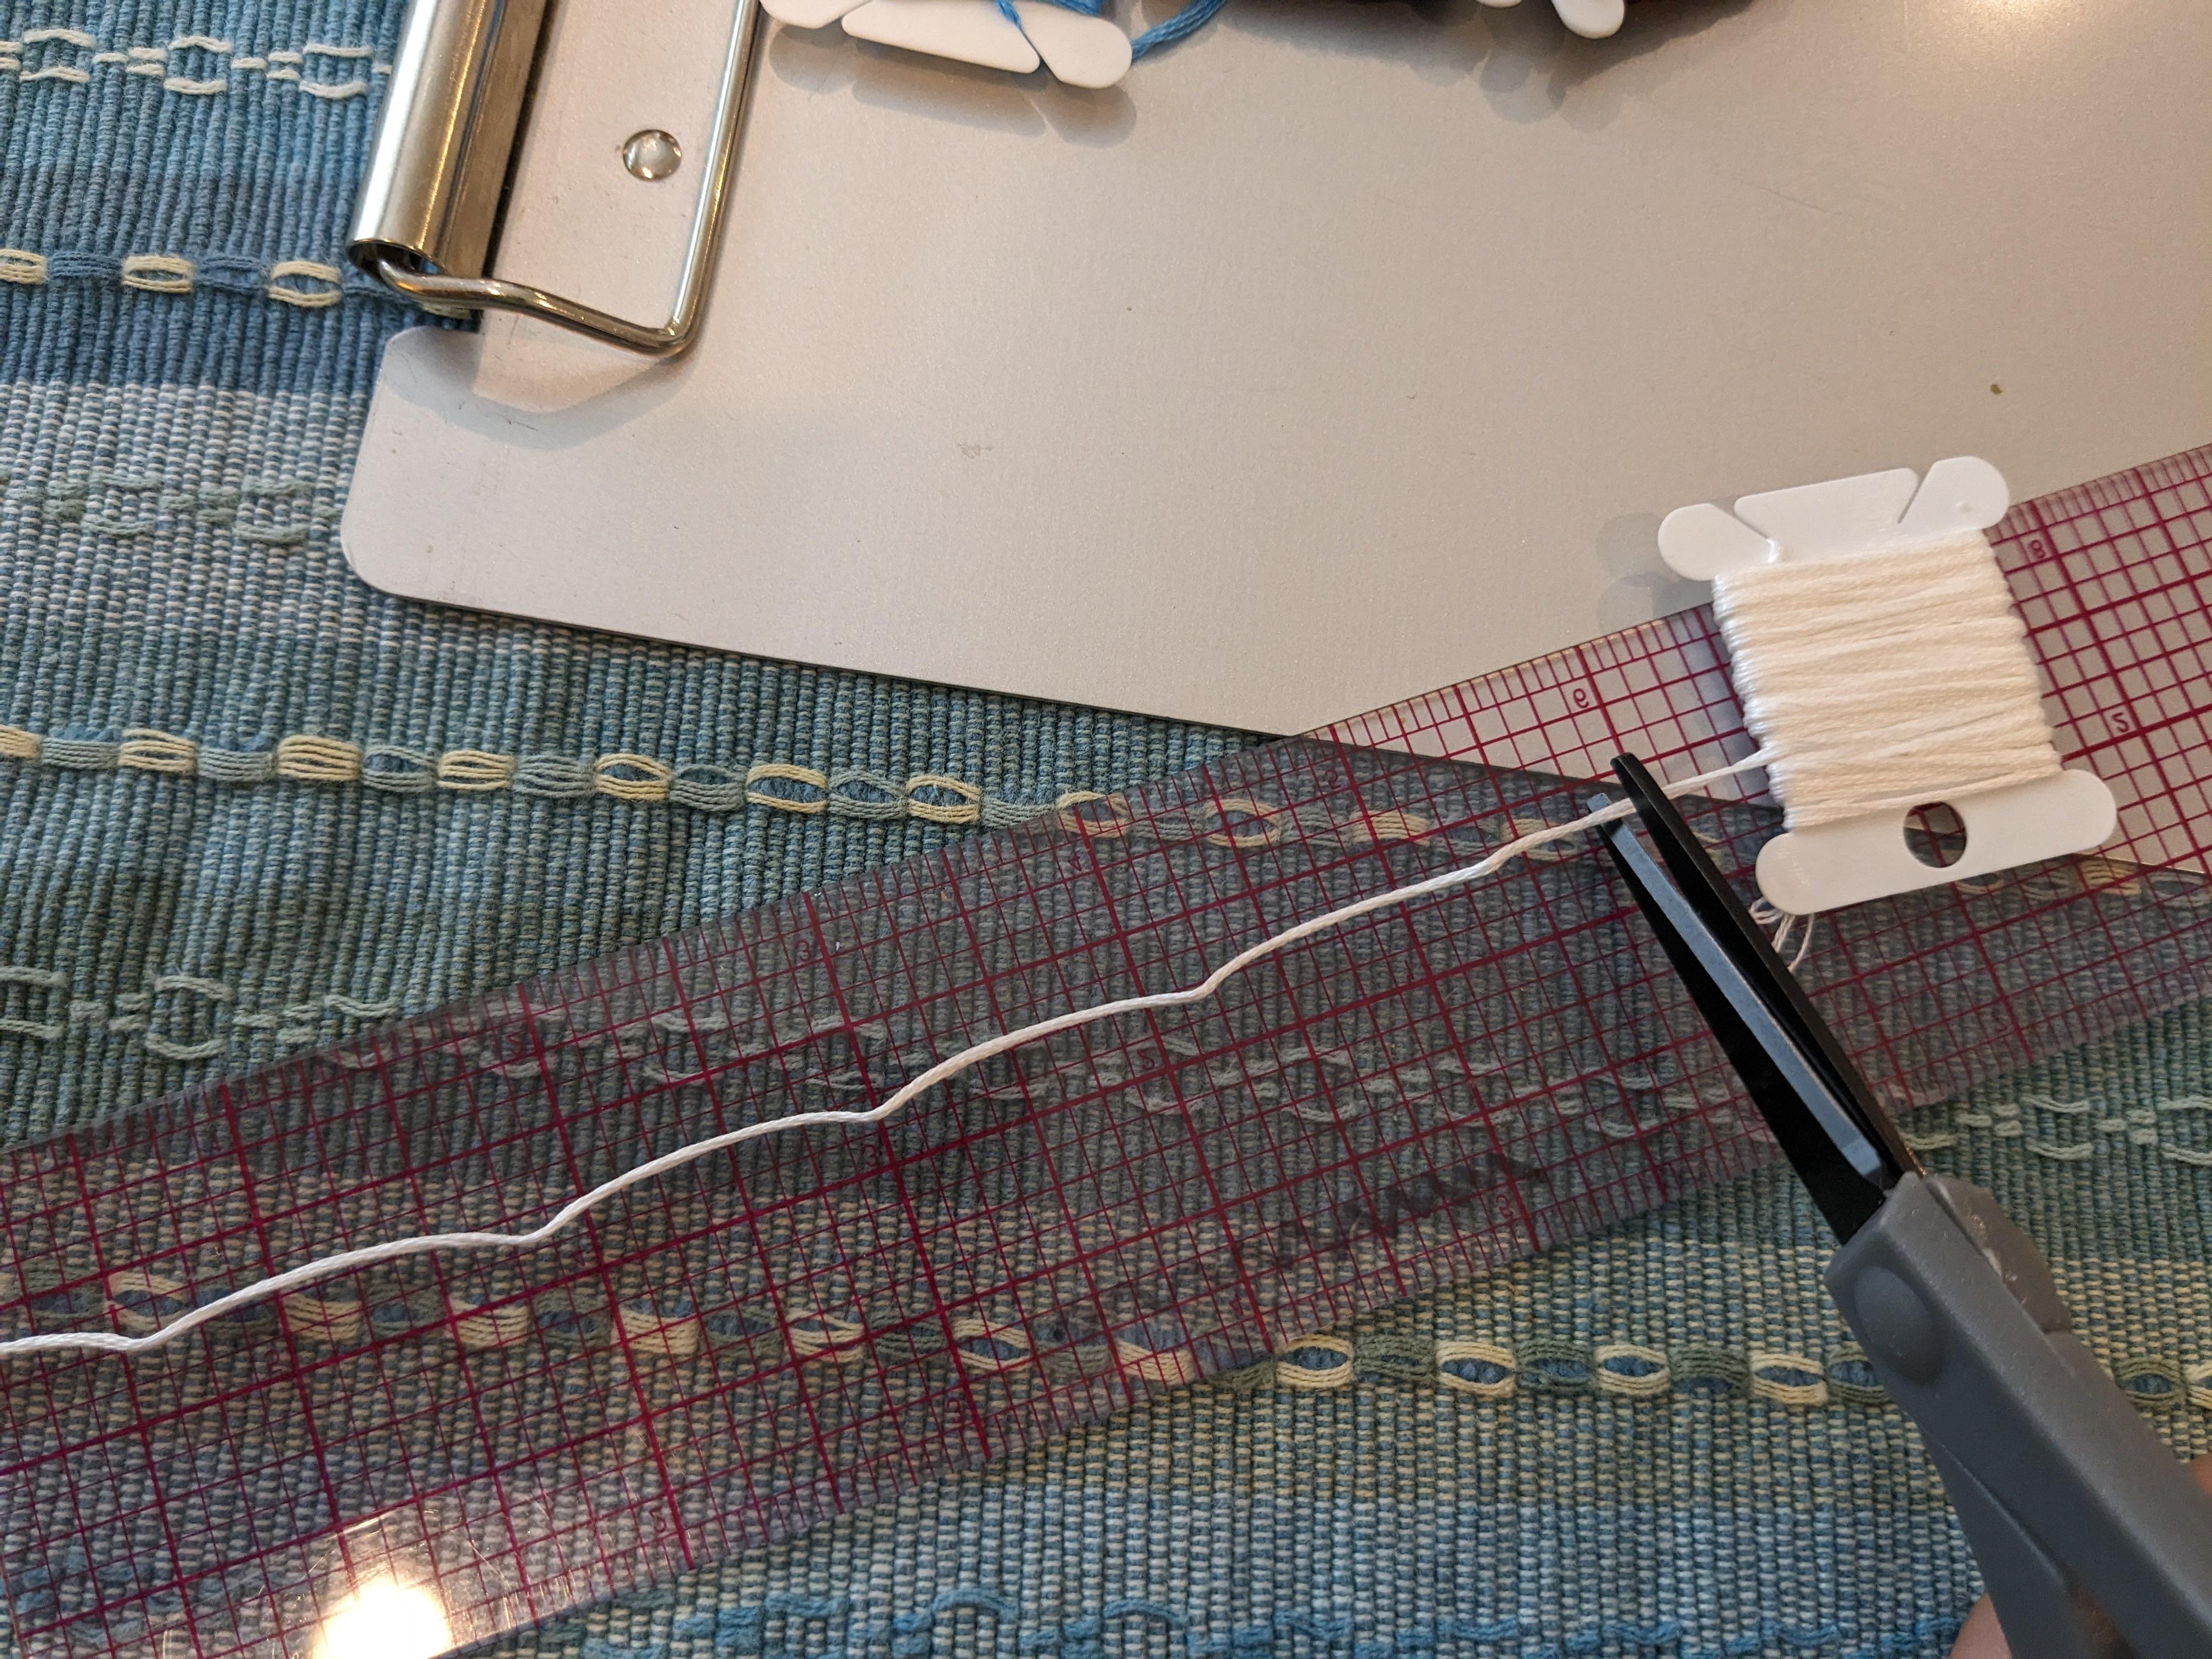
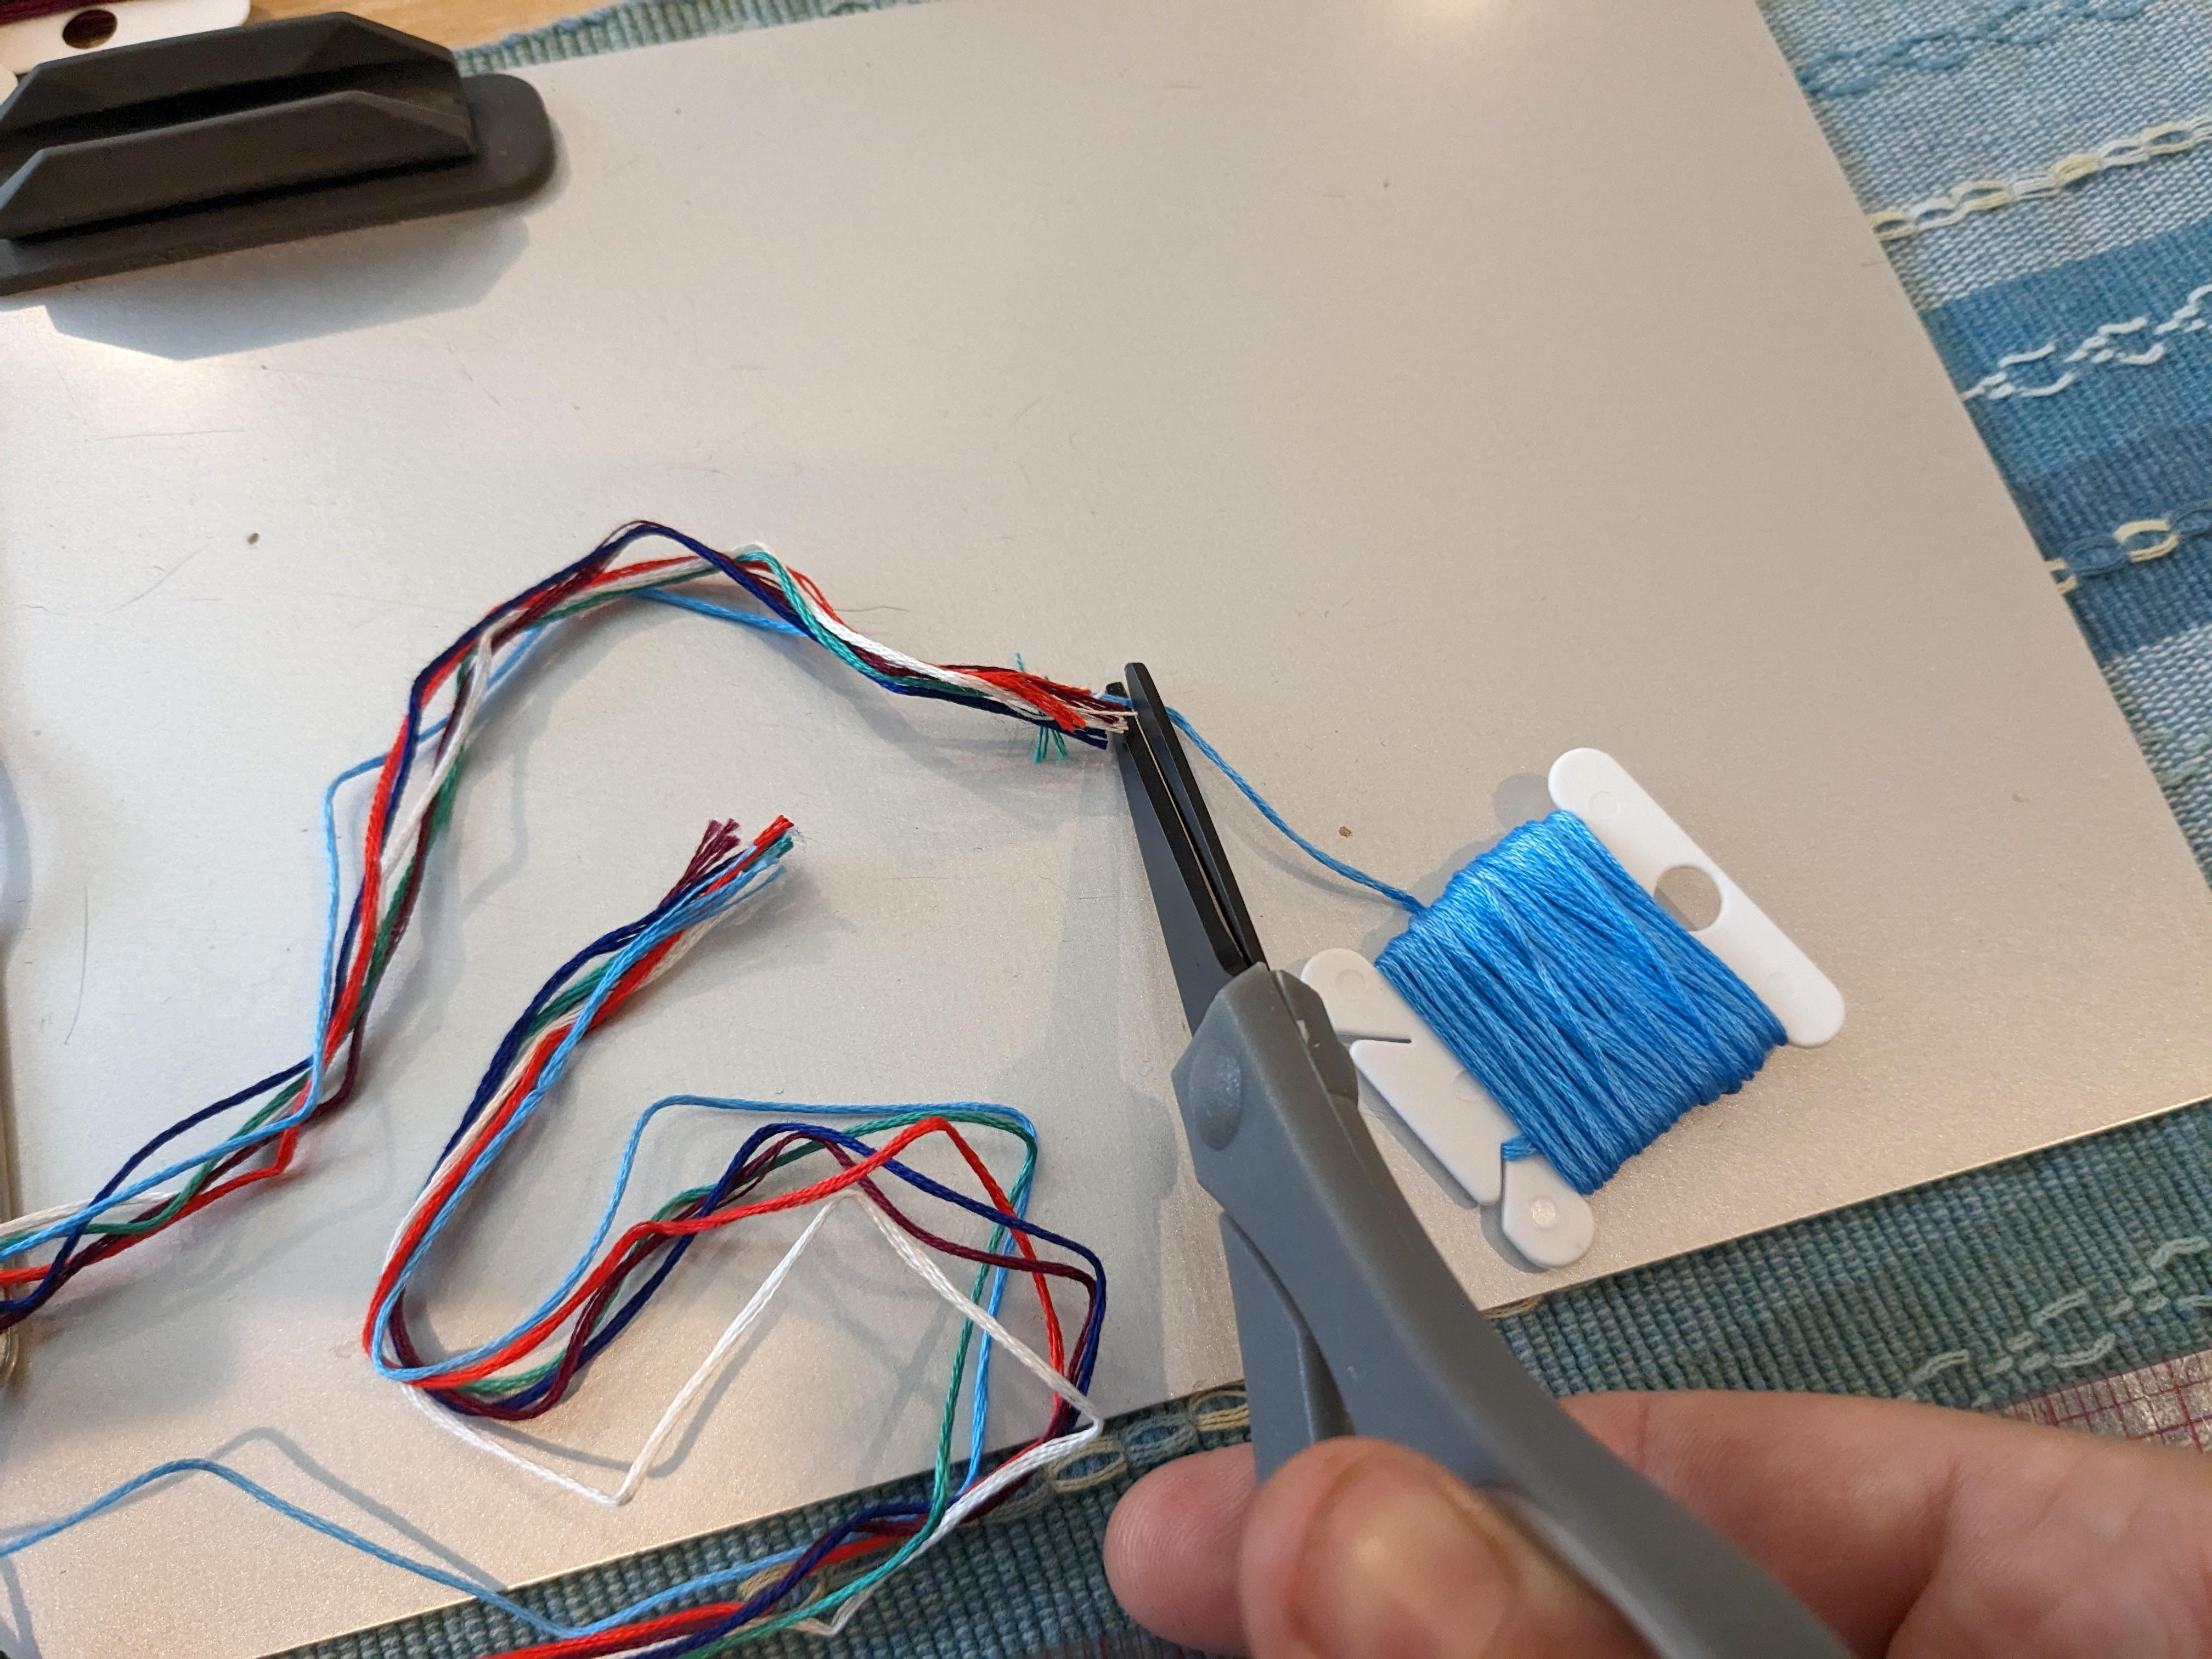
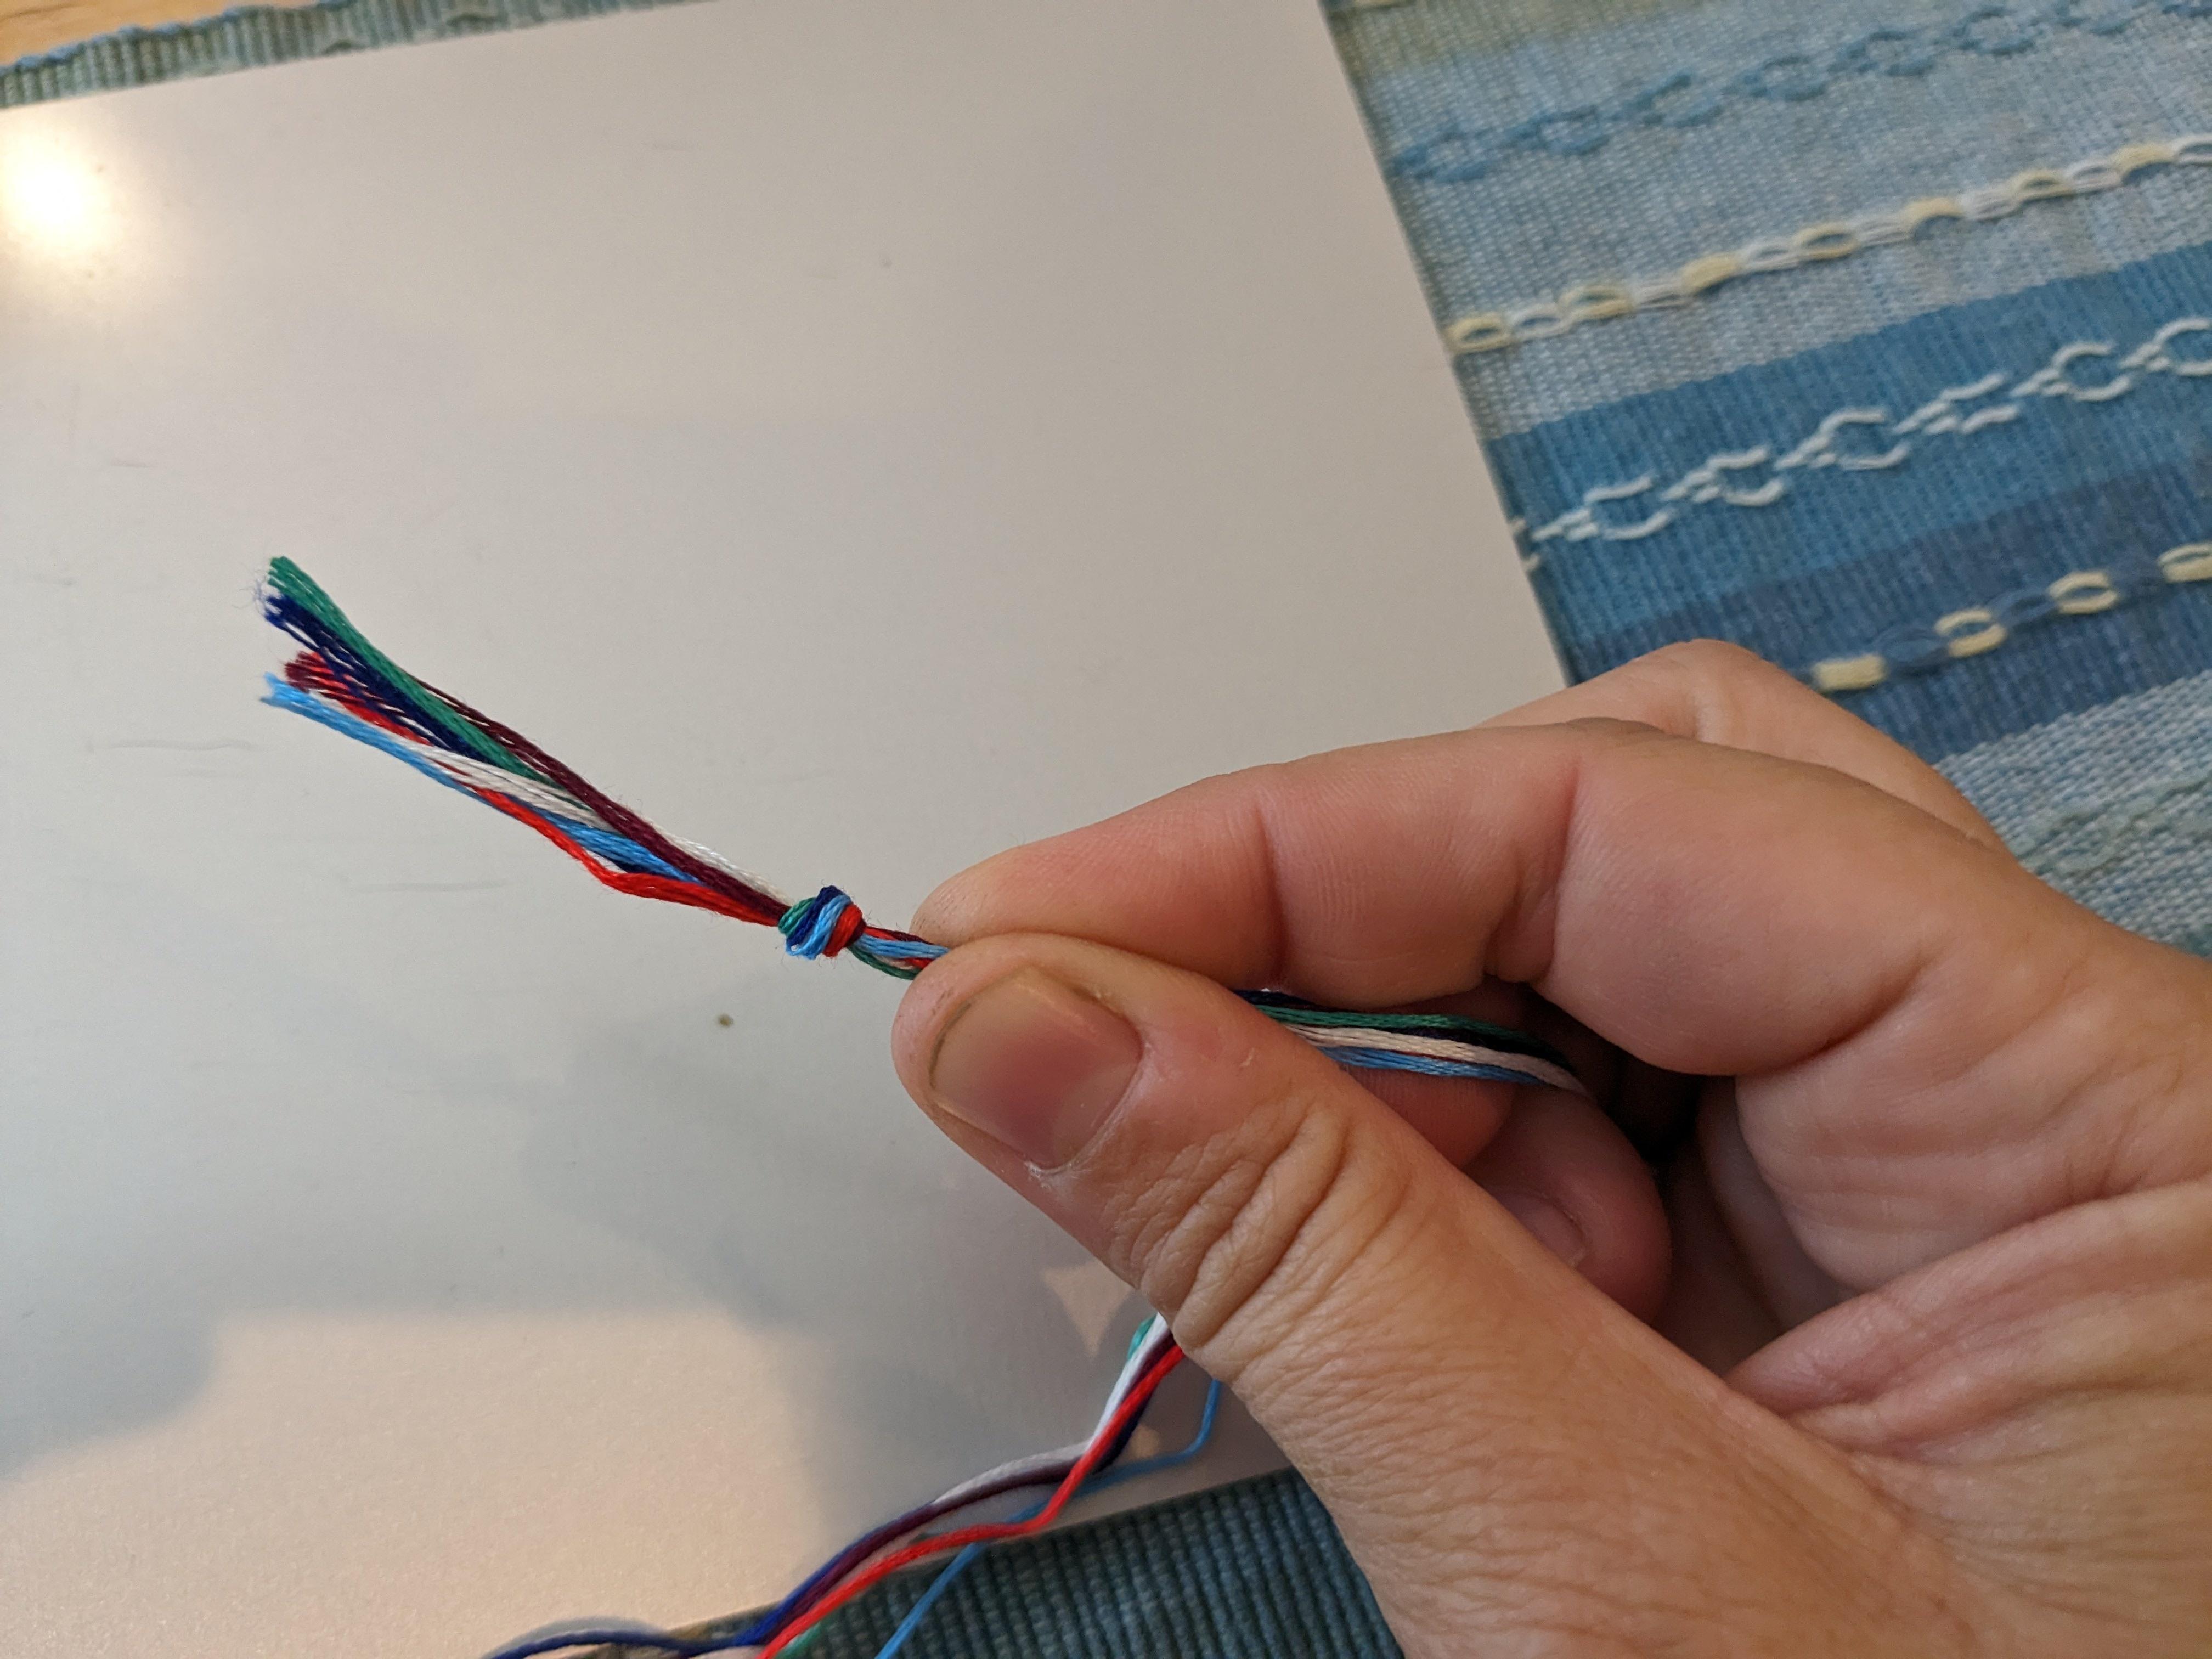
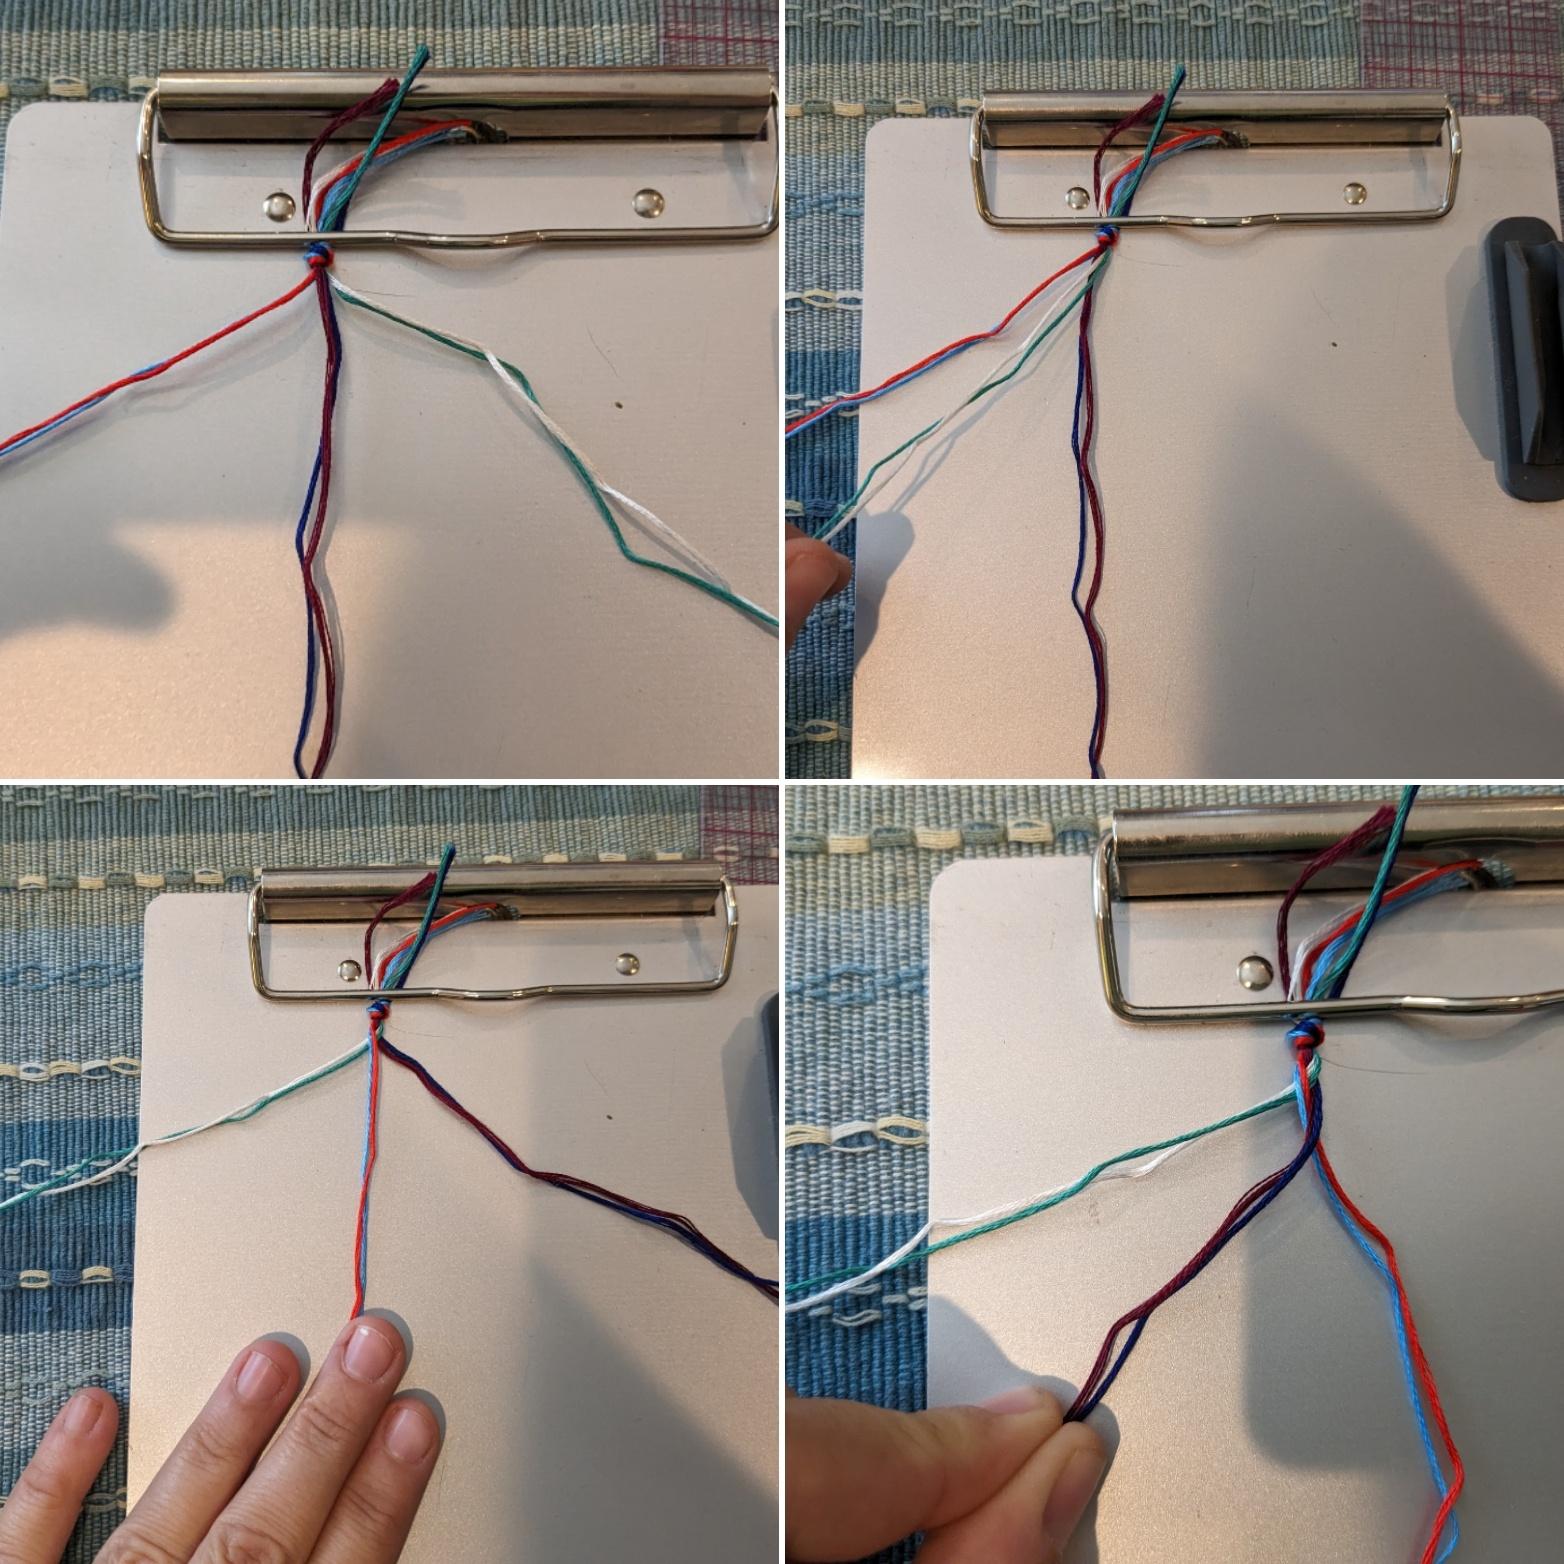
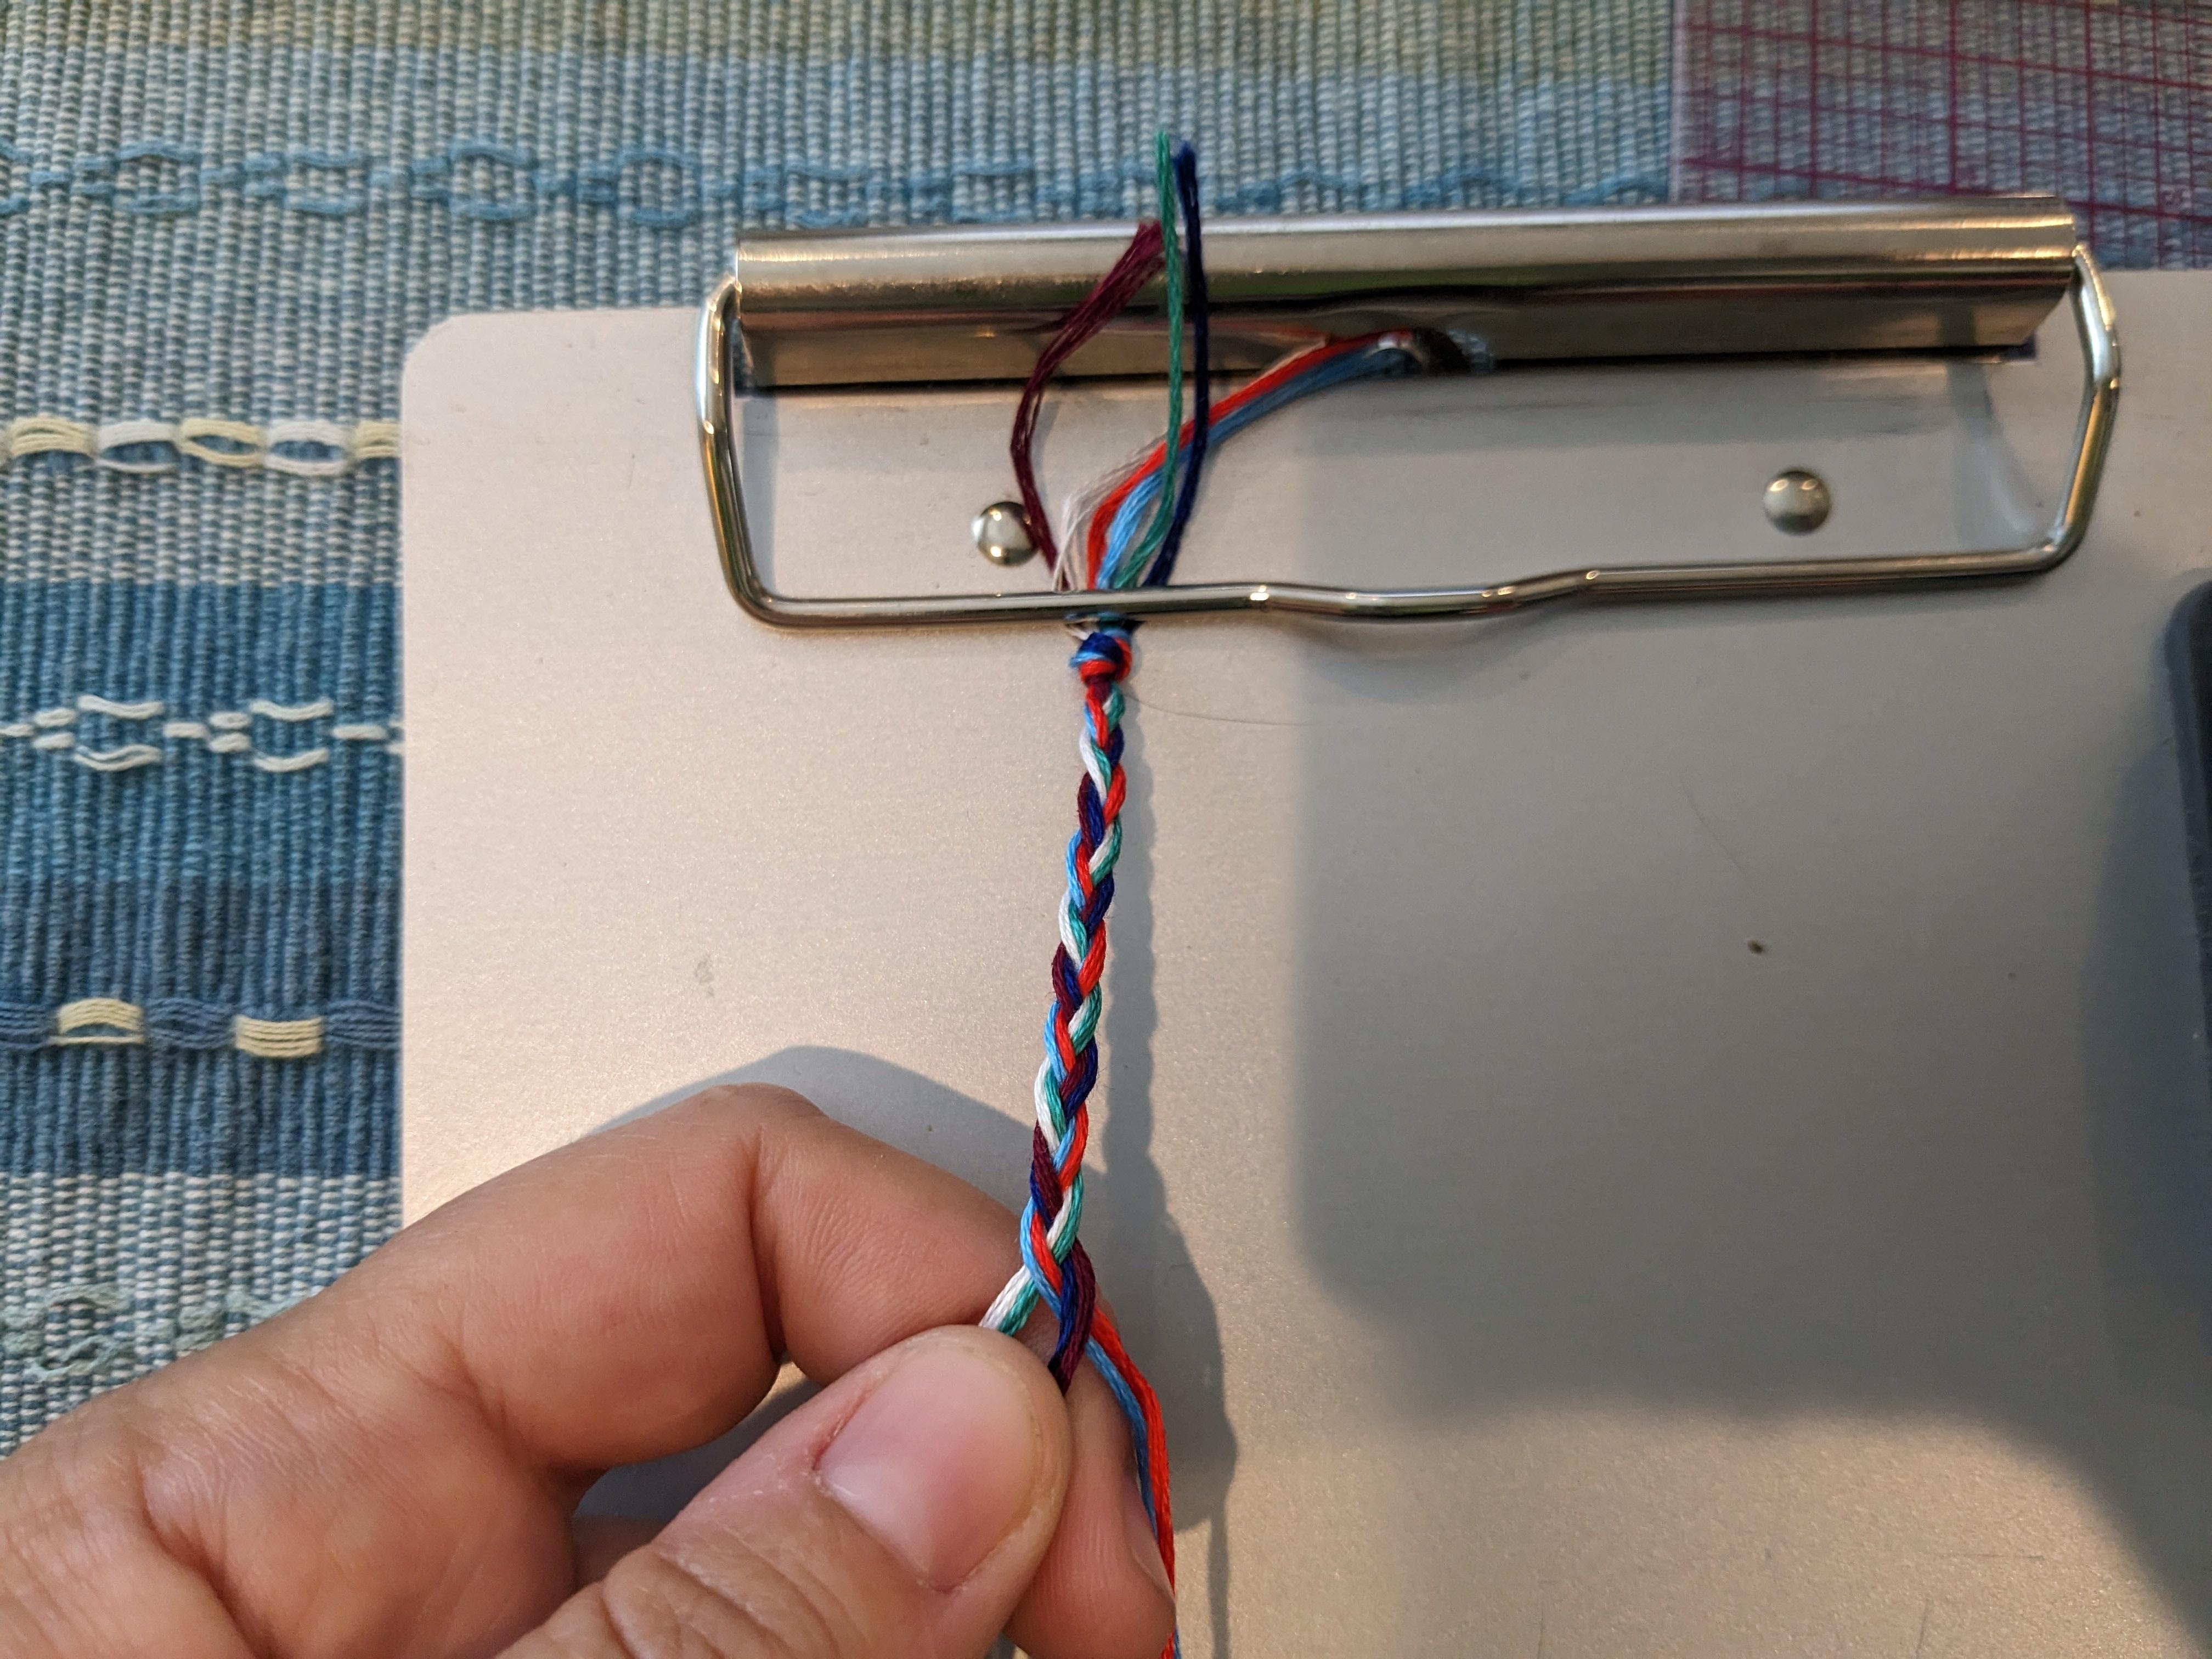
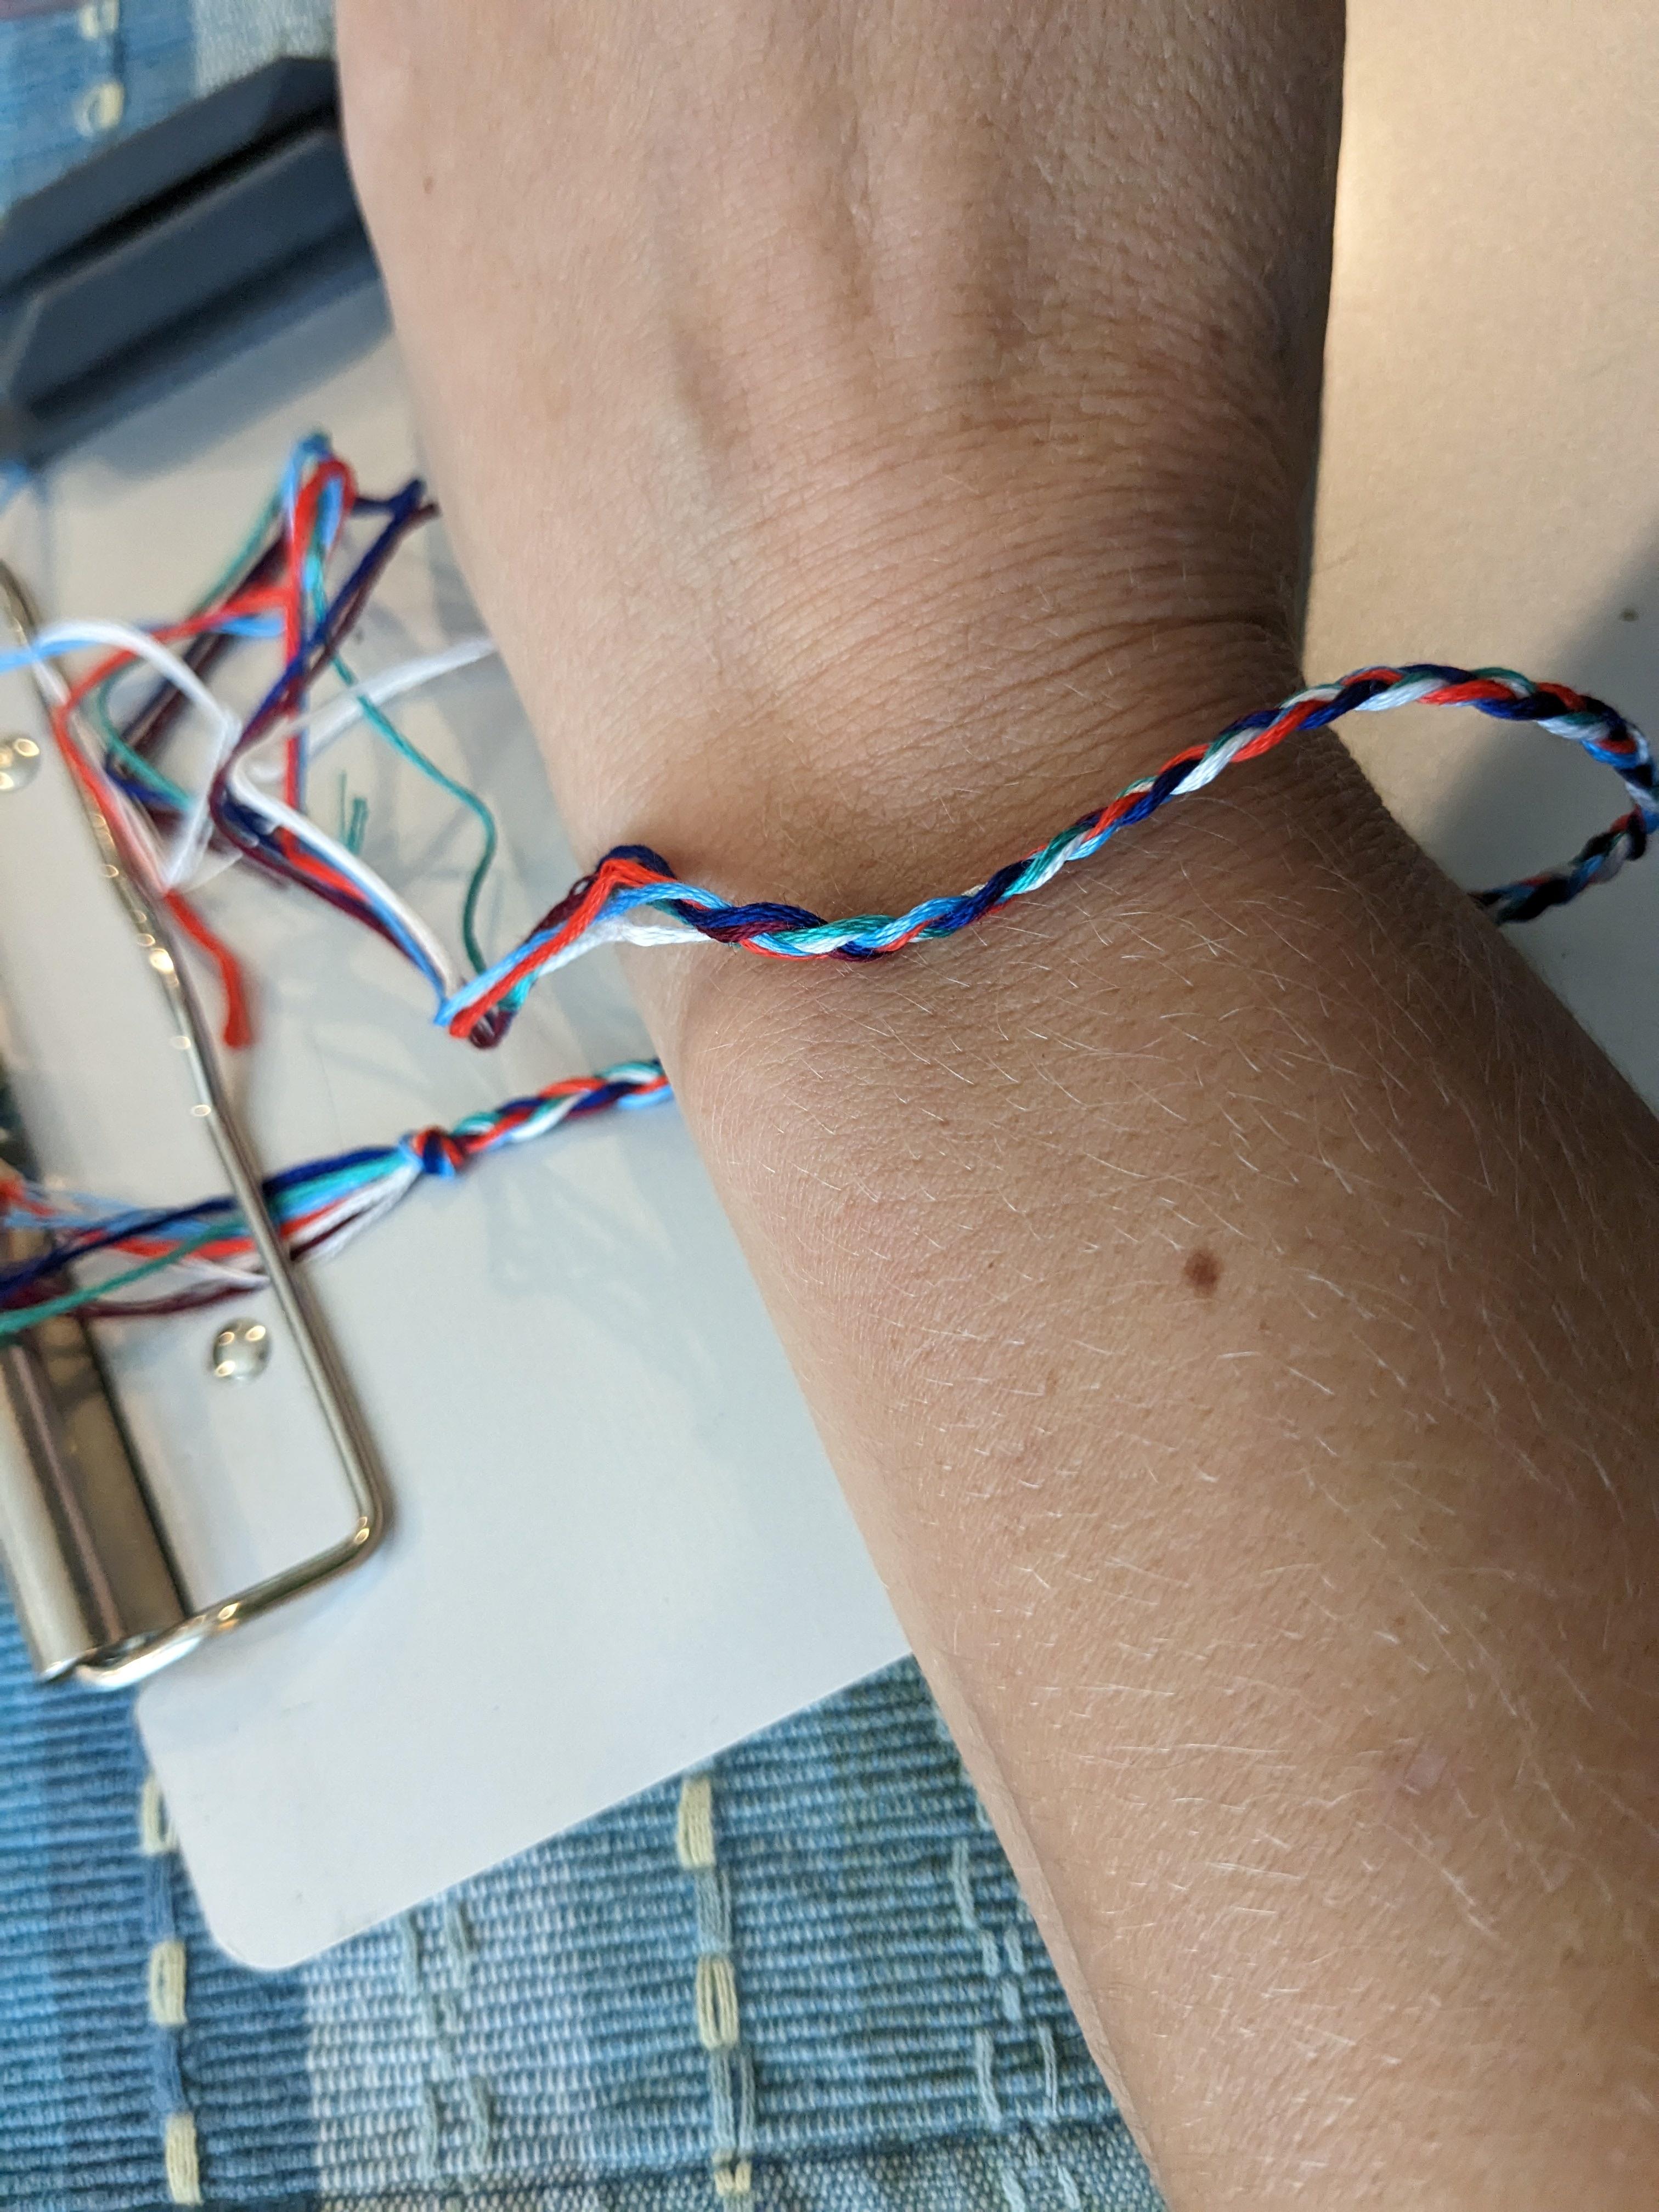
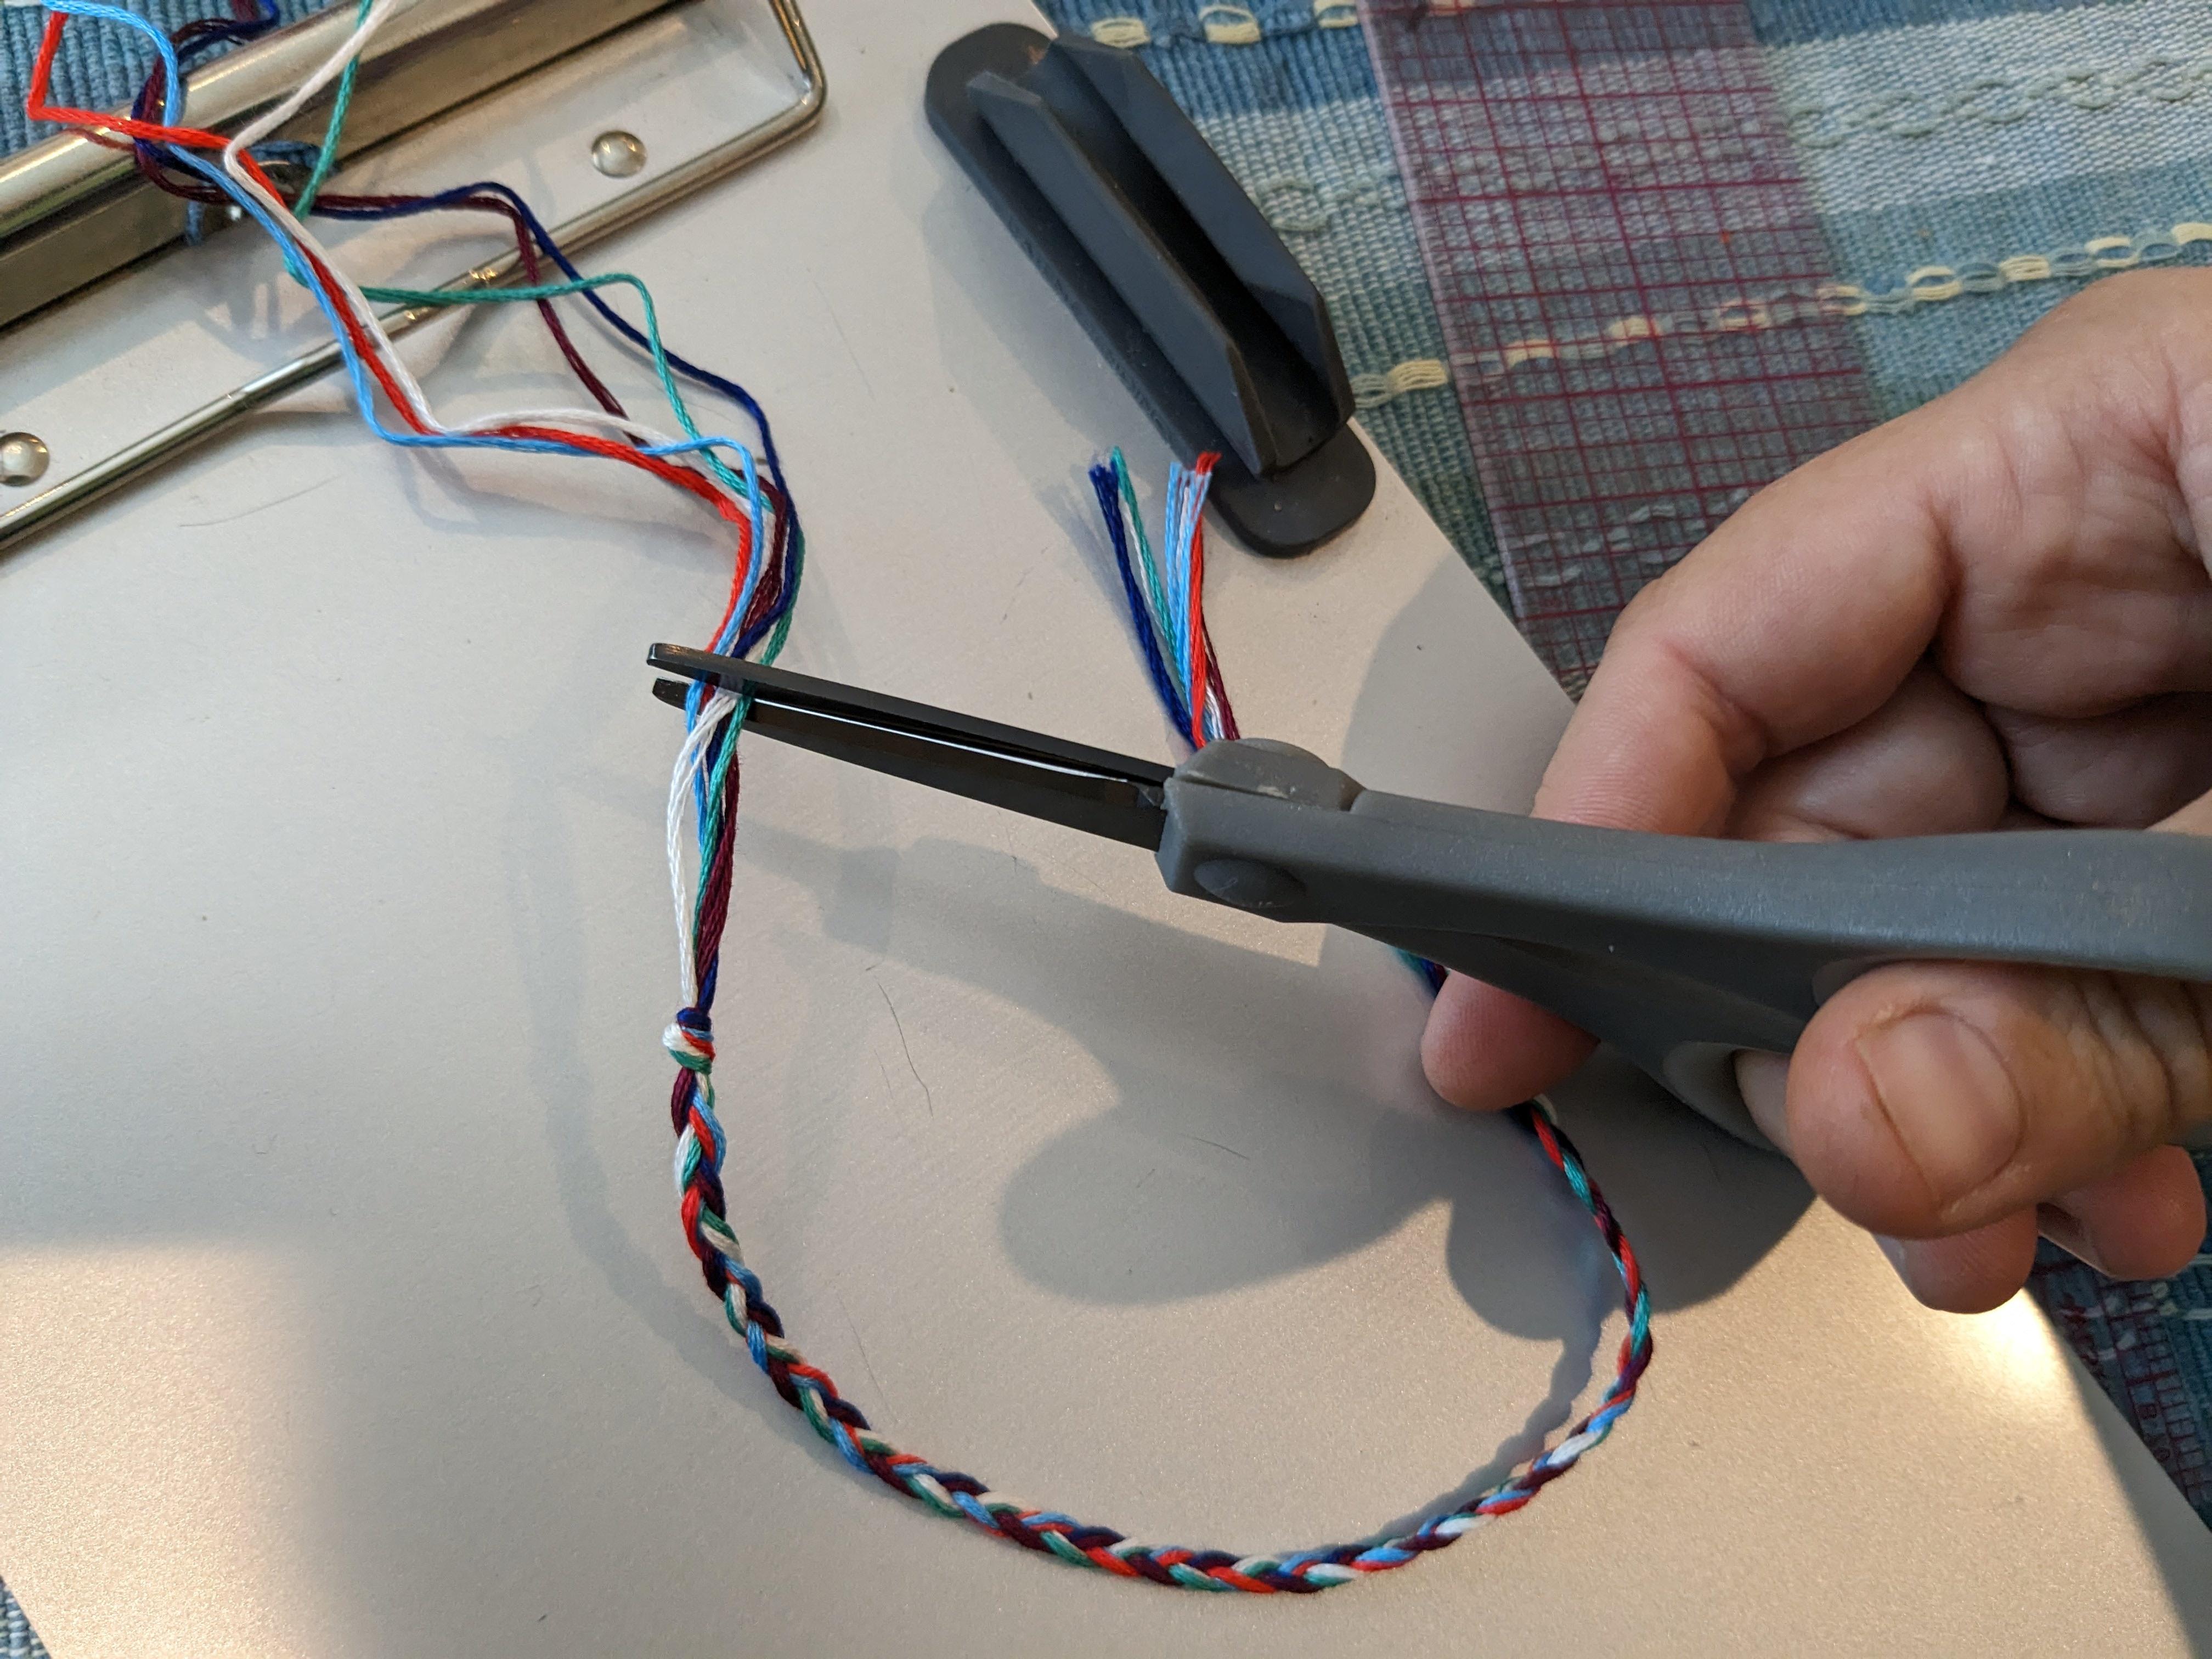
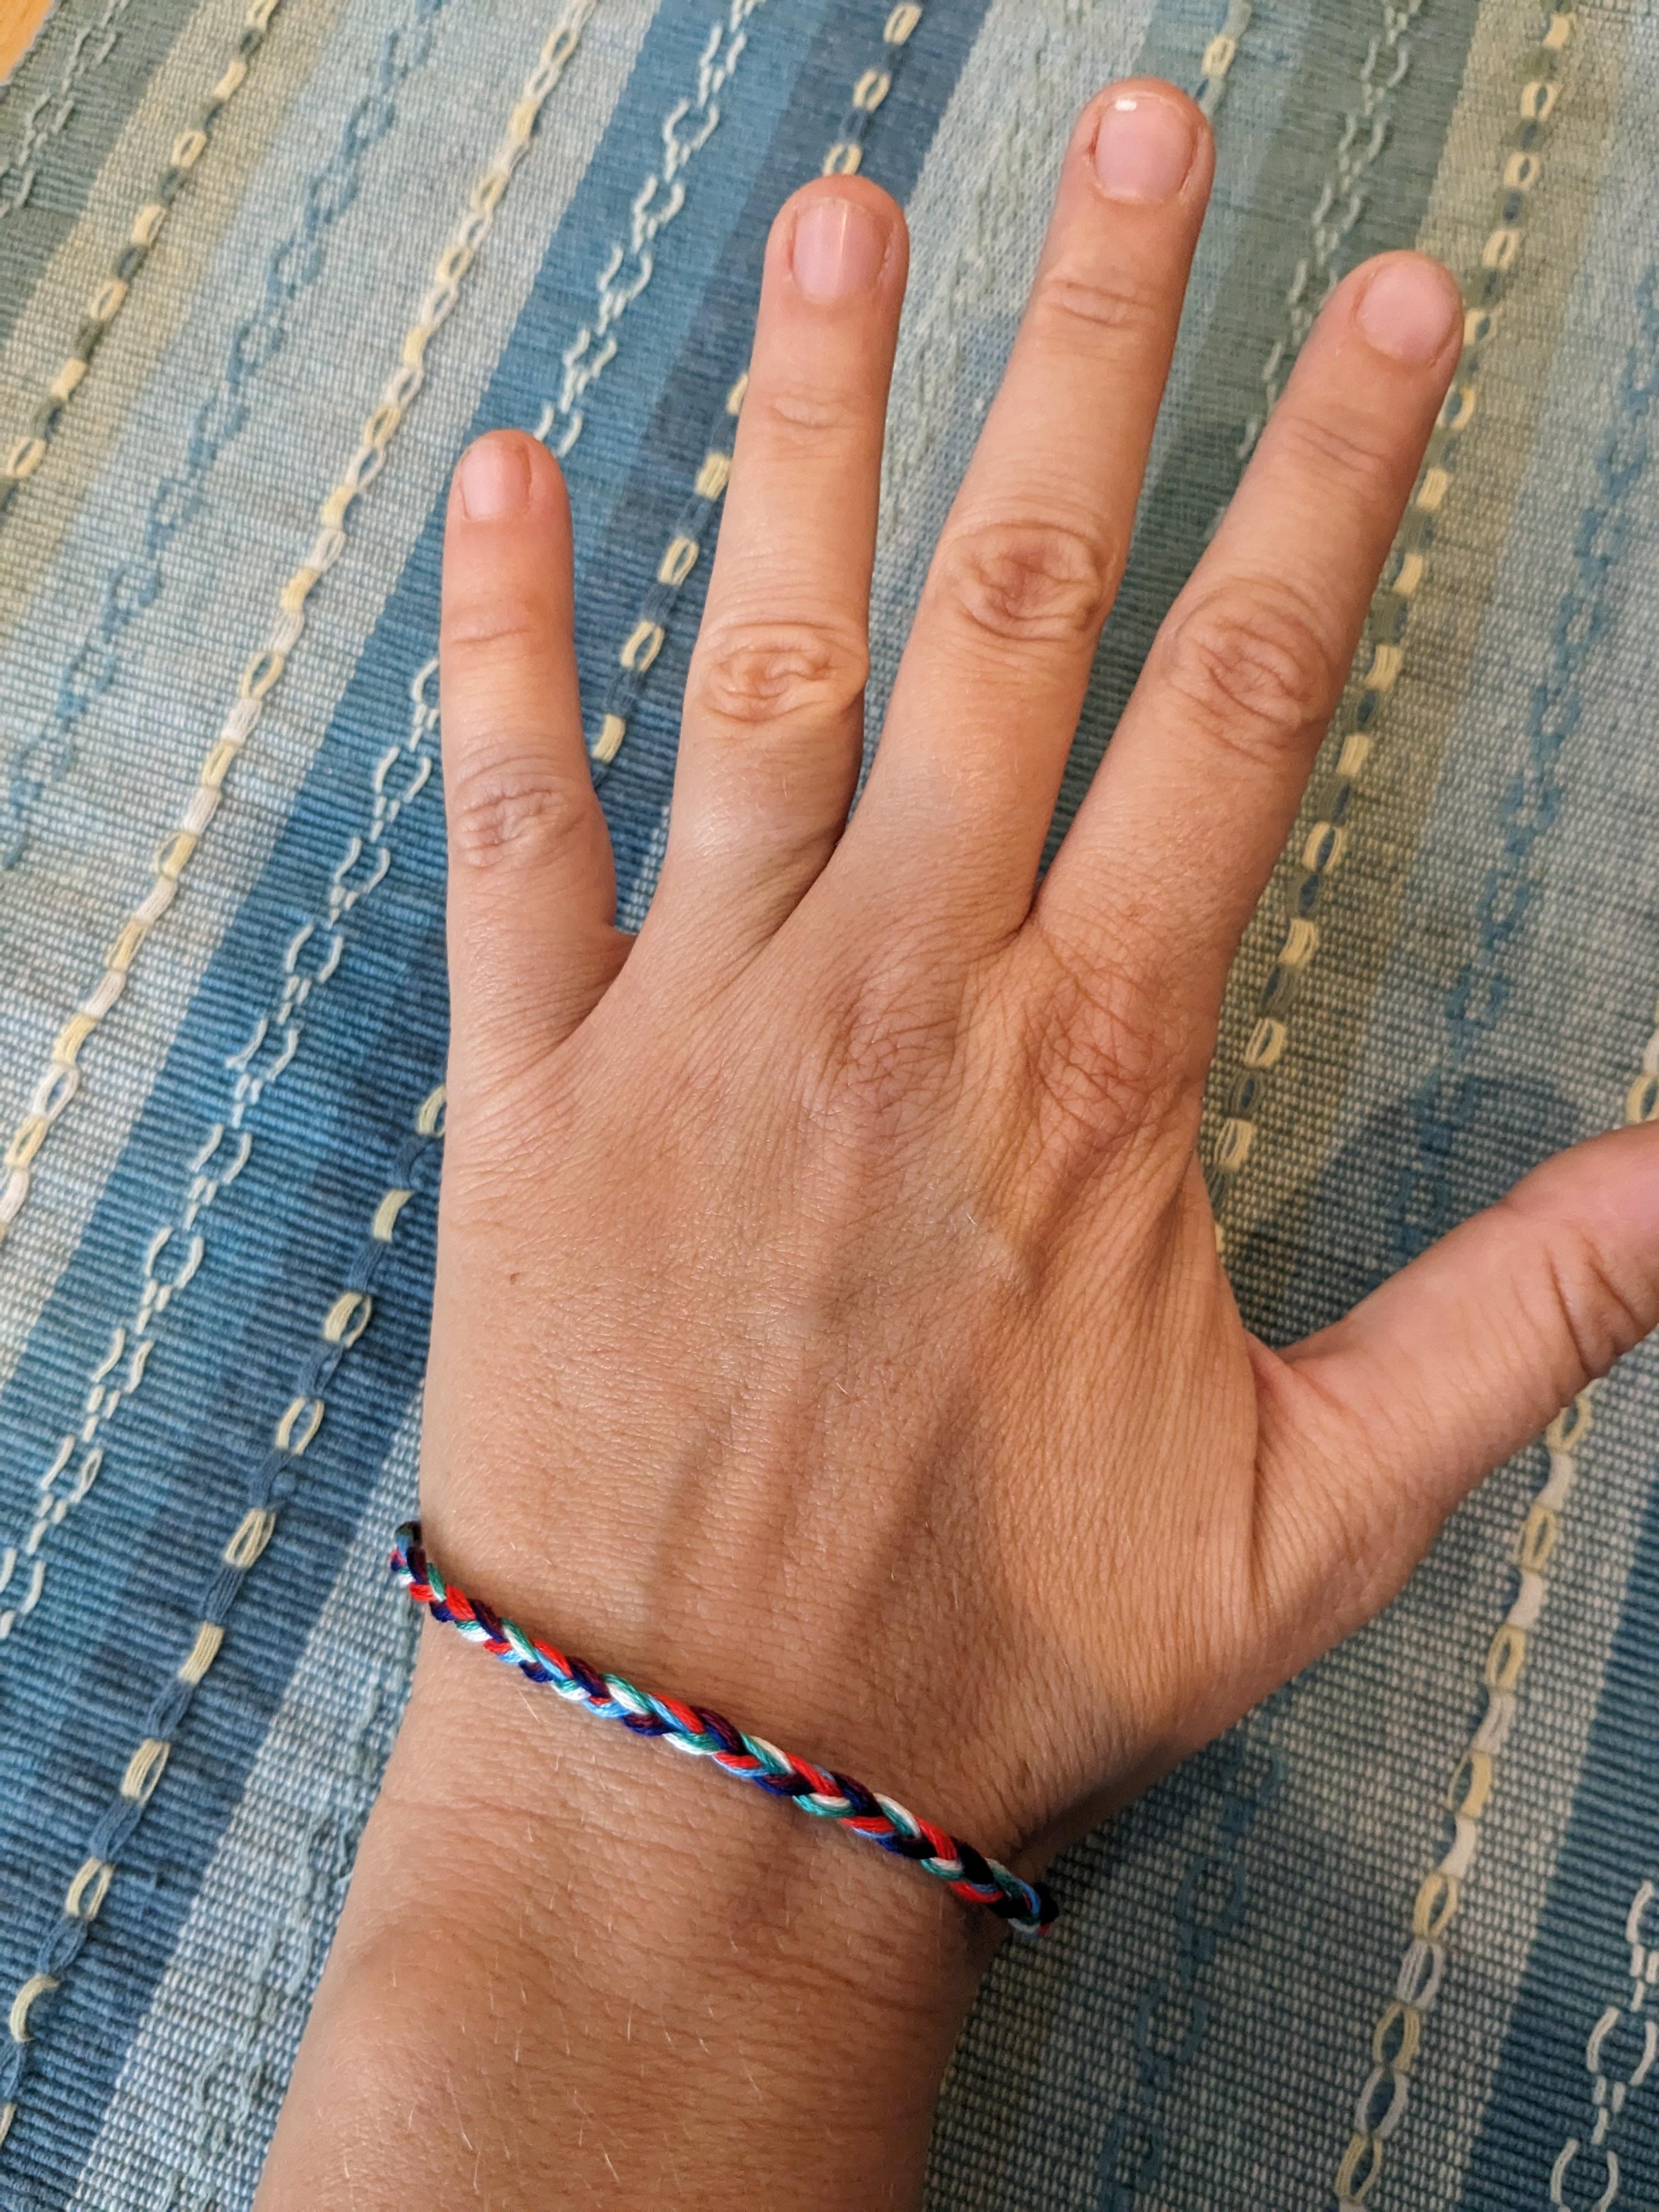
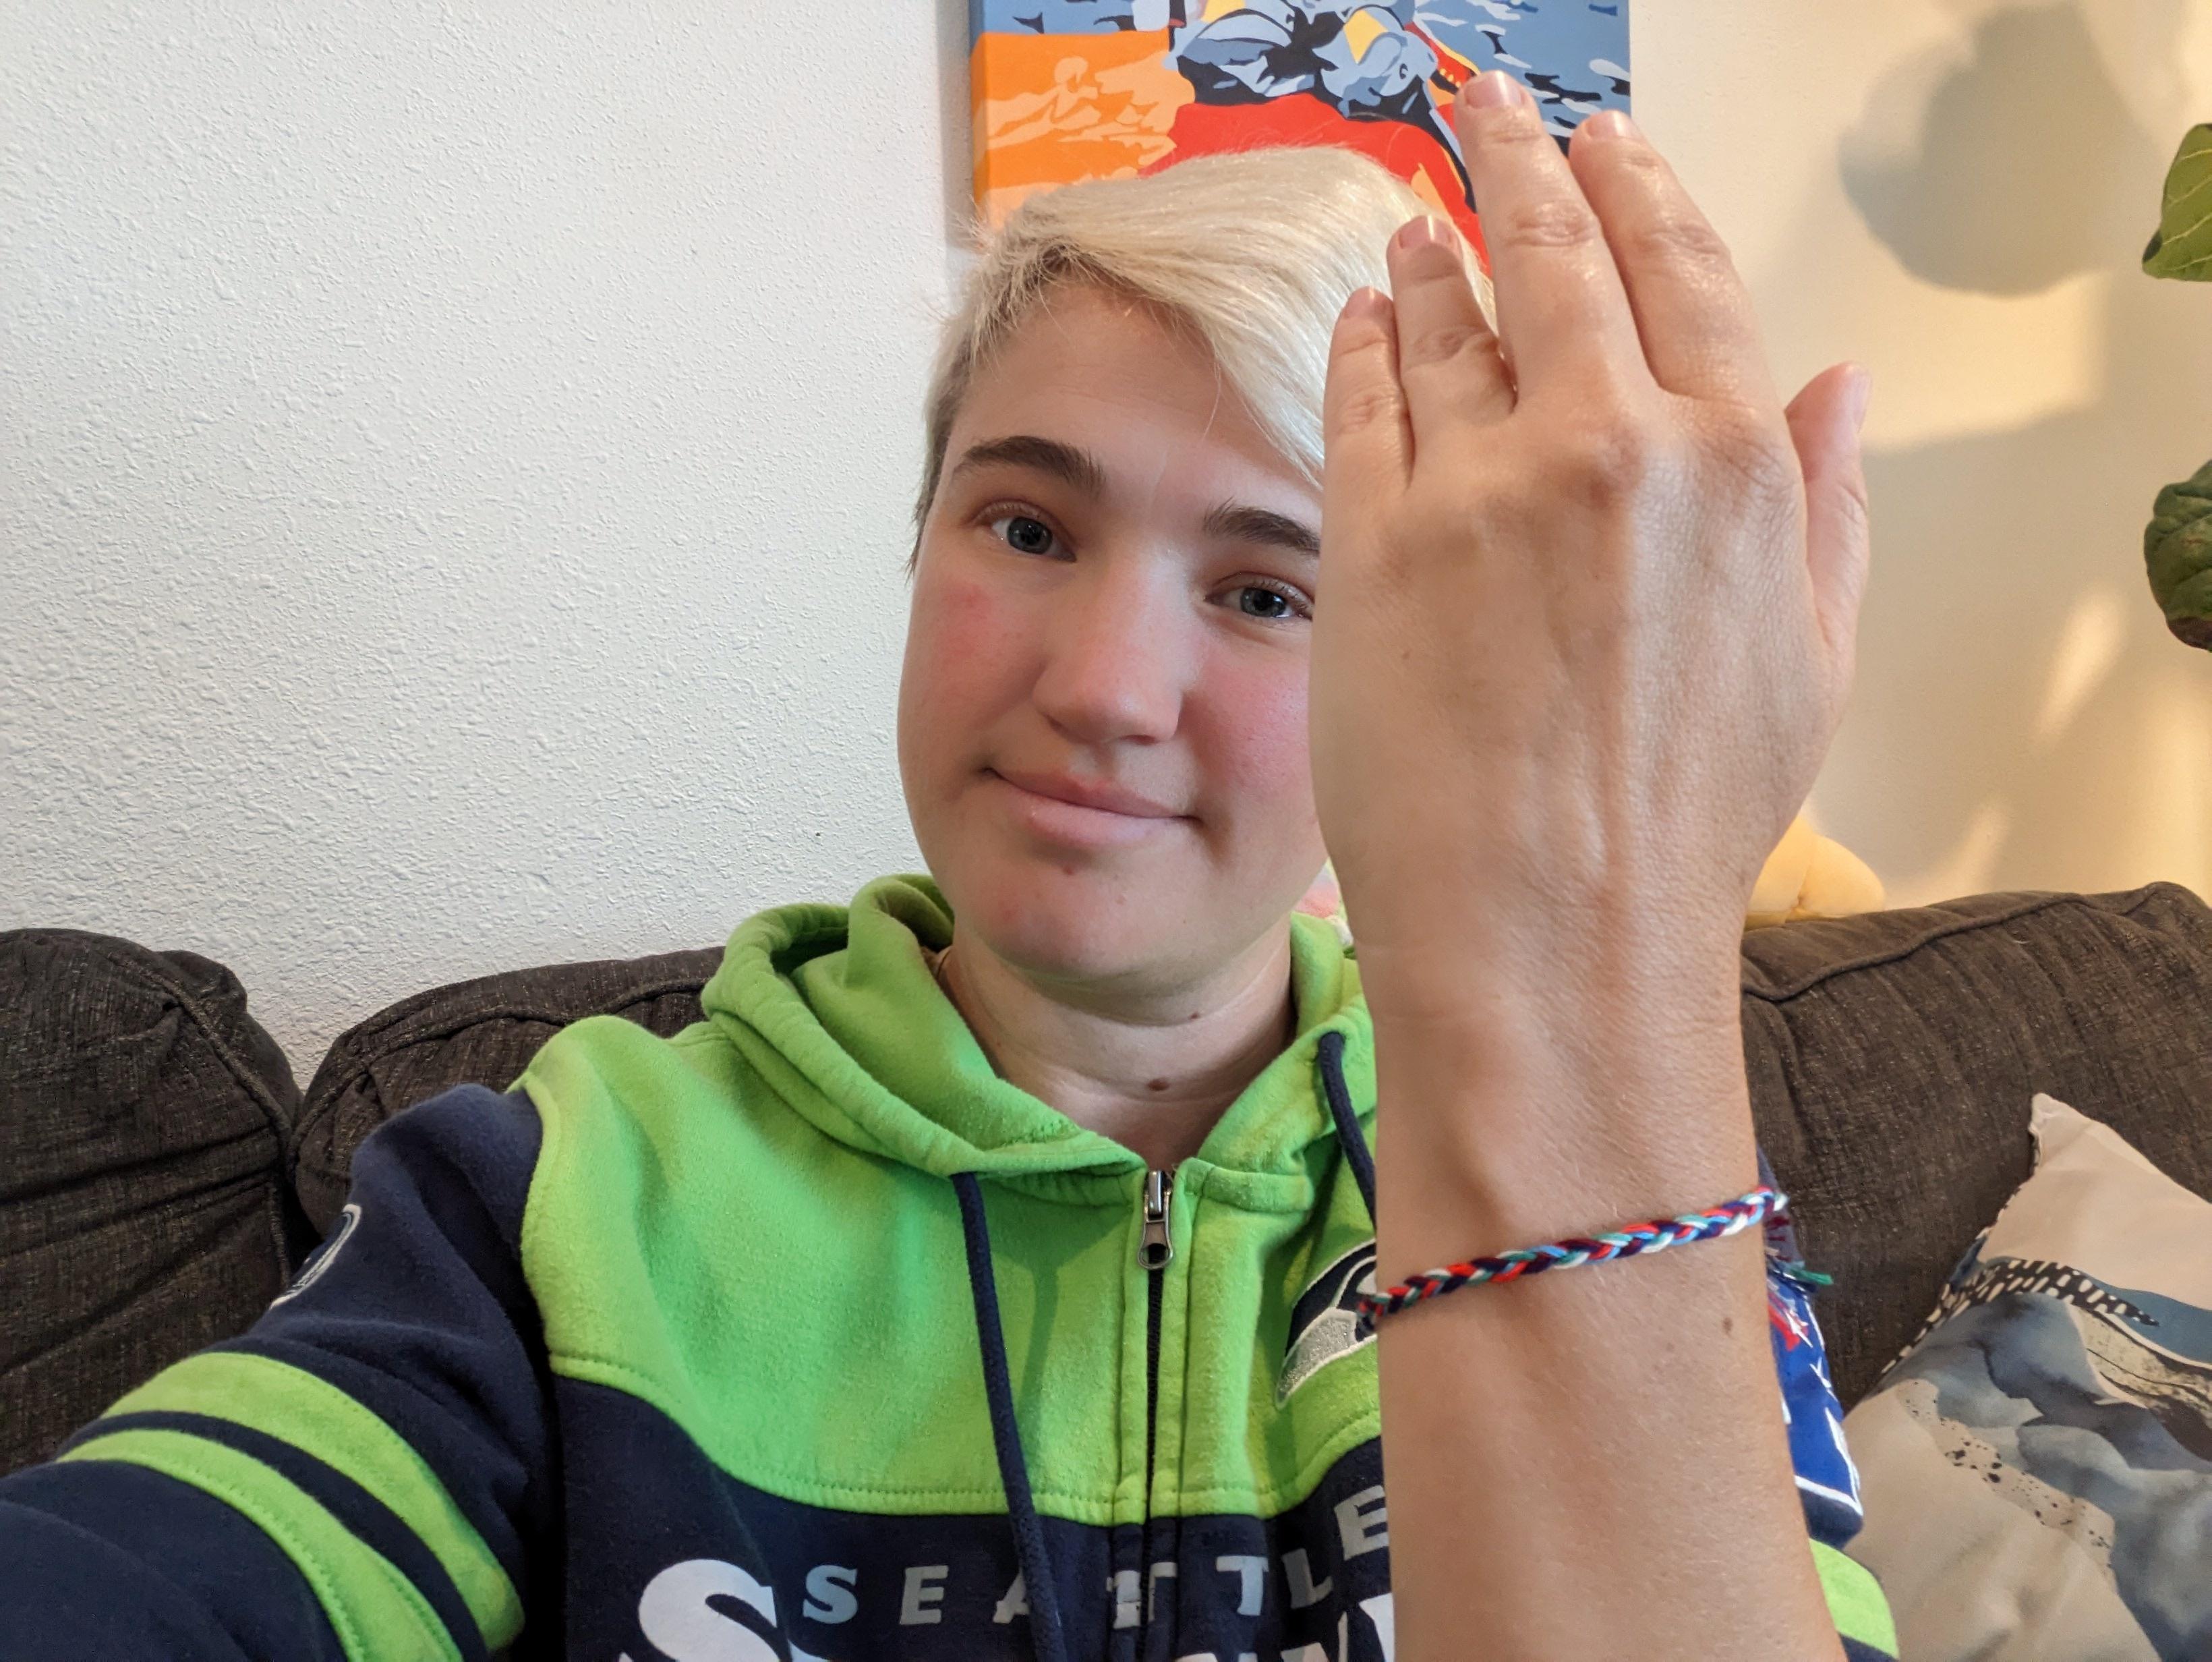
Hello there! My name is Missy. I’m an artist and a guest blogger here at PBS KIDS Utah. When I was younger, one of my favorite crafts was making friendship bracelets. I learned to make many different types; some with beads, some with hemp, some with fishing line, and some with embroidery thread. Today I am going to teach you how to make a simple braided bracelet with embroidery thread.

Supplies

Filer image
  • 6 colors of embroidery thread
  • Scissors
  • Ruler
  • Clipboard

Instructions

  1. Use your ruler and your first color of embroidery thread and measure 18 inches.
  2. Use your scissors to cut your first color of embroidery thread at the 18 inch mark.
  3. Measure your other 5 colors against that first color and cut them to the same length, 18 inches.
  4. Tie all 6 together, leaving a tail of about an inch and a half.
  5. Secure that tail into your clipboard to hold it still.
  6. Now divide your embroidery thread into 3 bundles, 2 threads per bundle. Identify the left bundle, the middle bundle and the right bundle.
  7. Take the right bundle and cross it over the middle bundle. Lay it flat. Now you will notice you still have a left, middle and right bundle.
  8. Now take the left bundle and cross it over the new middle bundle. Lay it flat.
  9. Now take the new right bundle and cross it over the middle bundle. Lay it flat.
  10. Do this back and forth and back and forth. Left and right and left and right. You are making a braid!
  11. Every once in a while, measure your progress around your wrist to see if it is long enough. Once the braid is long enough, tie a knot to end it.
  12. Now use your scissors to cut a tail the same length as your beginning tail.
  13. Tie your bracelet around your wrist.
Filer image

Wrap Up

Now that you know how to braid, you can make many bracelets. You can give them to friends and family. You can also braid other things like yarn, ropes, friends hair, doll hair, etc. Be creative and have fun!