
Missy's DIY Stickers

Email share

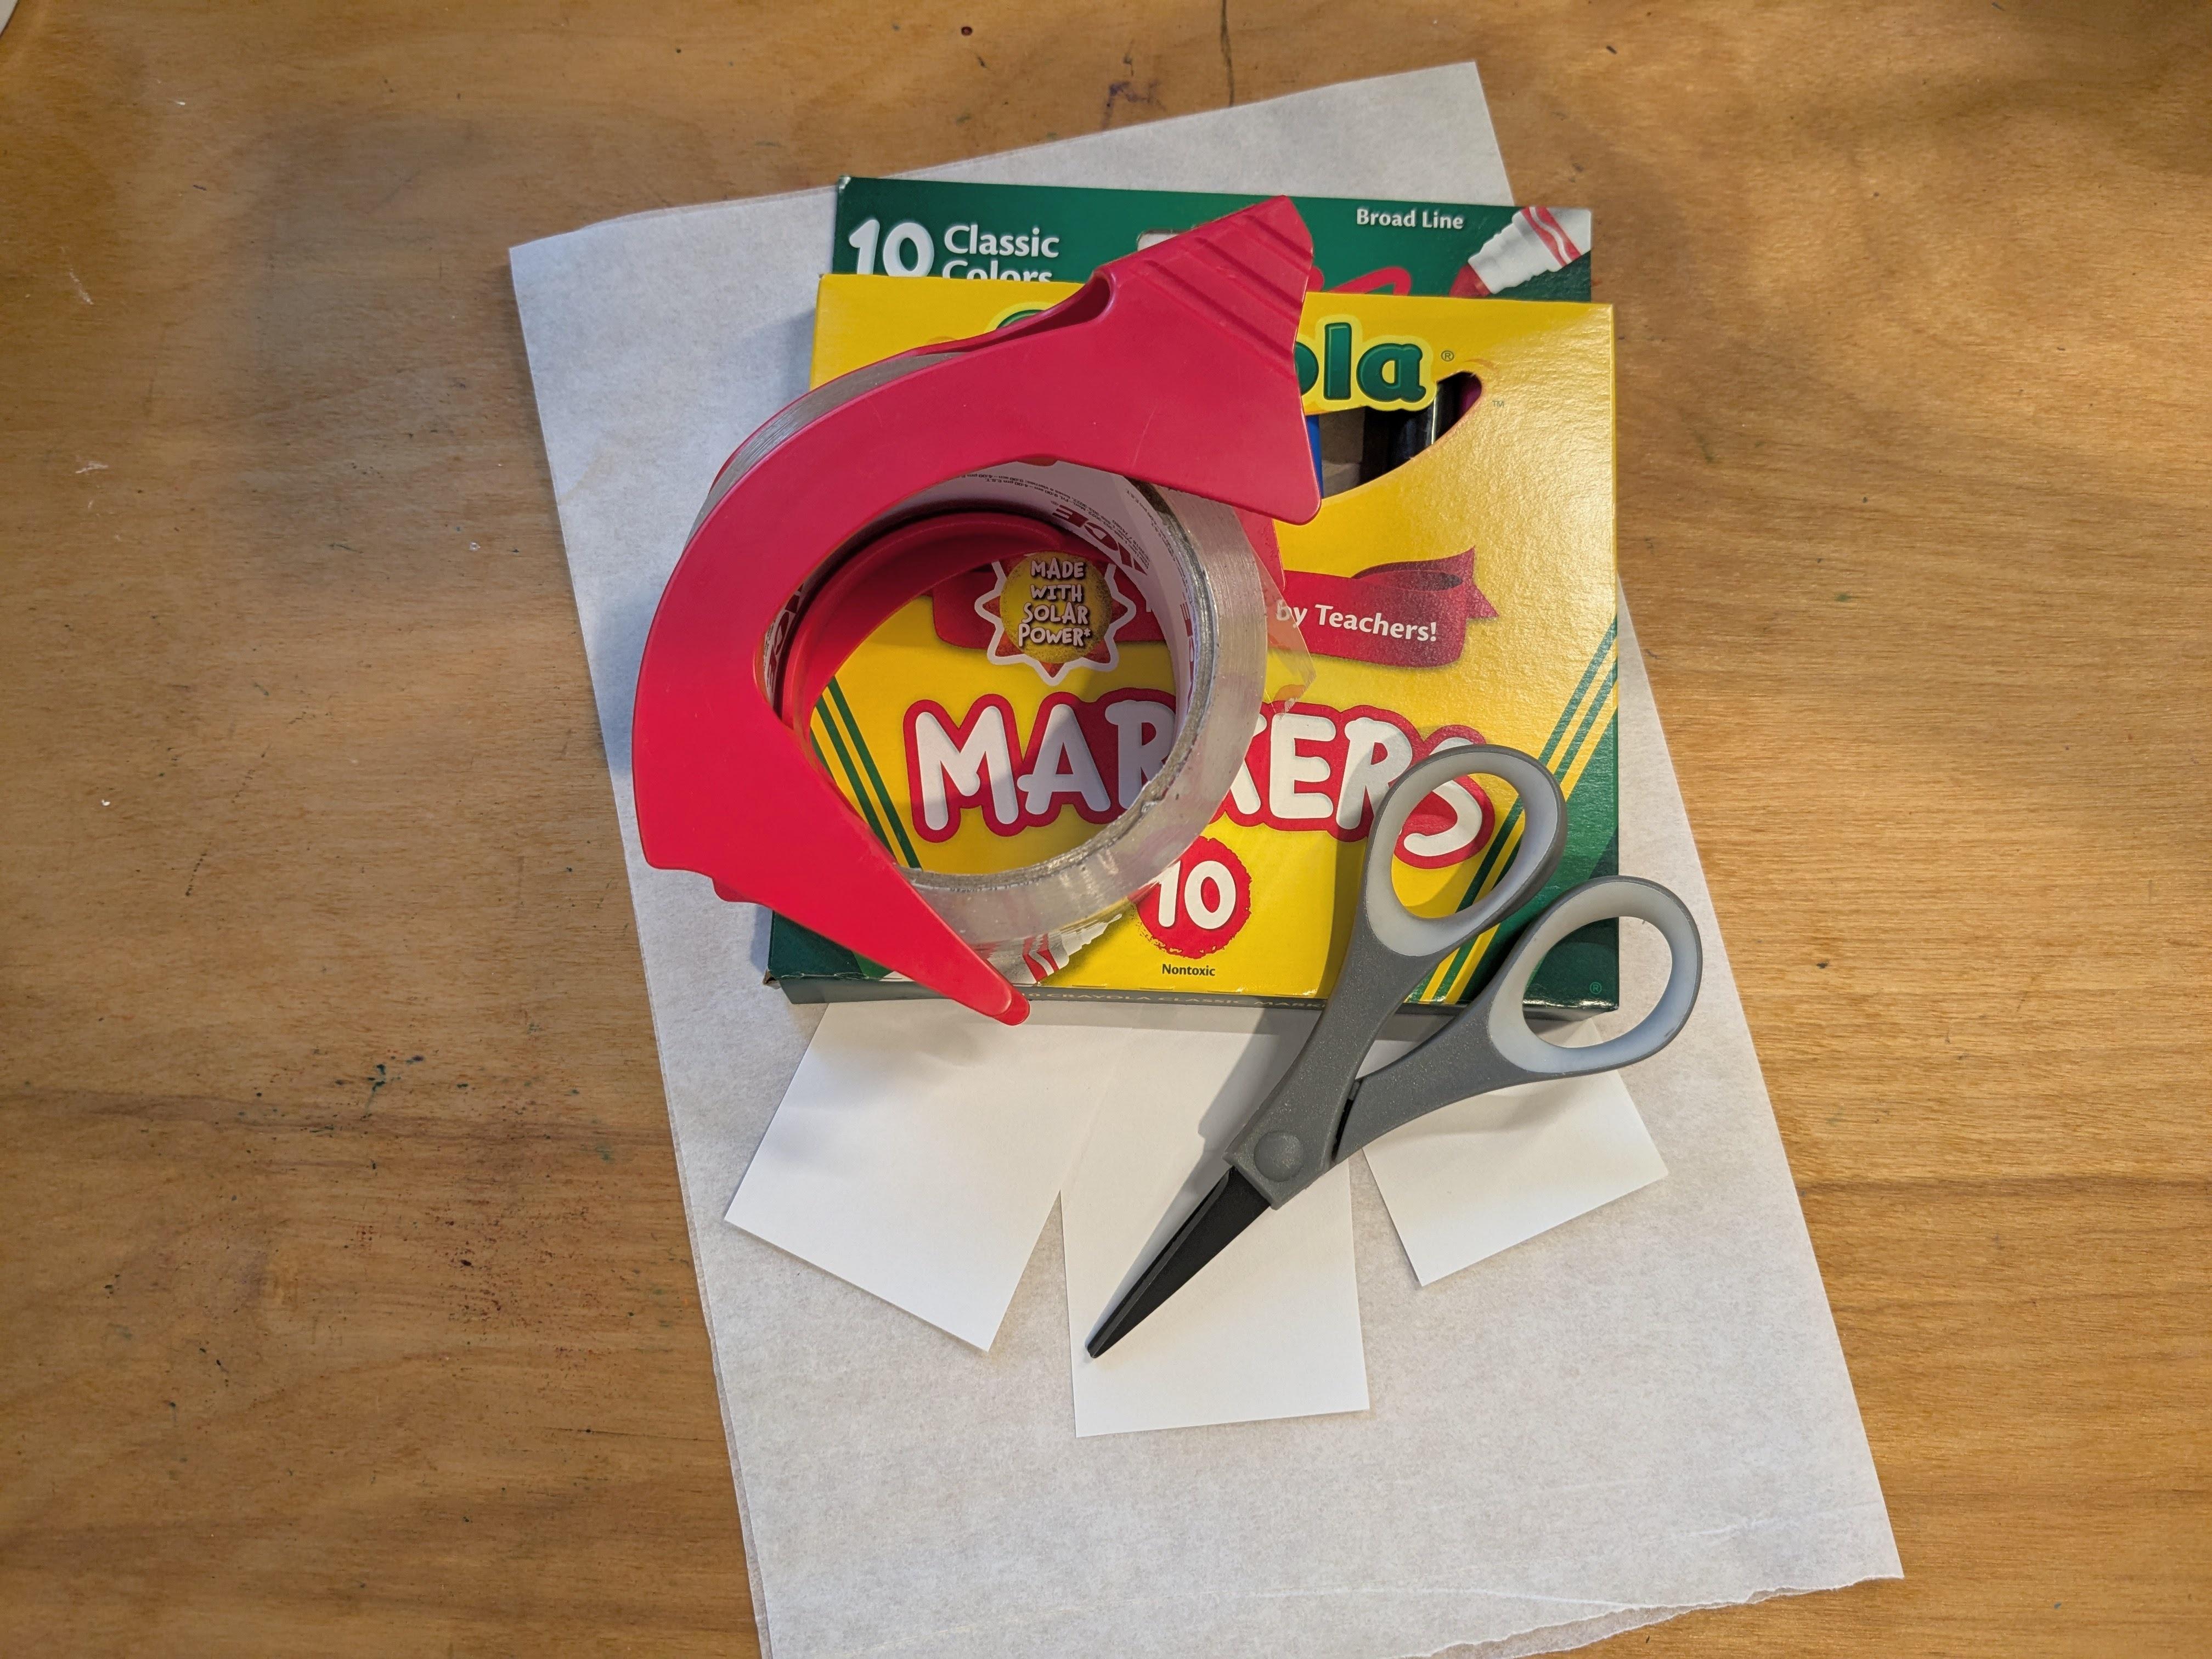
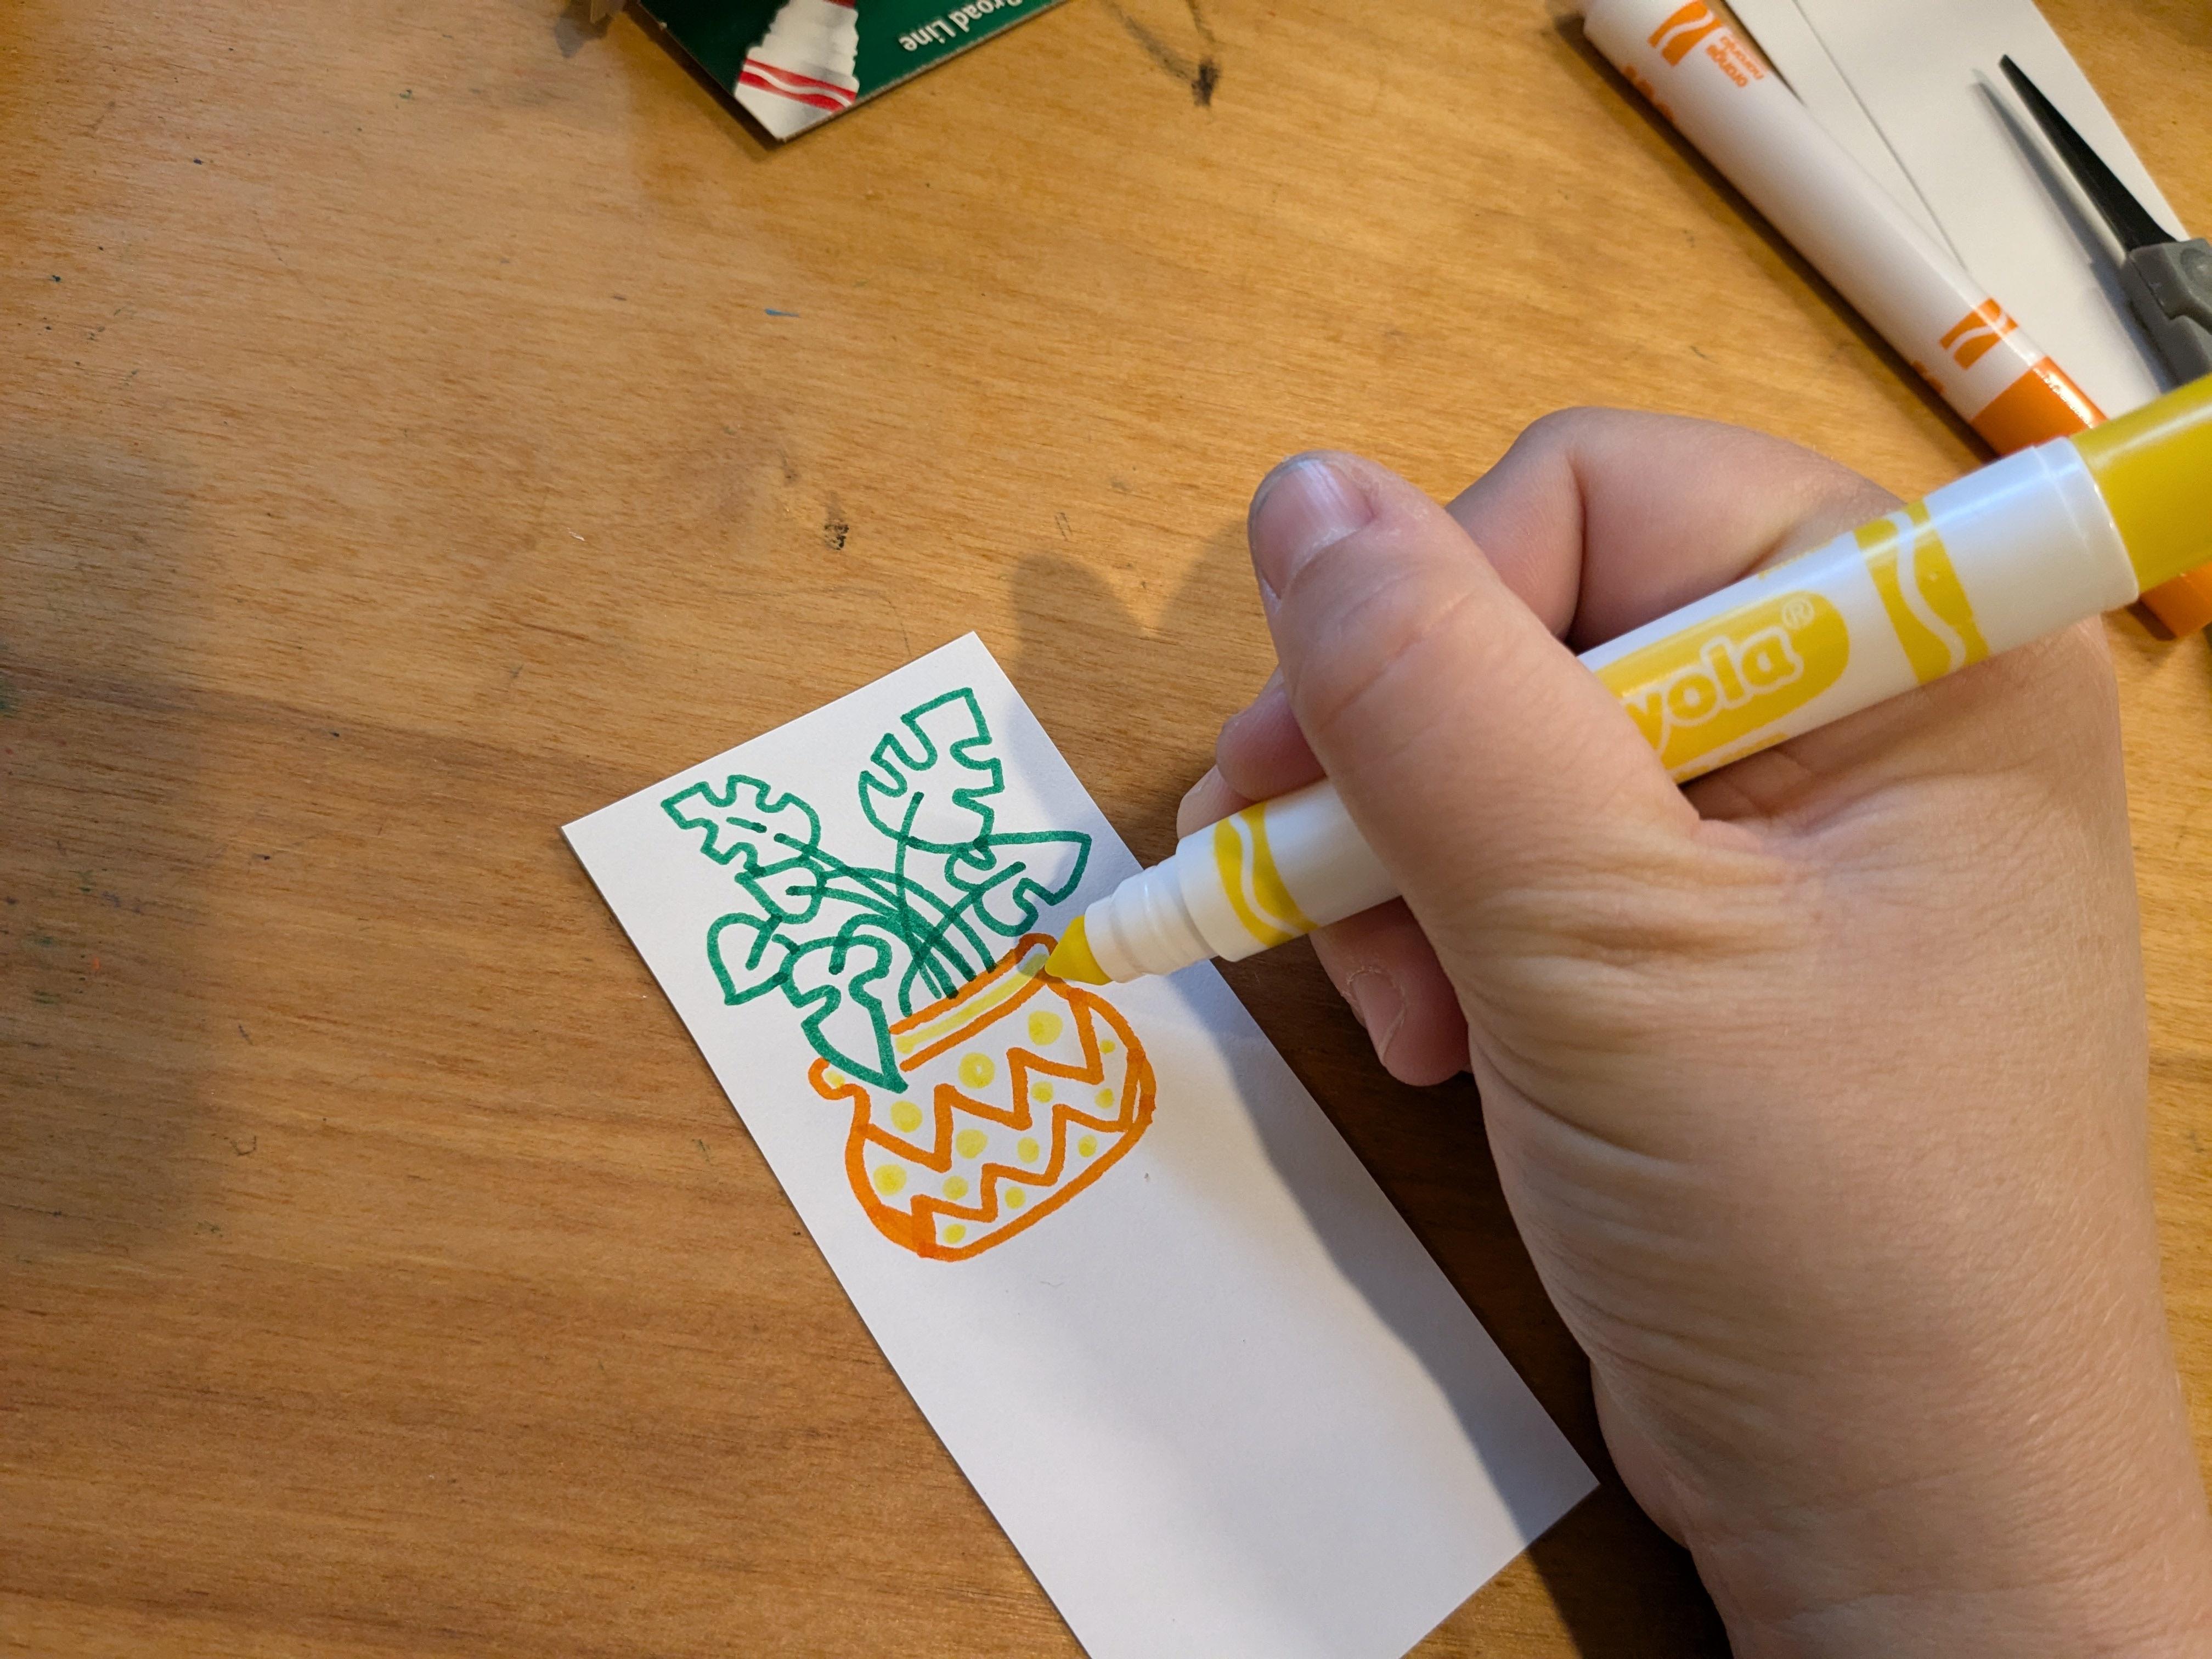
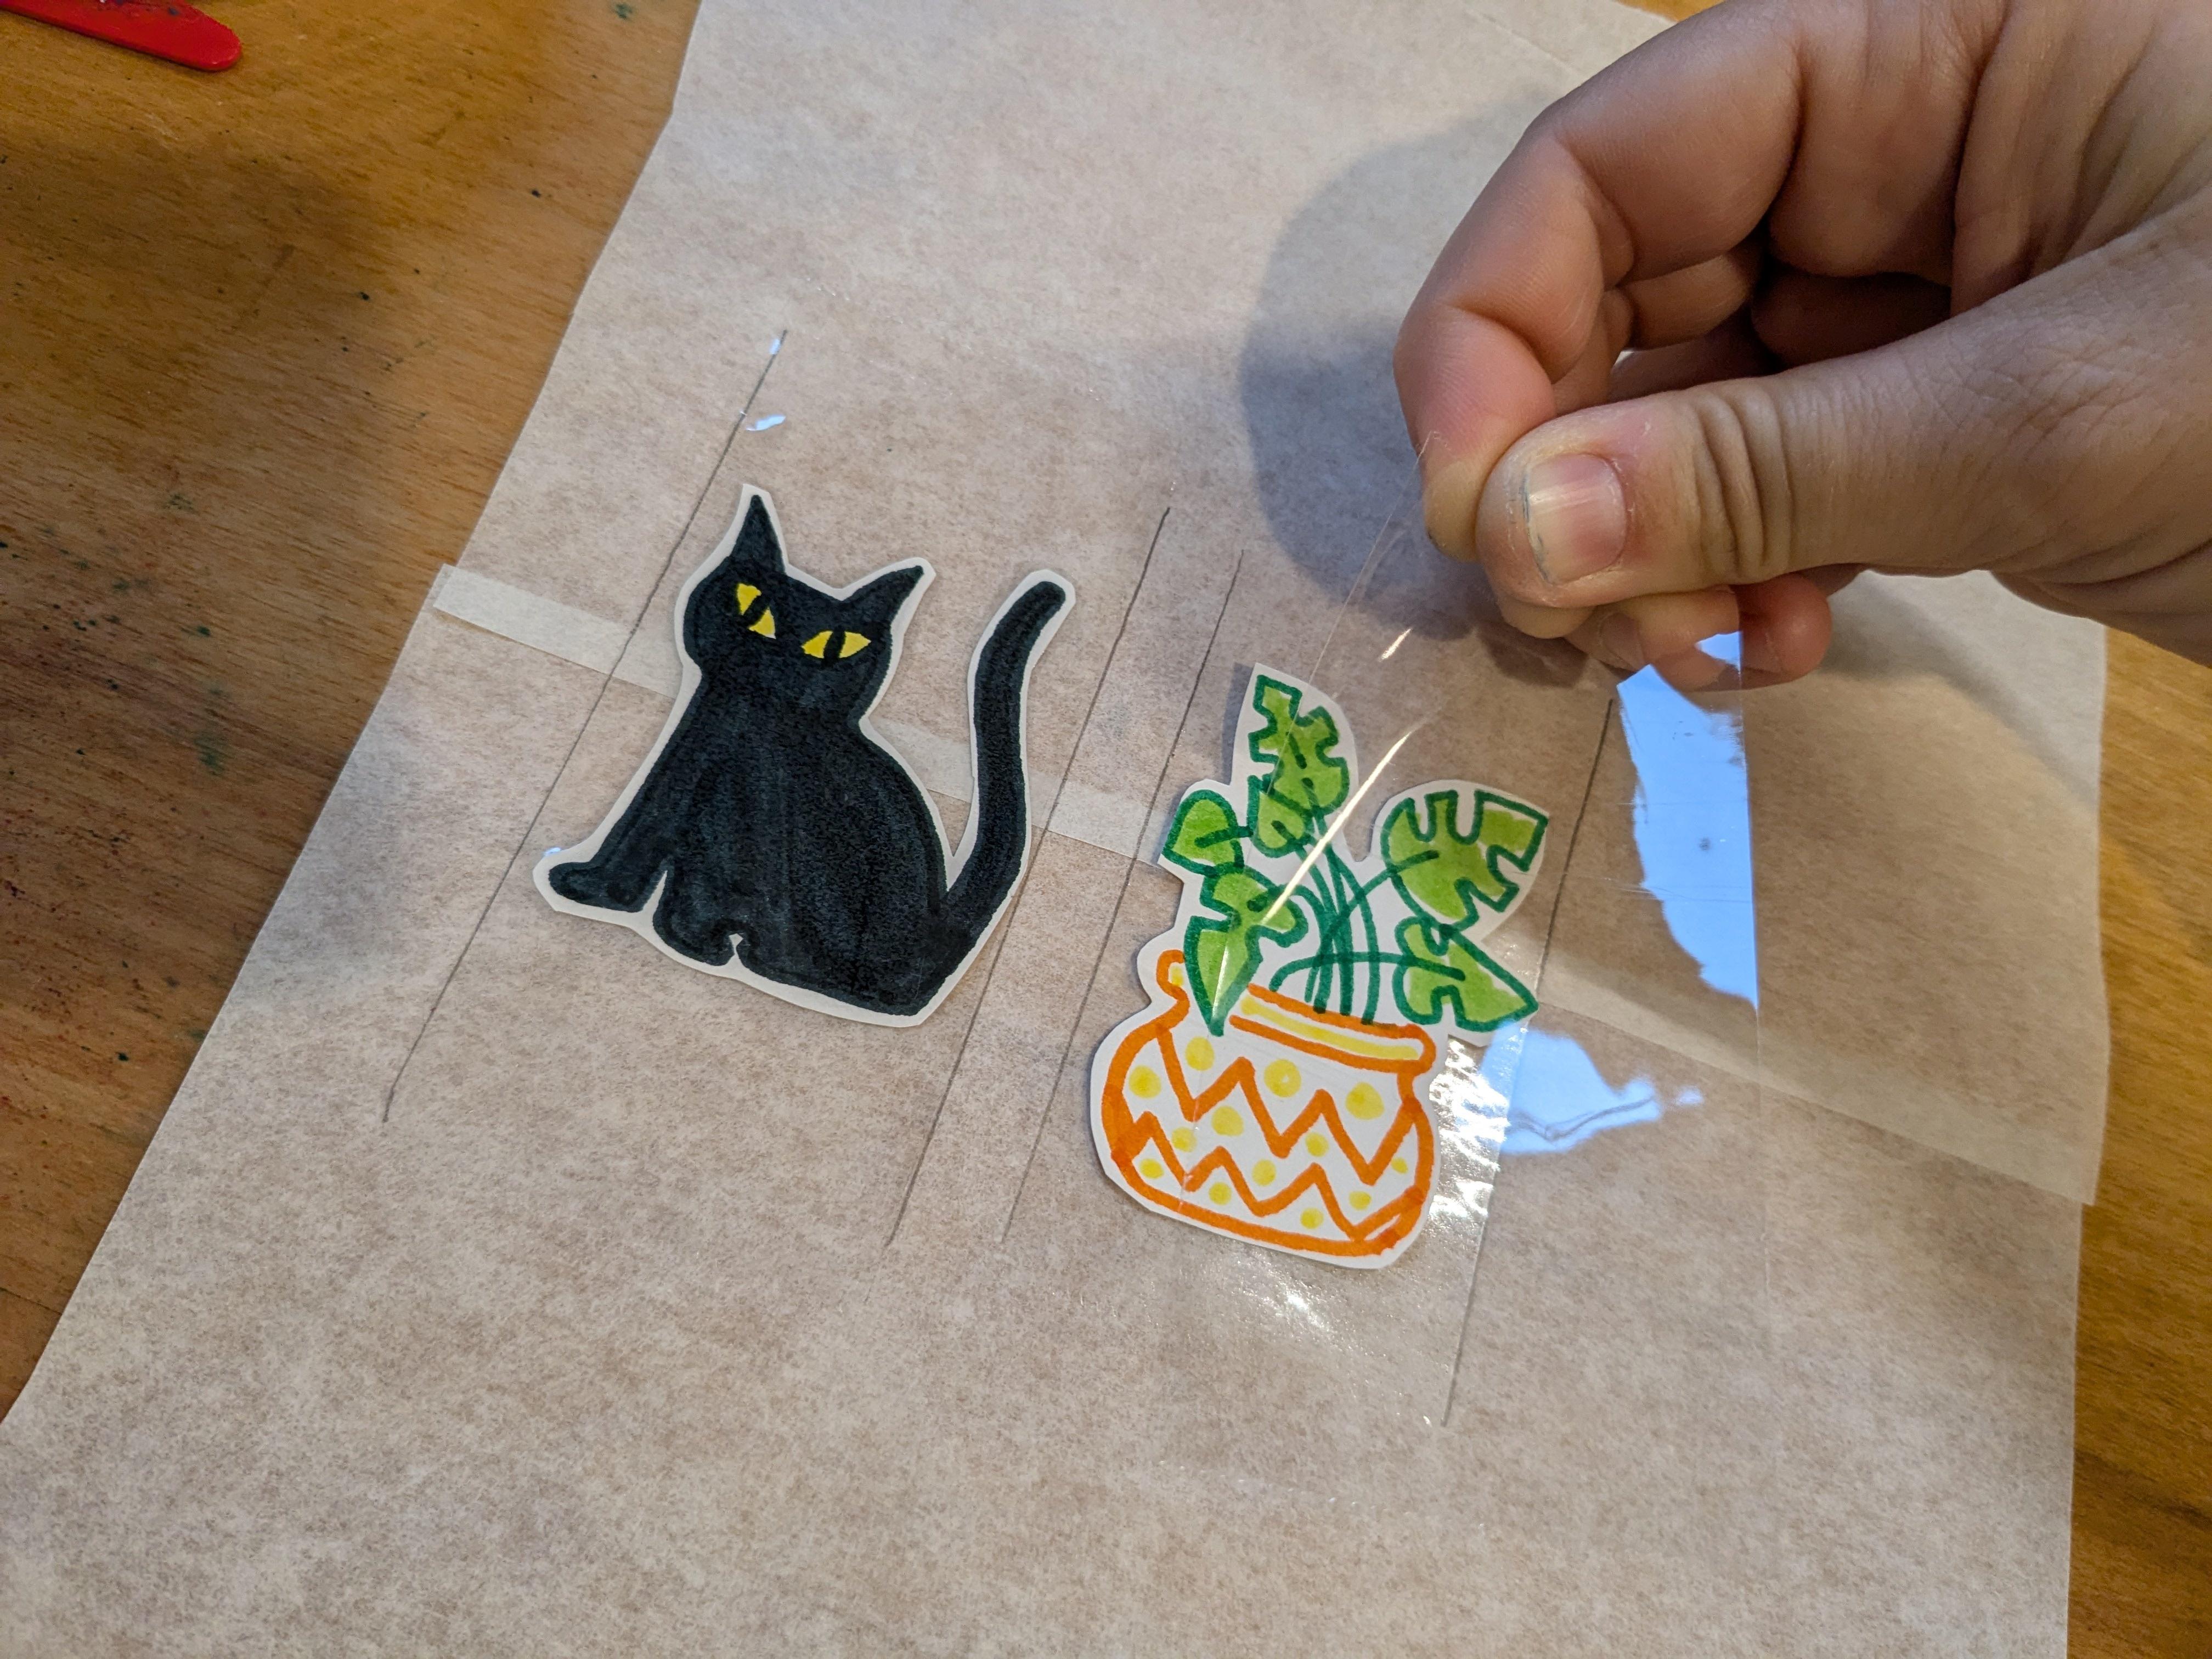
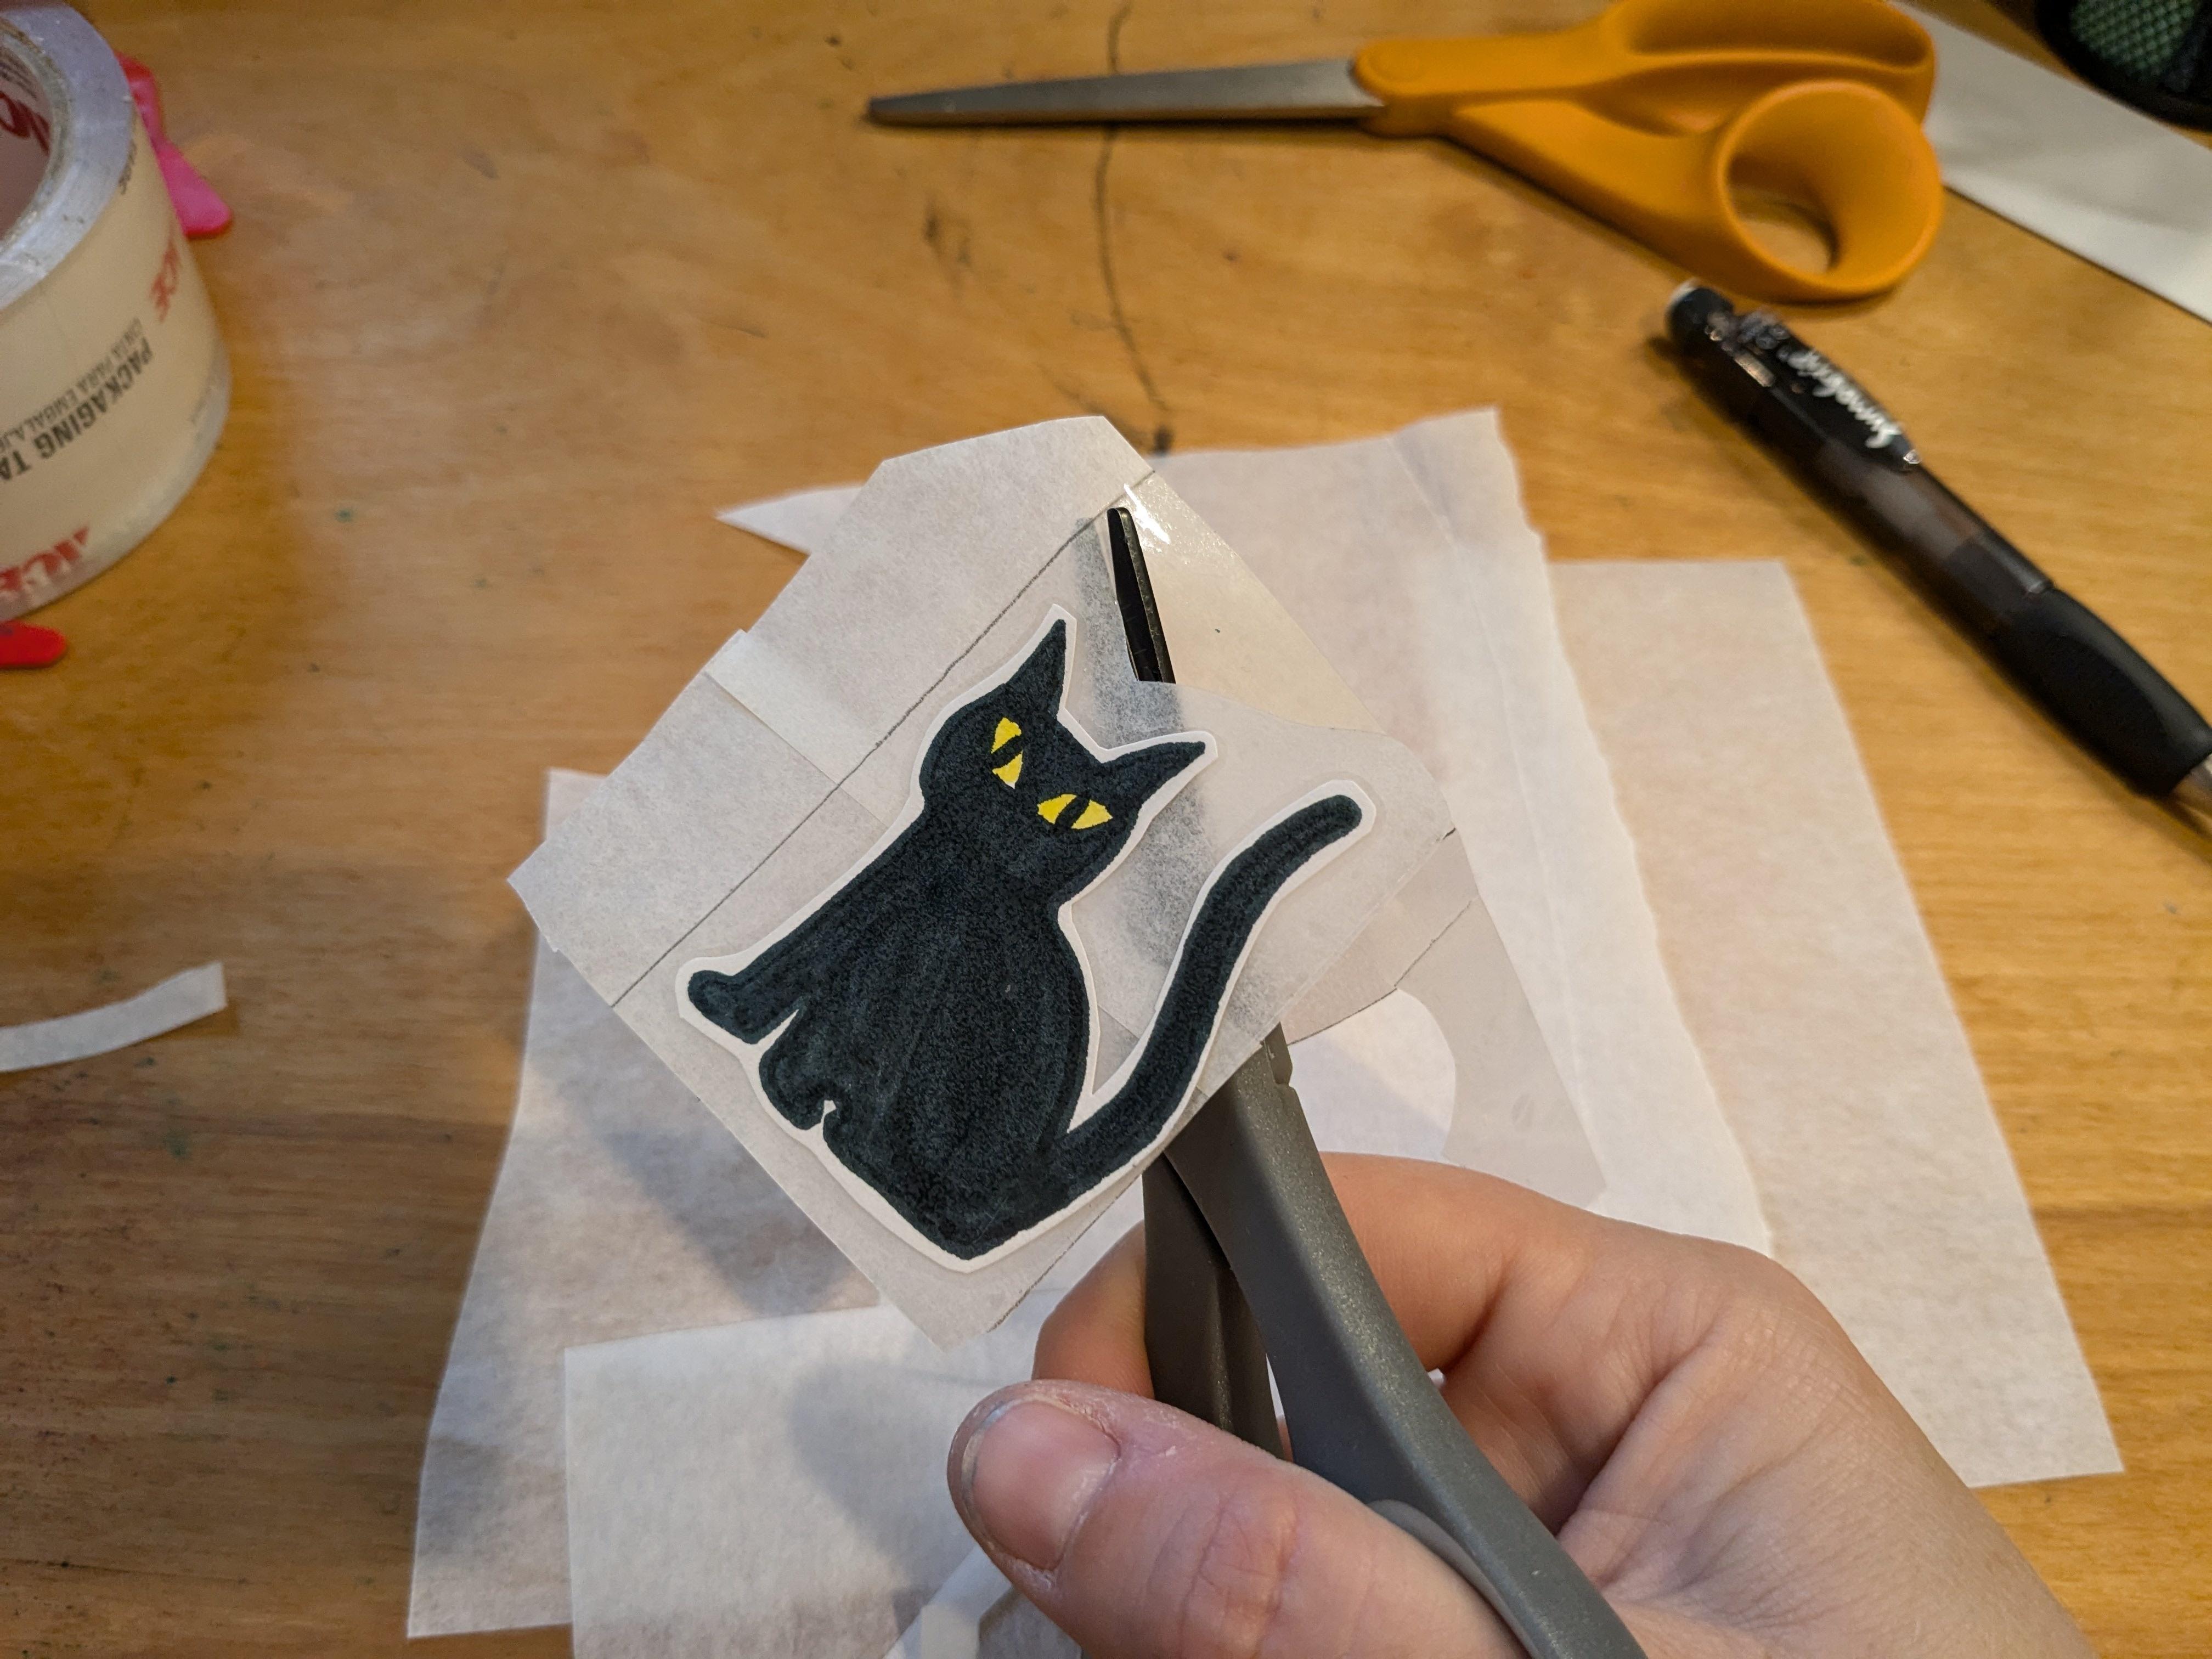
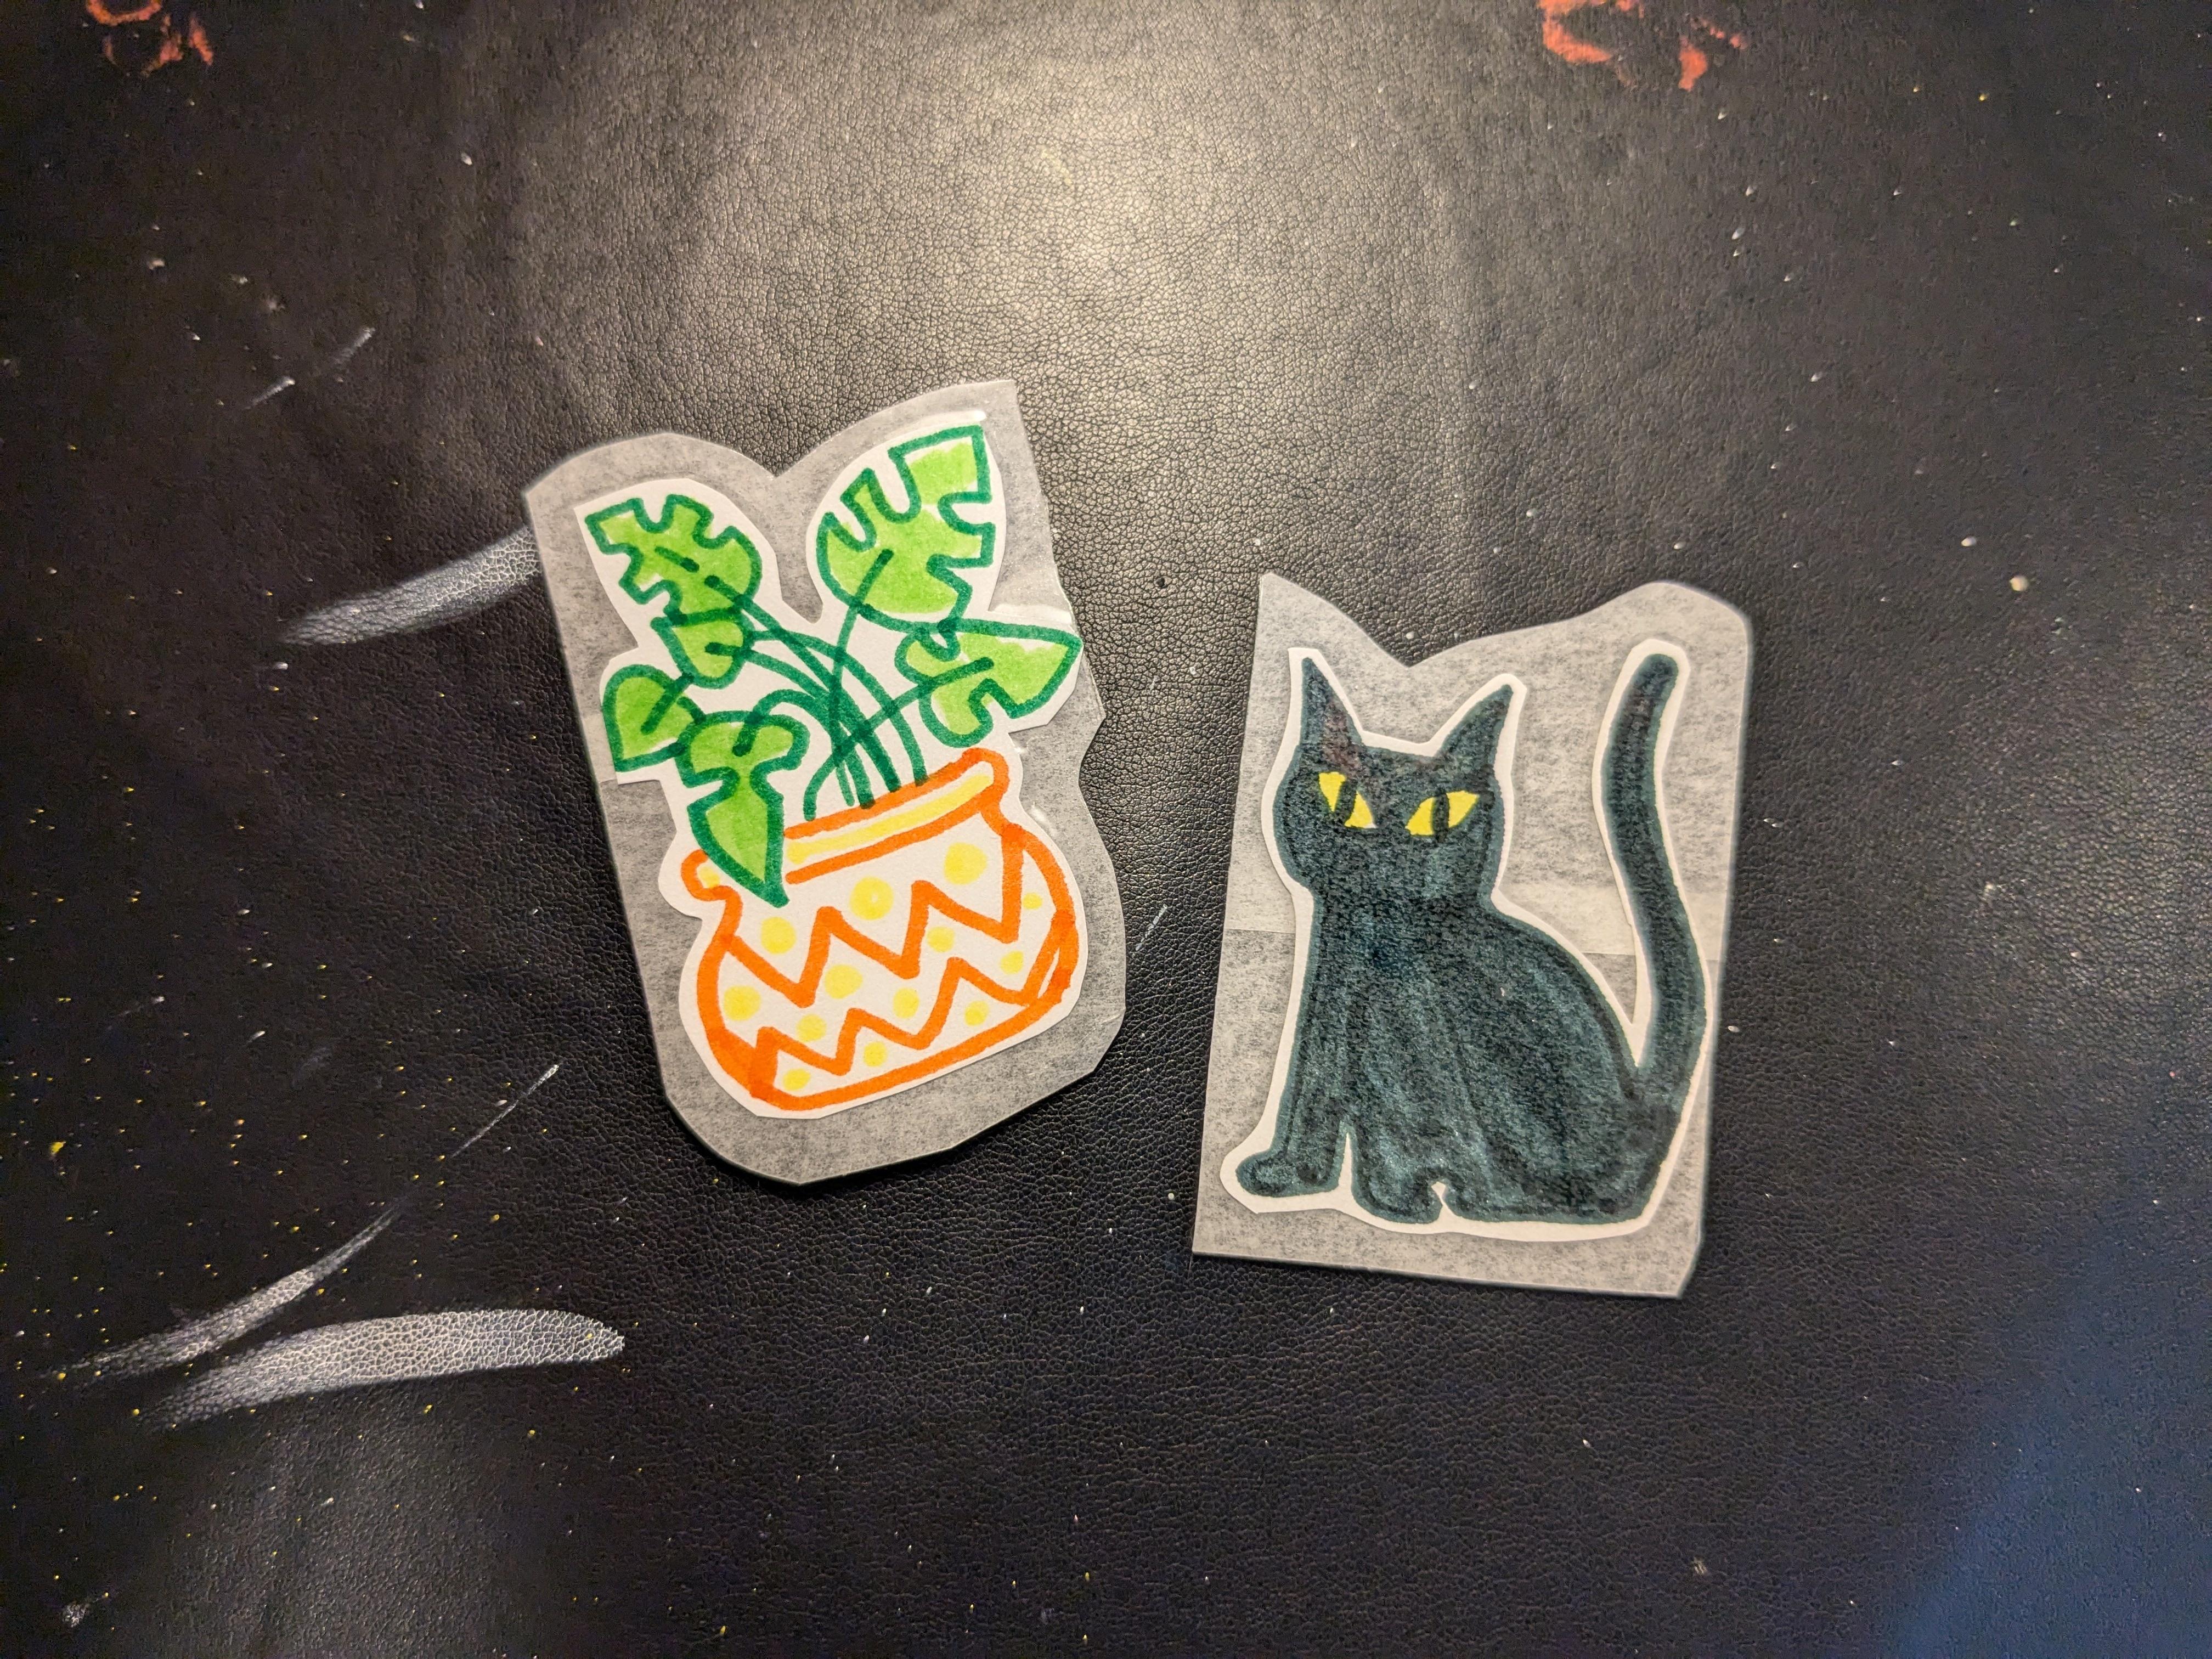
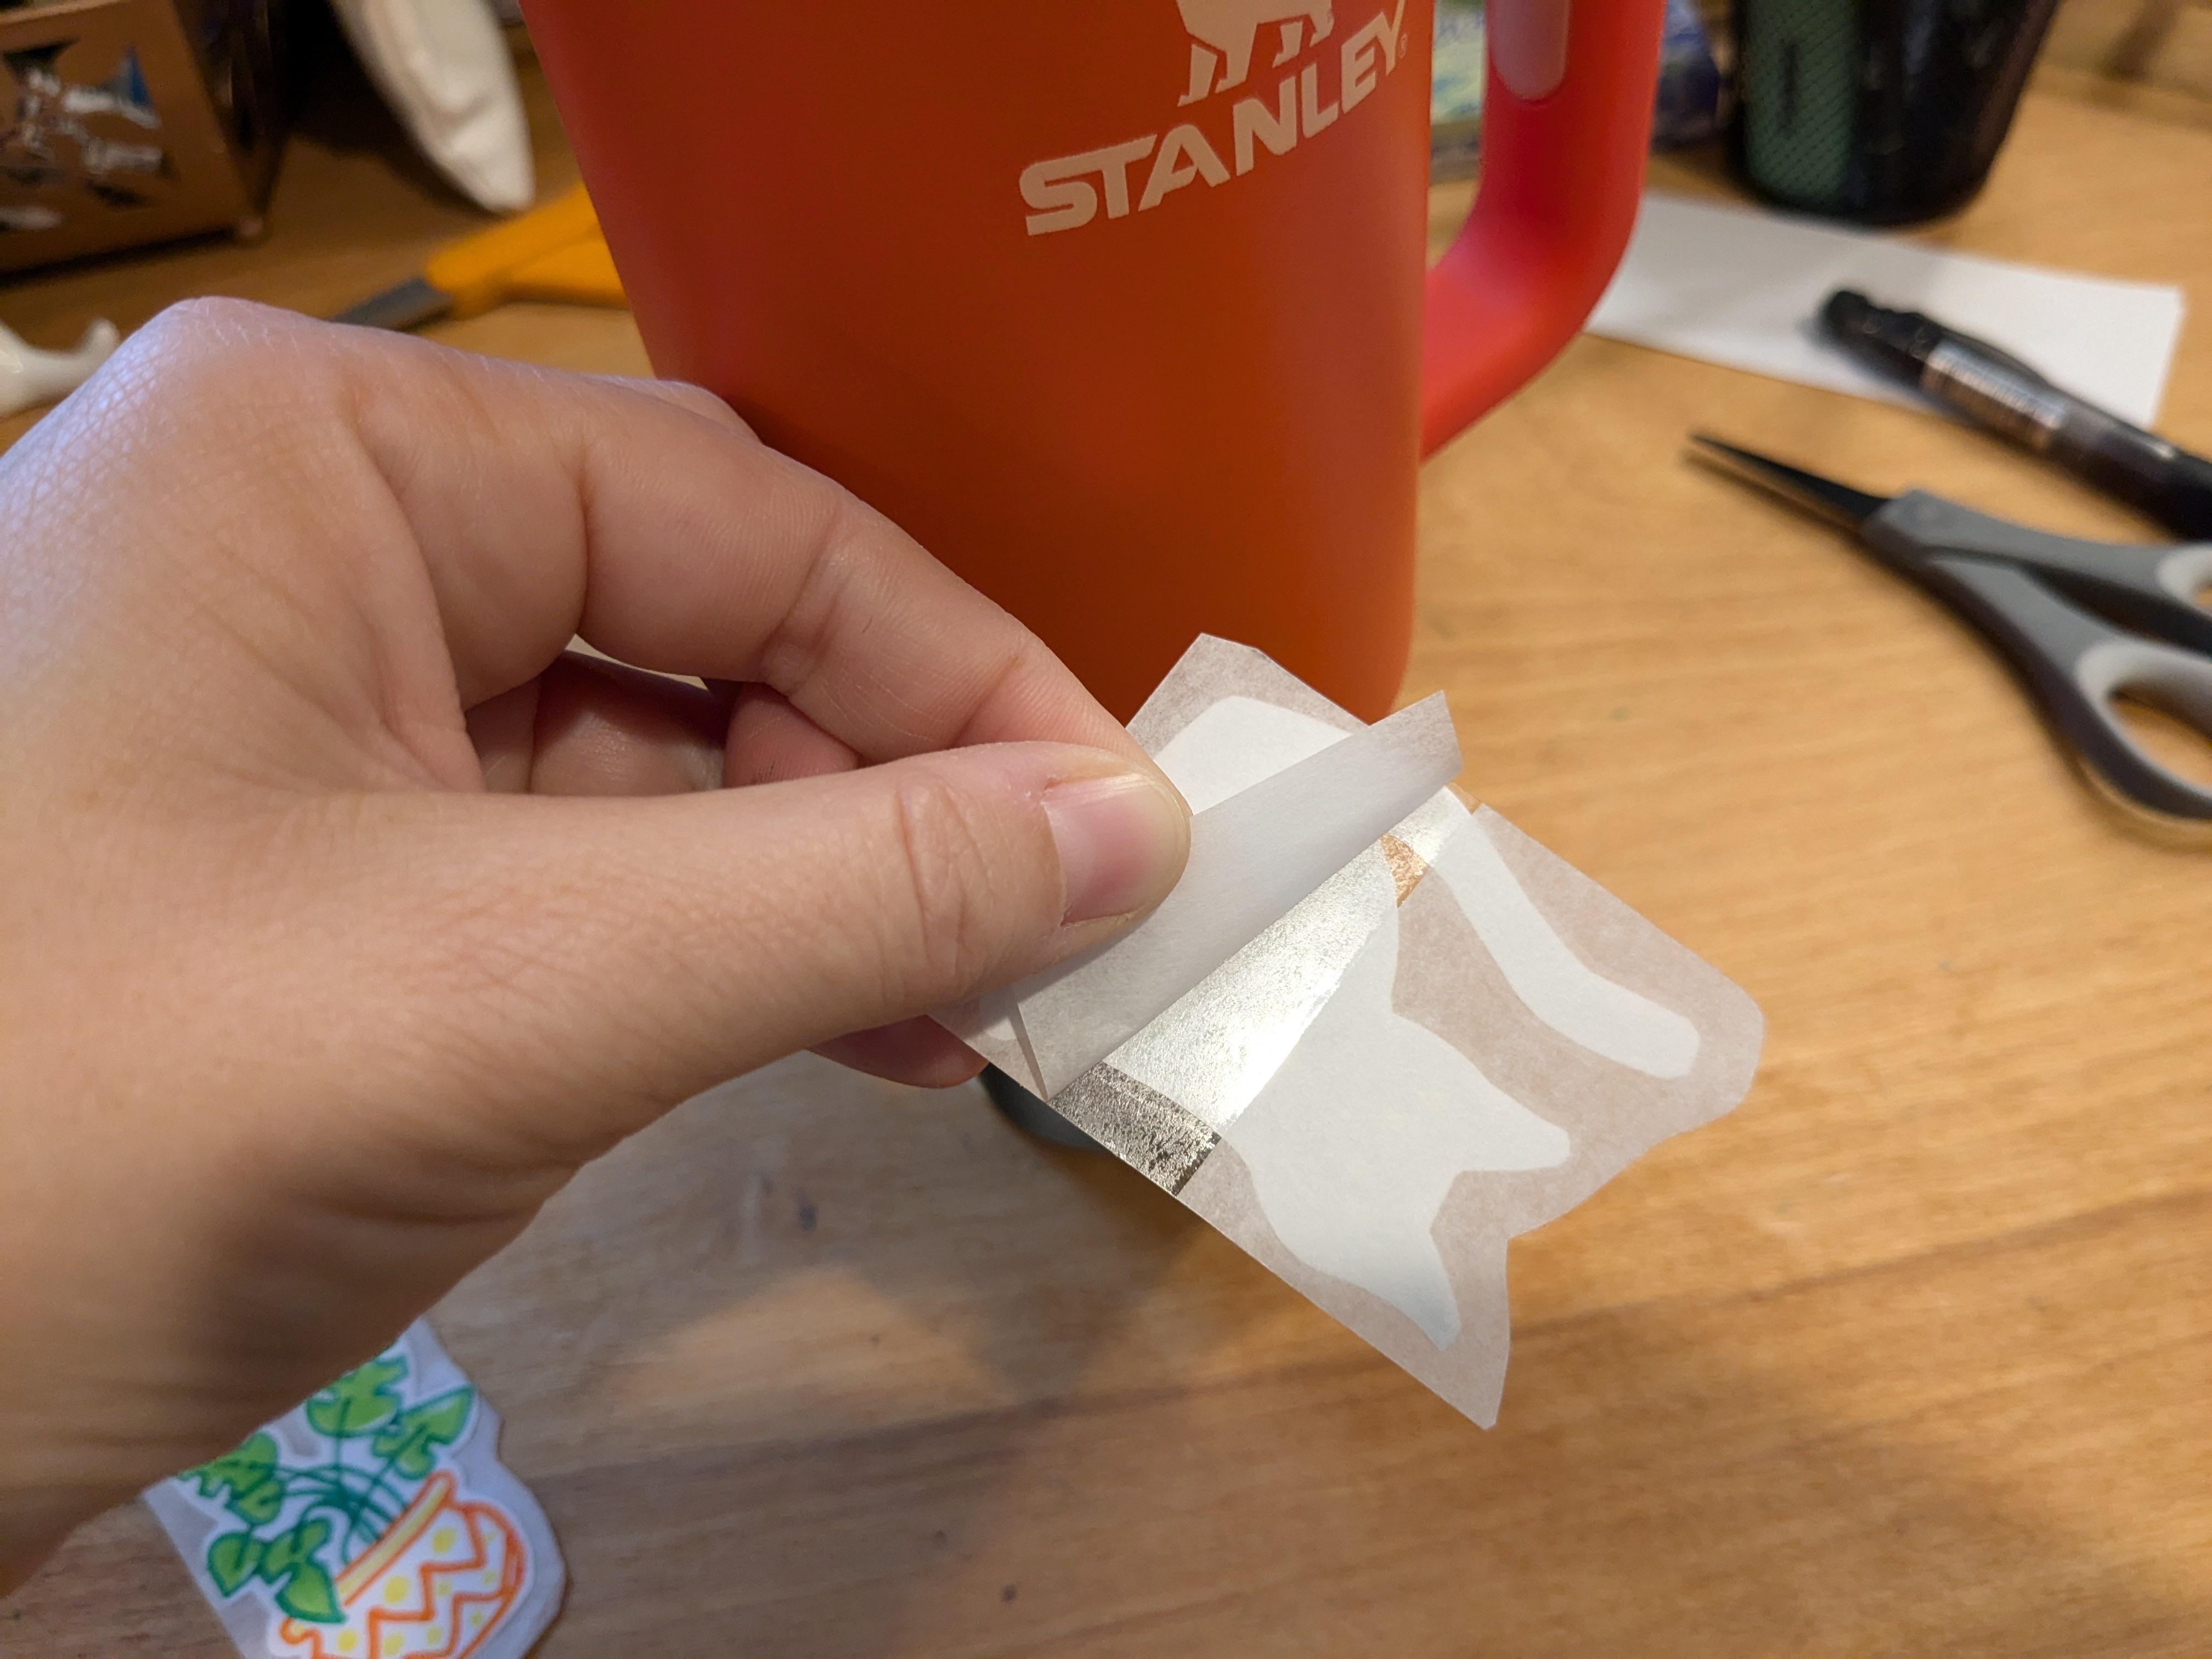
Howdy! My name is Missy. I’m an artist and a guest blogger here at PBS KIDS Utah. As a professional artist, I get asked to design stickers for businesses all the time. This is always a fun project. I draw the fun images, then I send them to a sticker company to be made into fancy stickers. I thought it would be fun to do the DIY version of this process. Let’s make our own stickers!

Supplies

Filer image
  • White paper cut into 2” strips
  • Clear packing tape
  • Markers
  • Pencil
  • Parchment paper
  • Scissors

Instructions

  1. Take a strip of white paper and your markers and draw a fun image. You could draw a flower, a dog, a cat, a rocket, a rainbow, etc.
  2. Use your scissors to cut out your drawing.
  3. Use your scissors again to cut your parchment paper in half.
  4. Lay the two pieces of parchment paper so that they overlap each other about ¼”.
  5. Take a piece of packing tape, longer than your drawing, and lay it over the overlap on the parchment paper, sticky side DOWN.
  6. Take your pencil and outline the piece of tape. This is just so you can tell where it is.
  7. Put your cut out drawing on top of the packing tape.
  8. Tear off another piece of packing tape and lay it exactly over the first, sticky side down, sandwiching your drawing in between.
  9. Now use your scissors to cut out around your drawing. Make sure to leave at least ¼” around the edges.
  10. Now you can peel the parchment paper off the back and stick your sticker wherever you like!

Wrap Up

Draw more images! Make more stickers! Give them to your friends and family! Put them on your notebooks, on your water bottle, on your bike! Be creative and have fun!

Filer image