


Hello! I’m Missy, an artist and blogger for PBS KIDS Utah. Summer is here! And we finally get to start playing with our friends again! A fun activity to do with our friends is to make friendship bracelets. This one is called macramé. Macramé is simply tying knots over and over to form a bracelet or other decorative material.
Supplies:
- Hemp, jute or other string (one - 72” long, one - 36” long)
- Hex nuts or beads
- Scissors
- A ruler
- Cardboard (roughly 8”x10” with a 1” slit cut in the middle-top)
Instructions:
- Fold each string in half and tie a knot, creating a ~1” loop.
- Slip the knot into the slit of the cardboard. Knot on the back, strings hanging down on the front.
- Put the shorter two strings in the middle, these are your “lazy strings.” Put the two longer strings on the outside, these are your “working strings.”
- Take the left working string and make a “4” with it, laying it over the lazy strings.
- Tuck the end of that working string up behind the lazy strings and through the middle of the “4.” Hold the lazy strings tight while you pull the working string all the way through tight.
- Take the right working string and make a backwards “4” with it, laying it over the lazy strings.
- Tuck the end of that working string up behind the lazy strings and through the middle of the backwards “4.” Hold the lazy strings tight while you pull the working string all the way through tight.
- Now you have a full knot (square knot).
- Repeat steps 4-7 three more times so that you have four full knots.
- Take your two lazy strings together and string a hex nut (or bead).
- Push the hex nut (or bead) all the way to the knots.
- Continue on making four more full knots, then add another hex nut (or bead).
- Continue on this way until the bracelet is long enough for your wrist, or the wrist of your friend.
- Take the lazy strings together and take the working strings together and tie them all together. Use your scissors to cut the ends evenly, leaving about 3.”
- Put the bracelet on your wrist, and slip either the lazy strings or the working strings through the loop at the other end and tie.
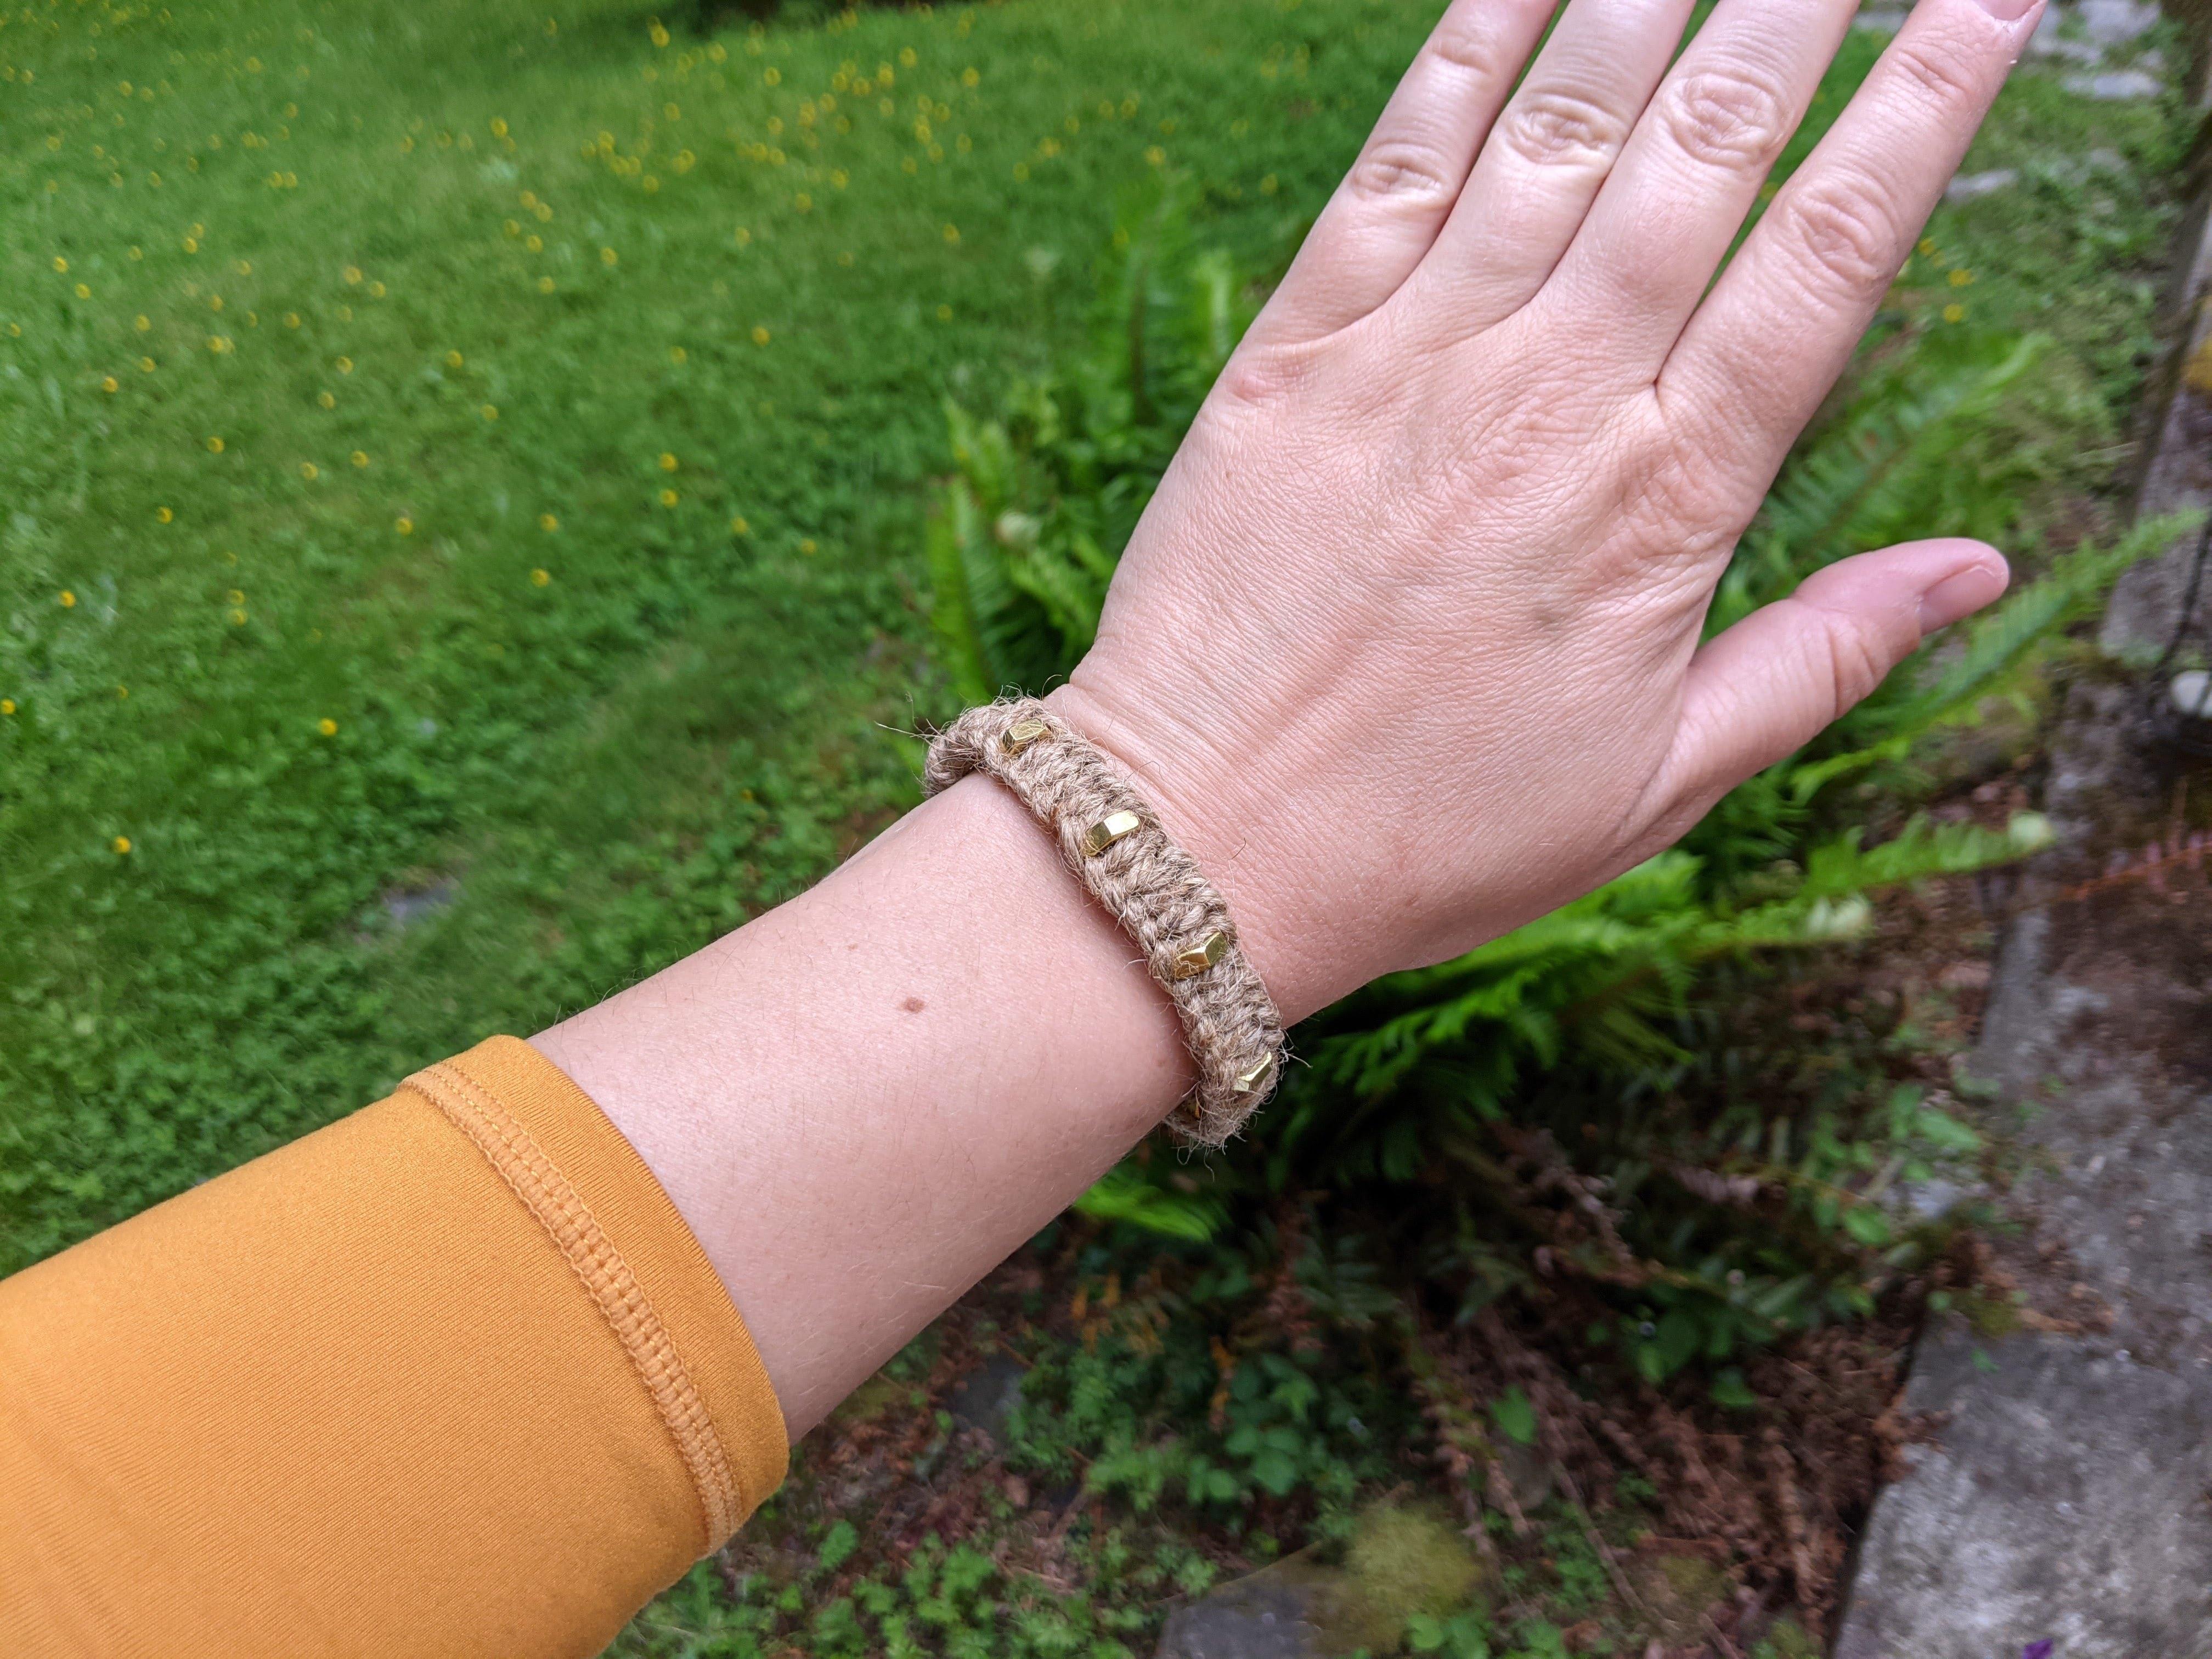
- Now you have an awesome Macramé bracelet!
Wrap-up:
These are just the surface basics of macramé. You can use this technique to make many different types of bracelets, necklaces, pot holders, wall hangings, etc. Search the internet or books at your local library to learn more about macramé. Have fun!
.jpg)