
Missy's Matchbox Book

Email share

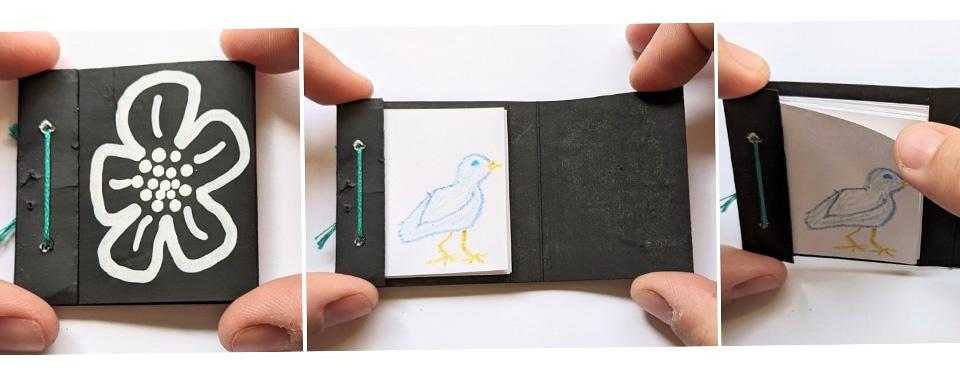
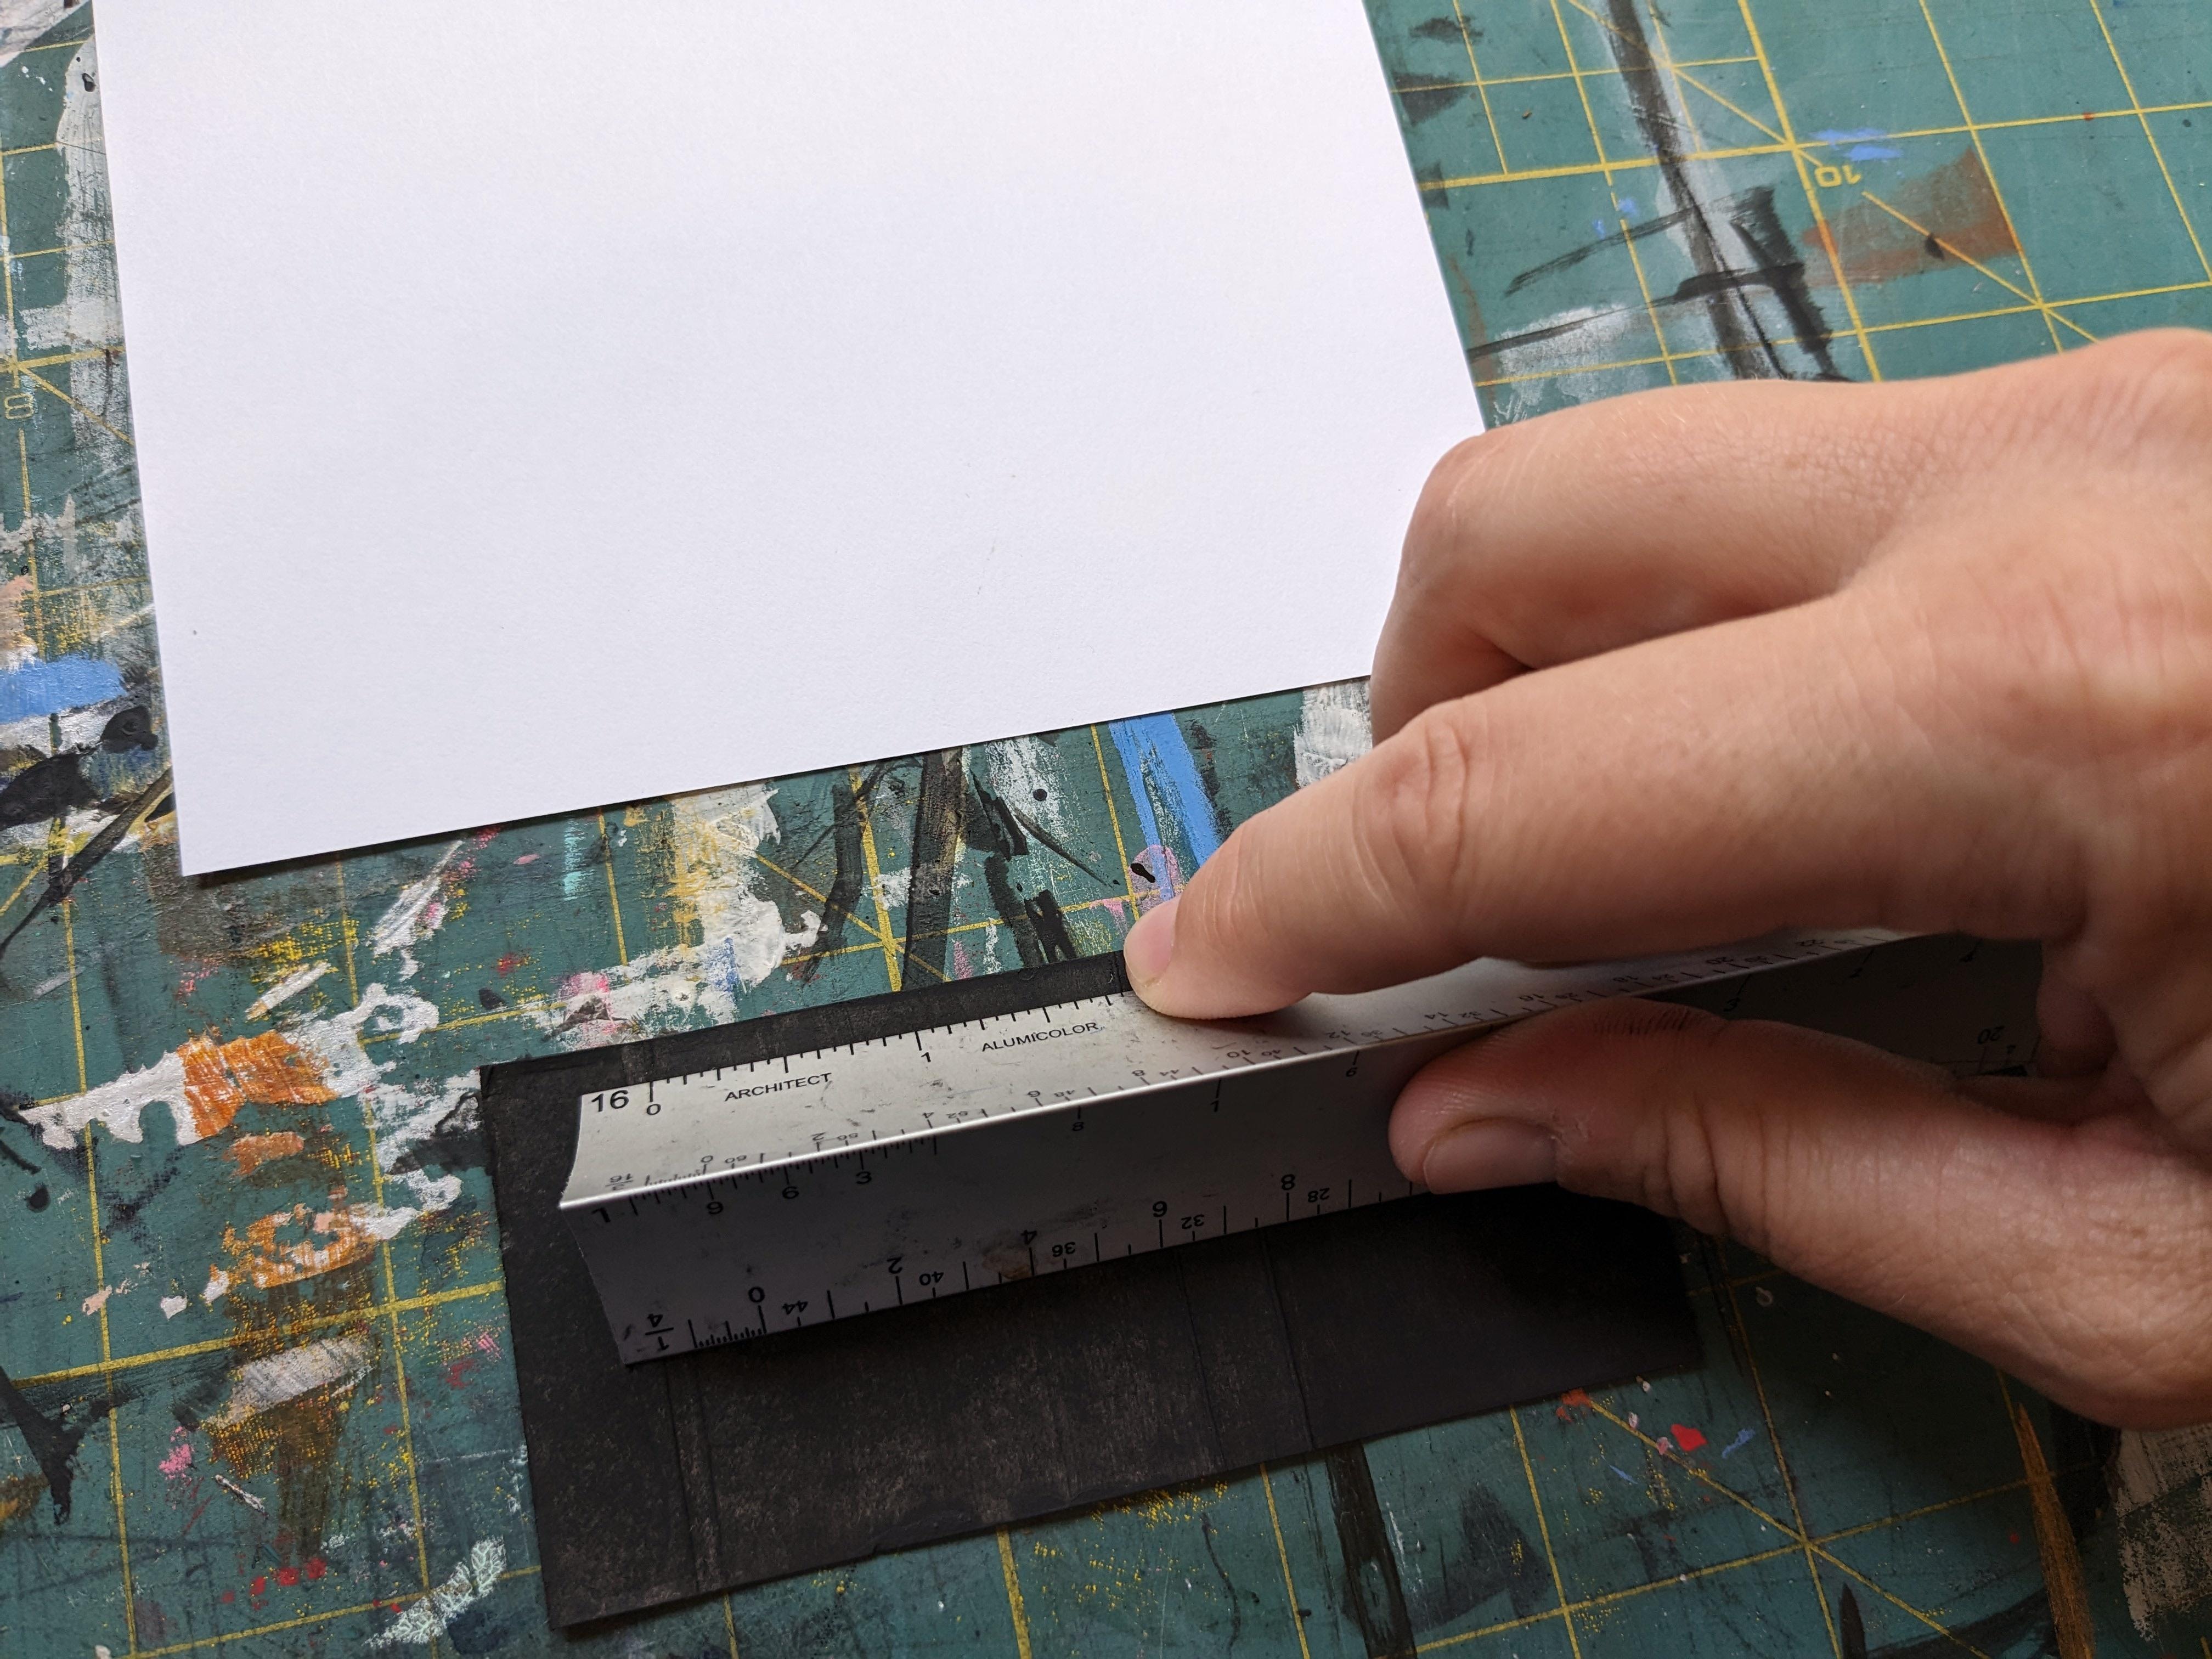
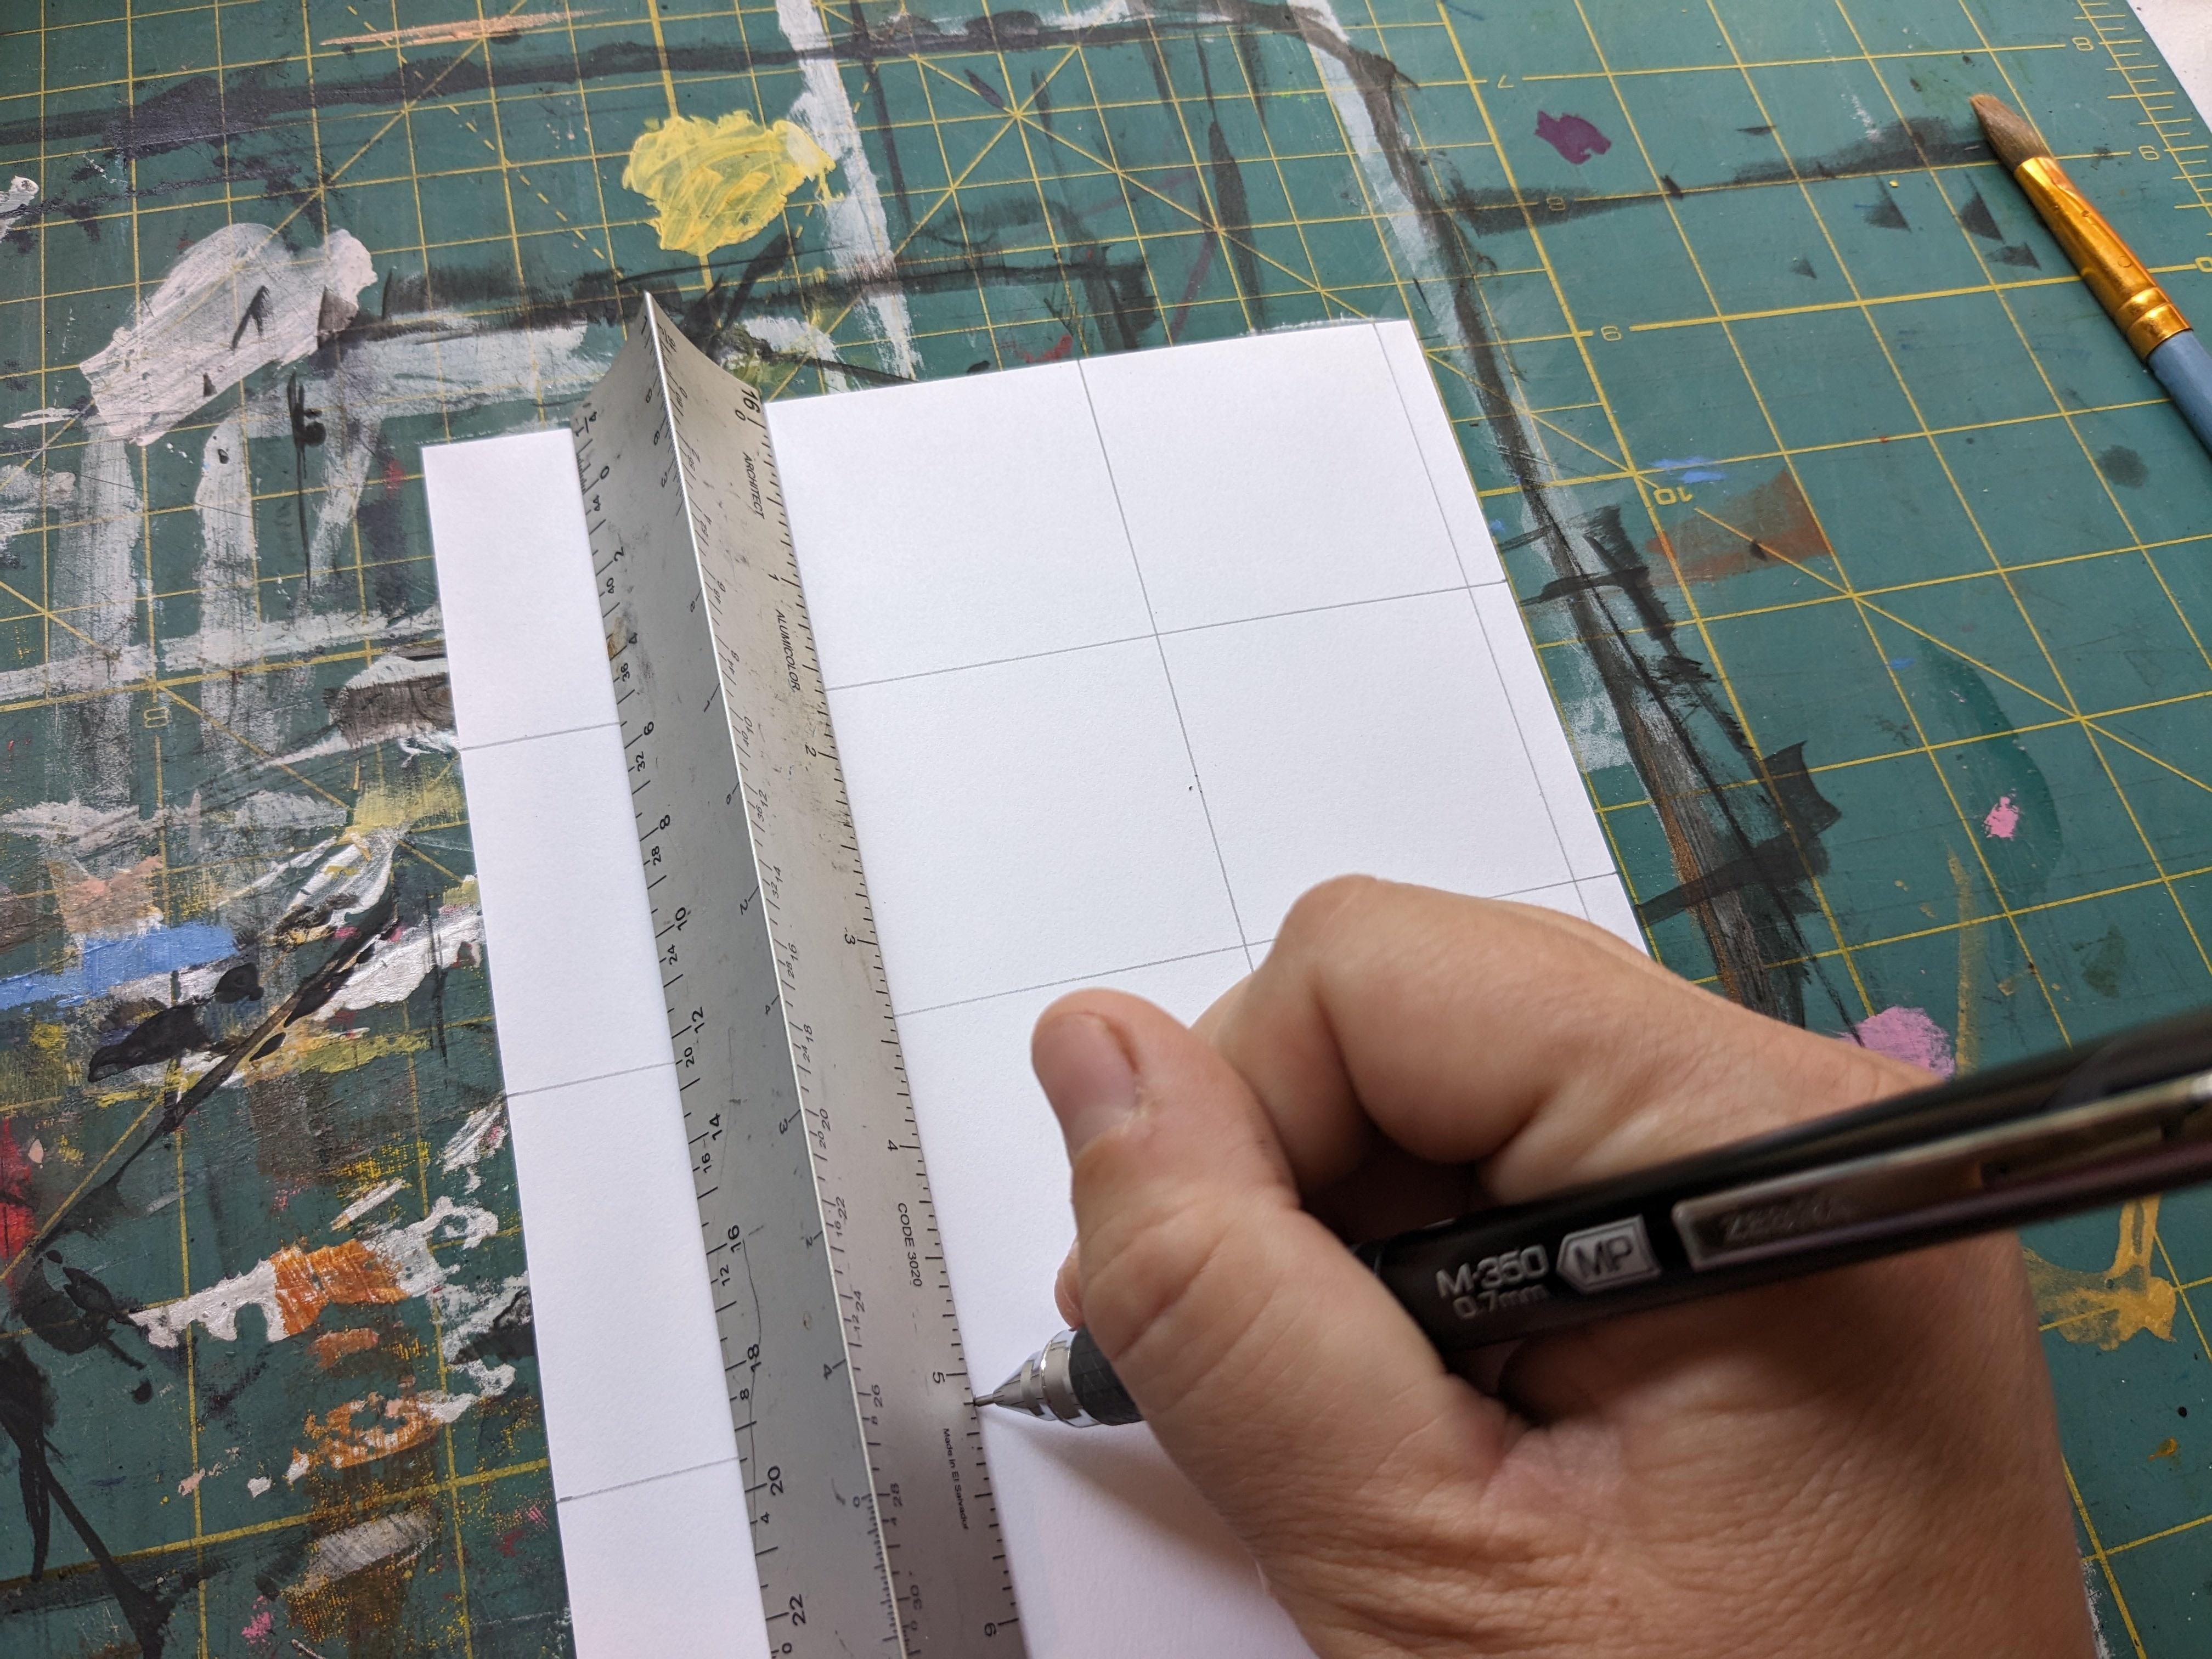
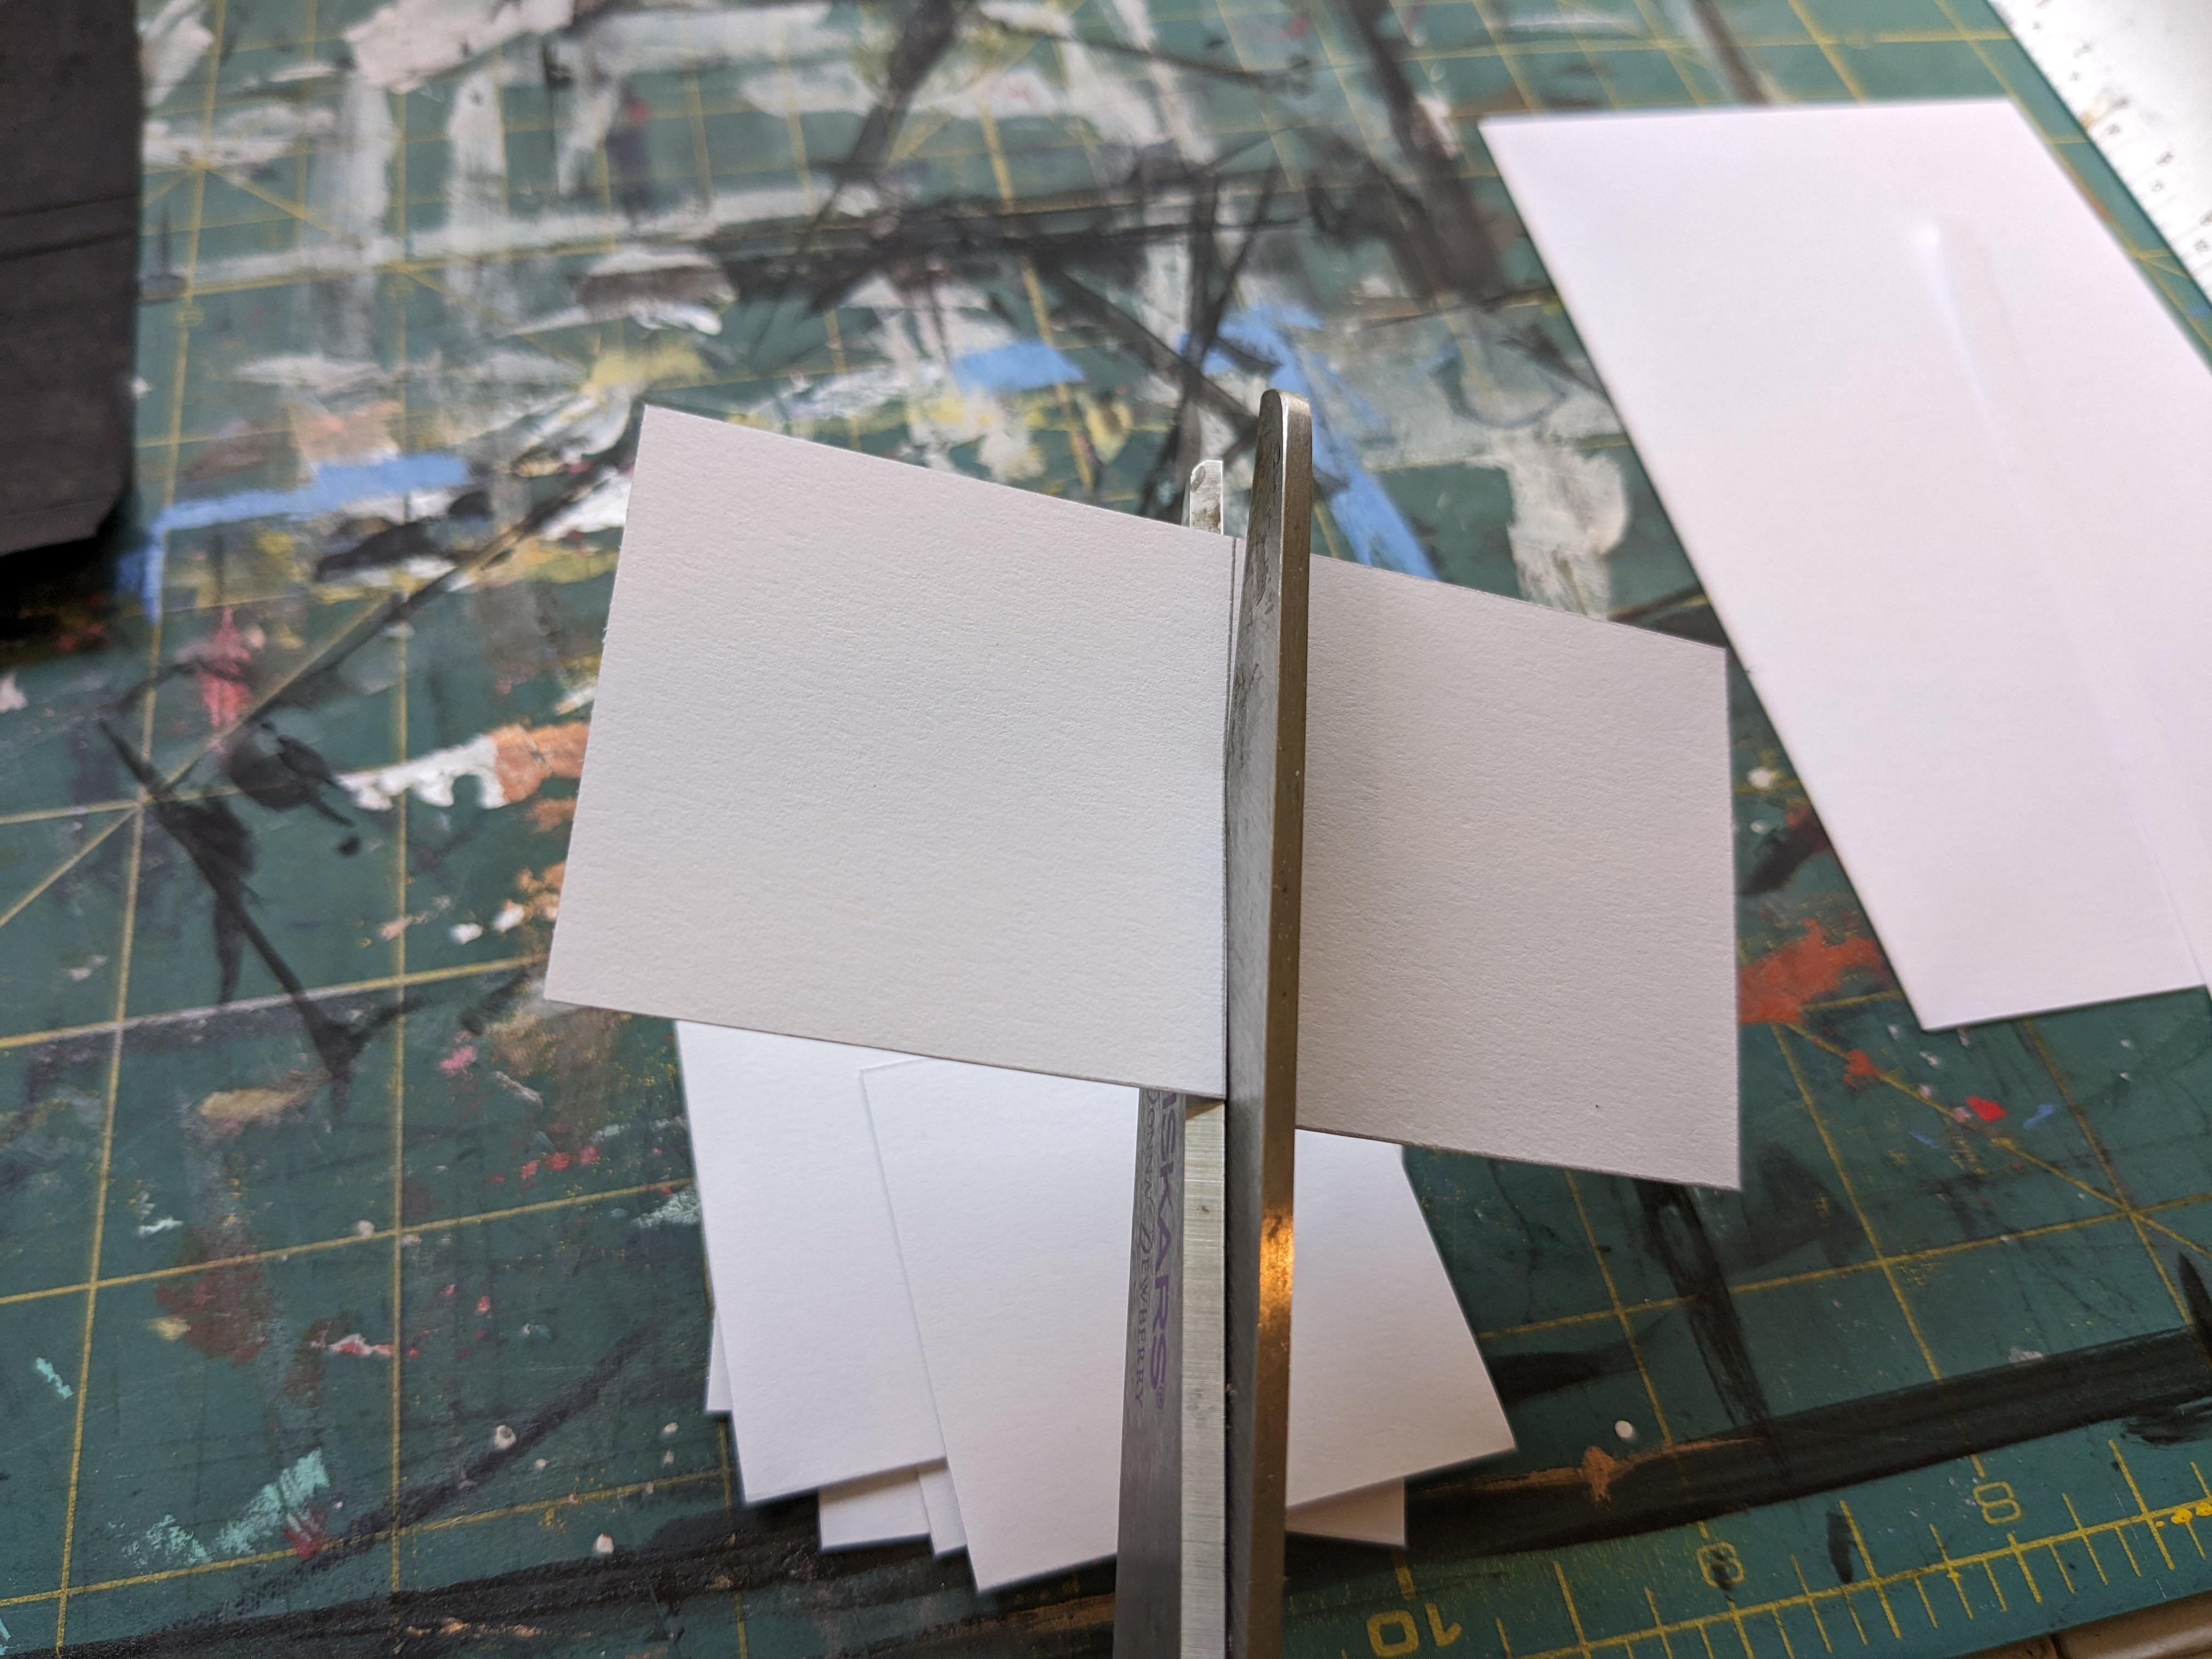
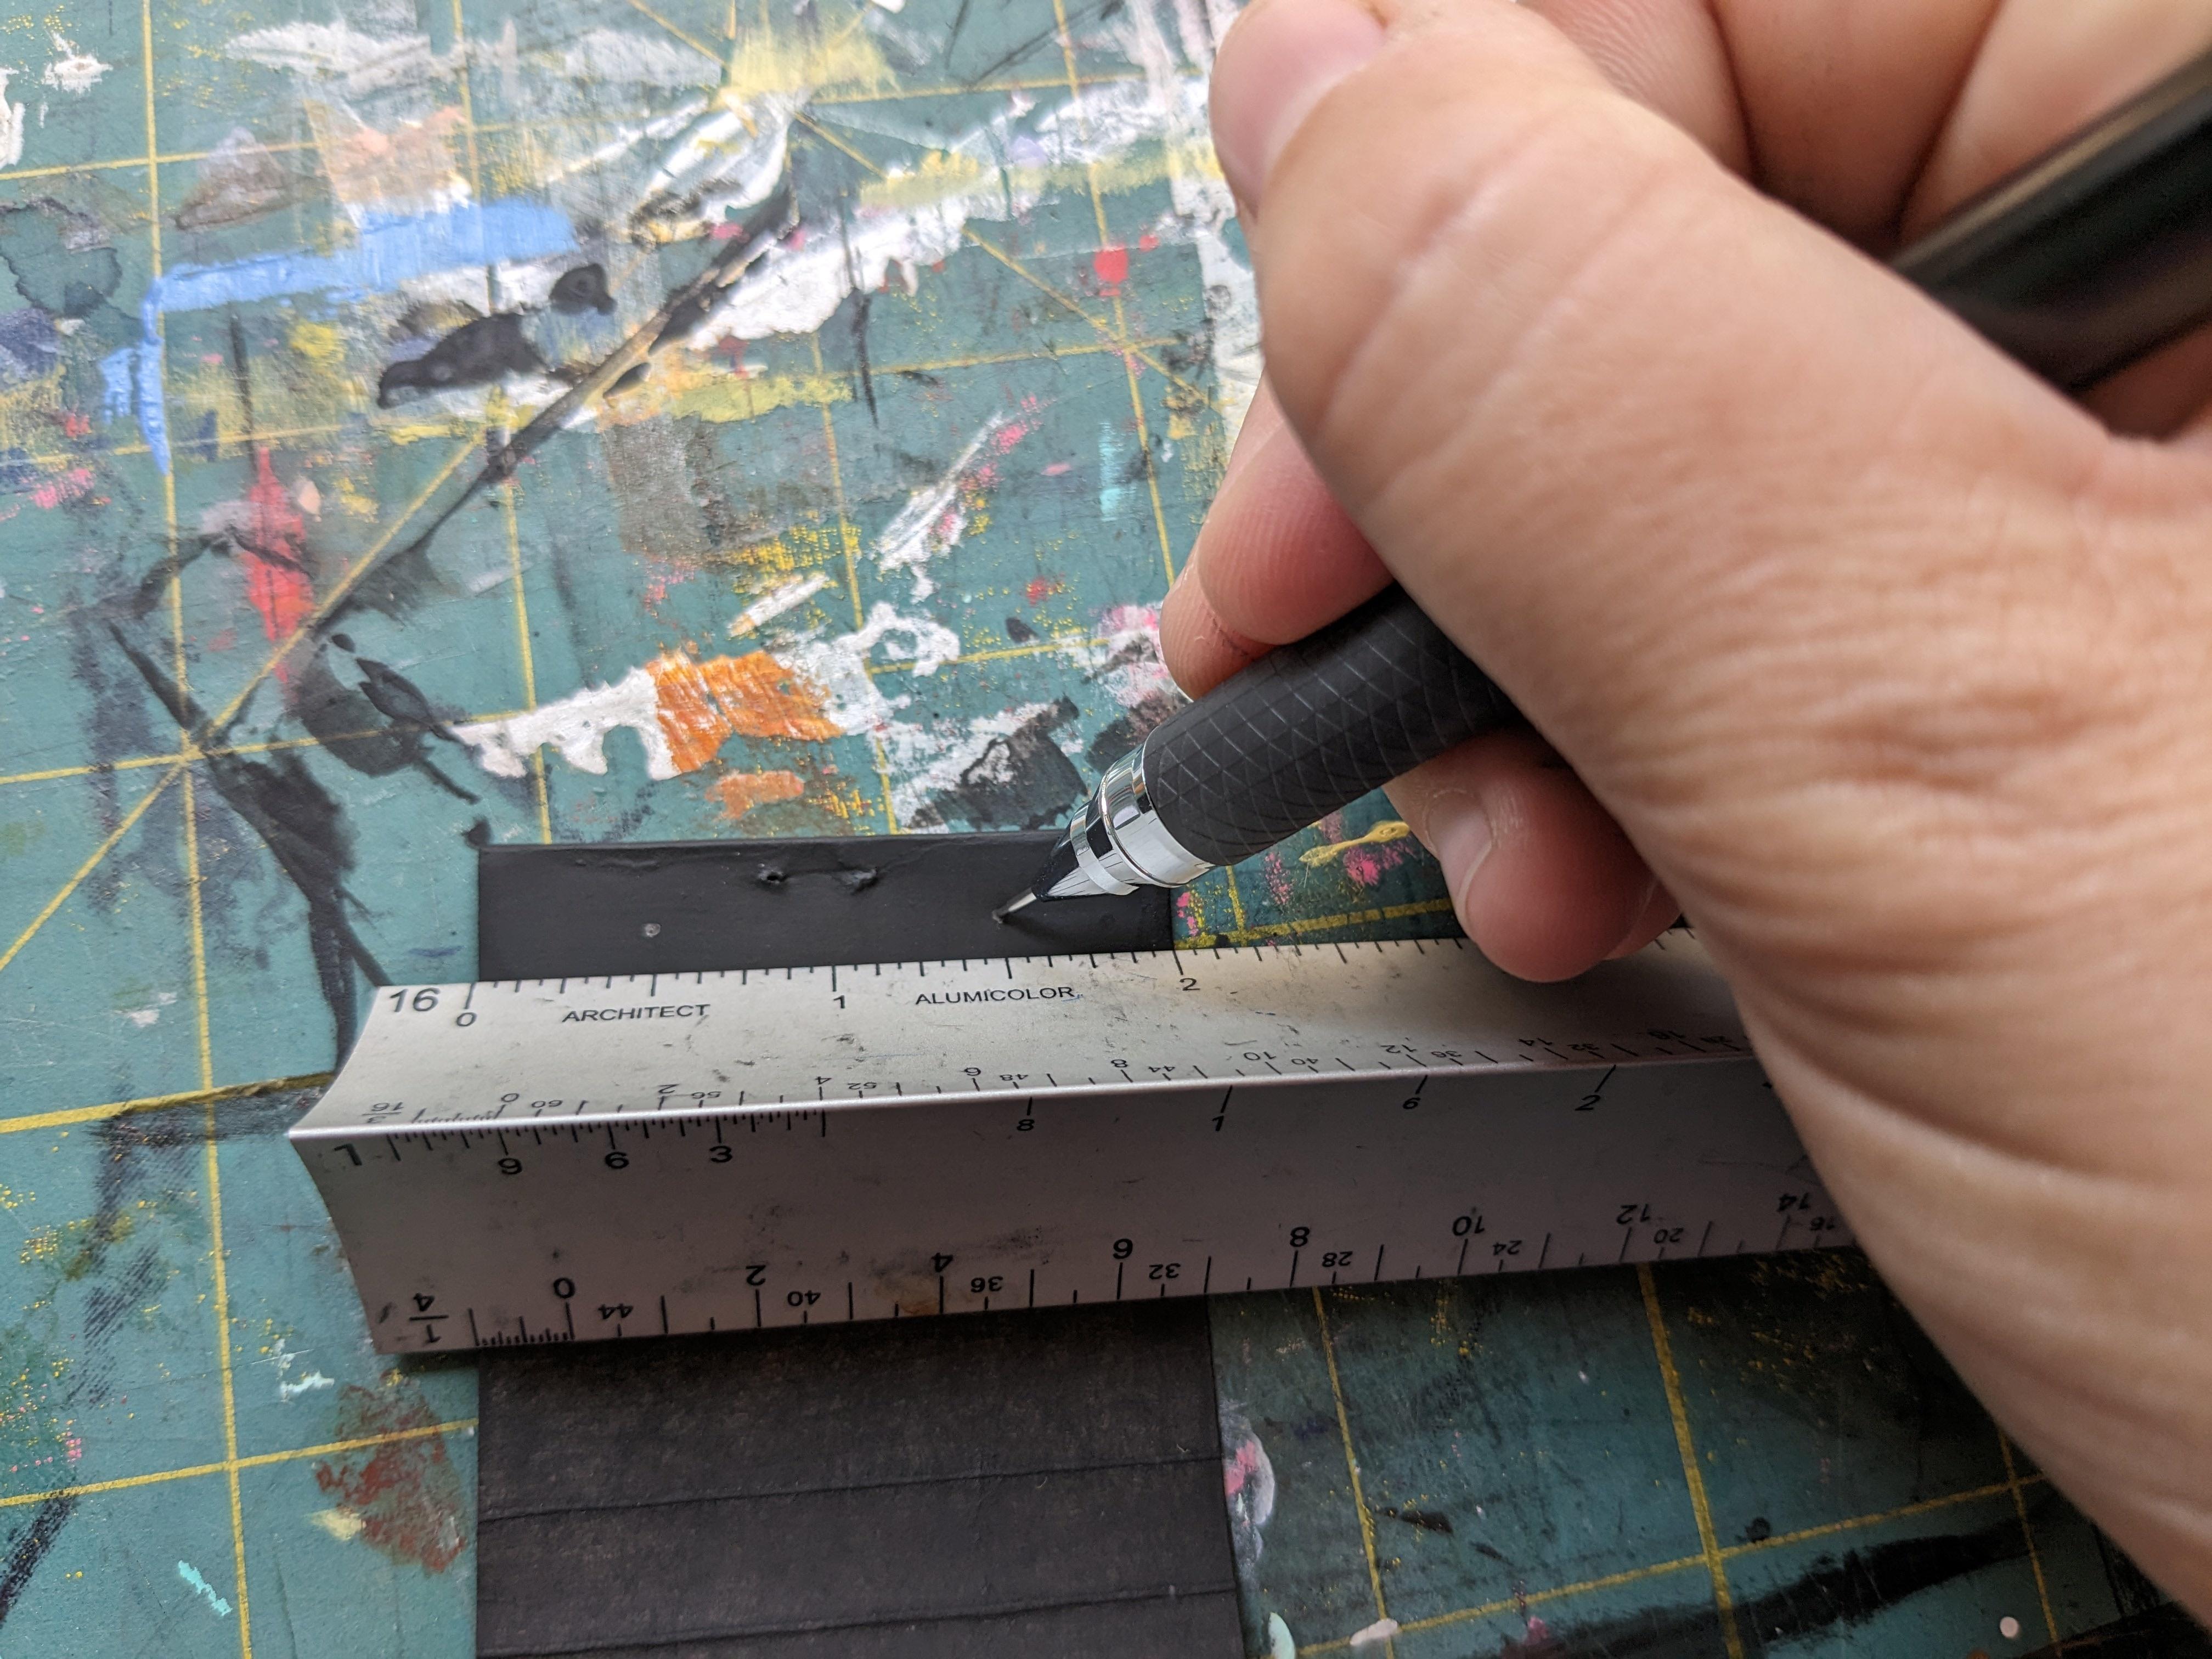
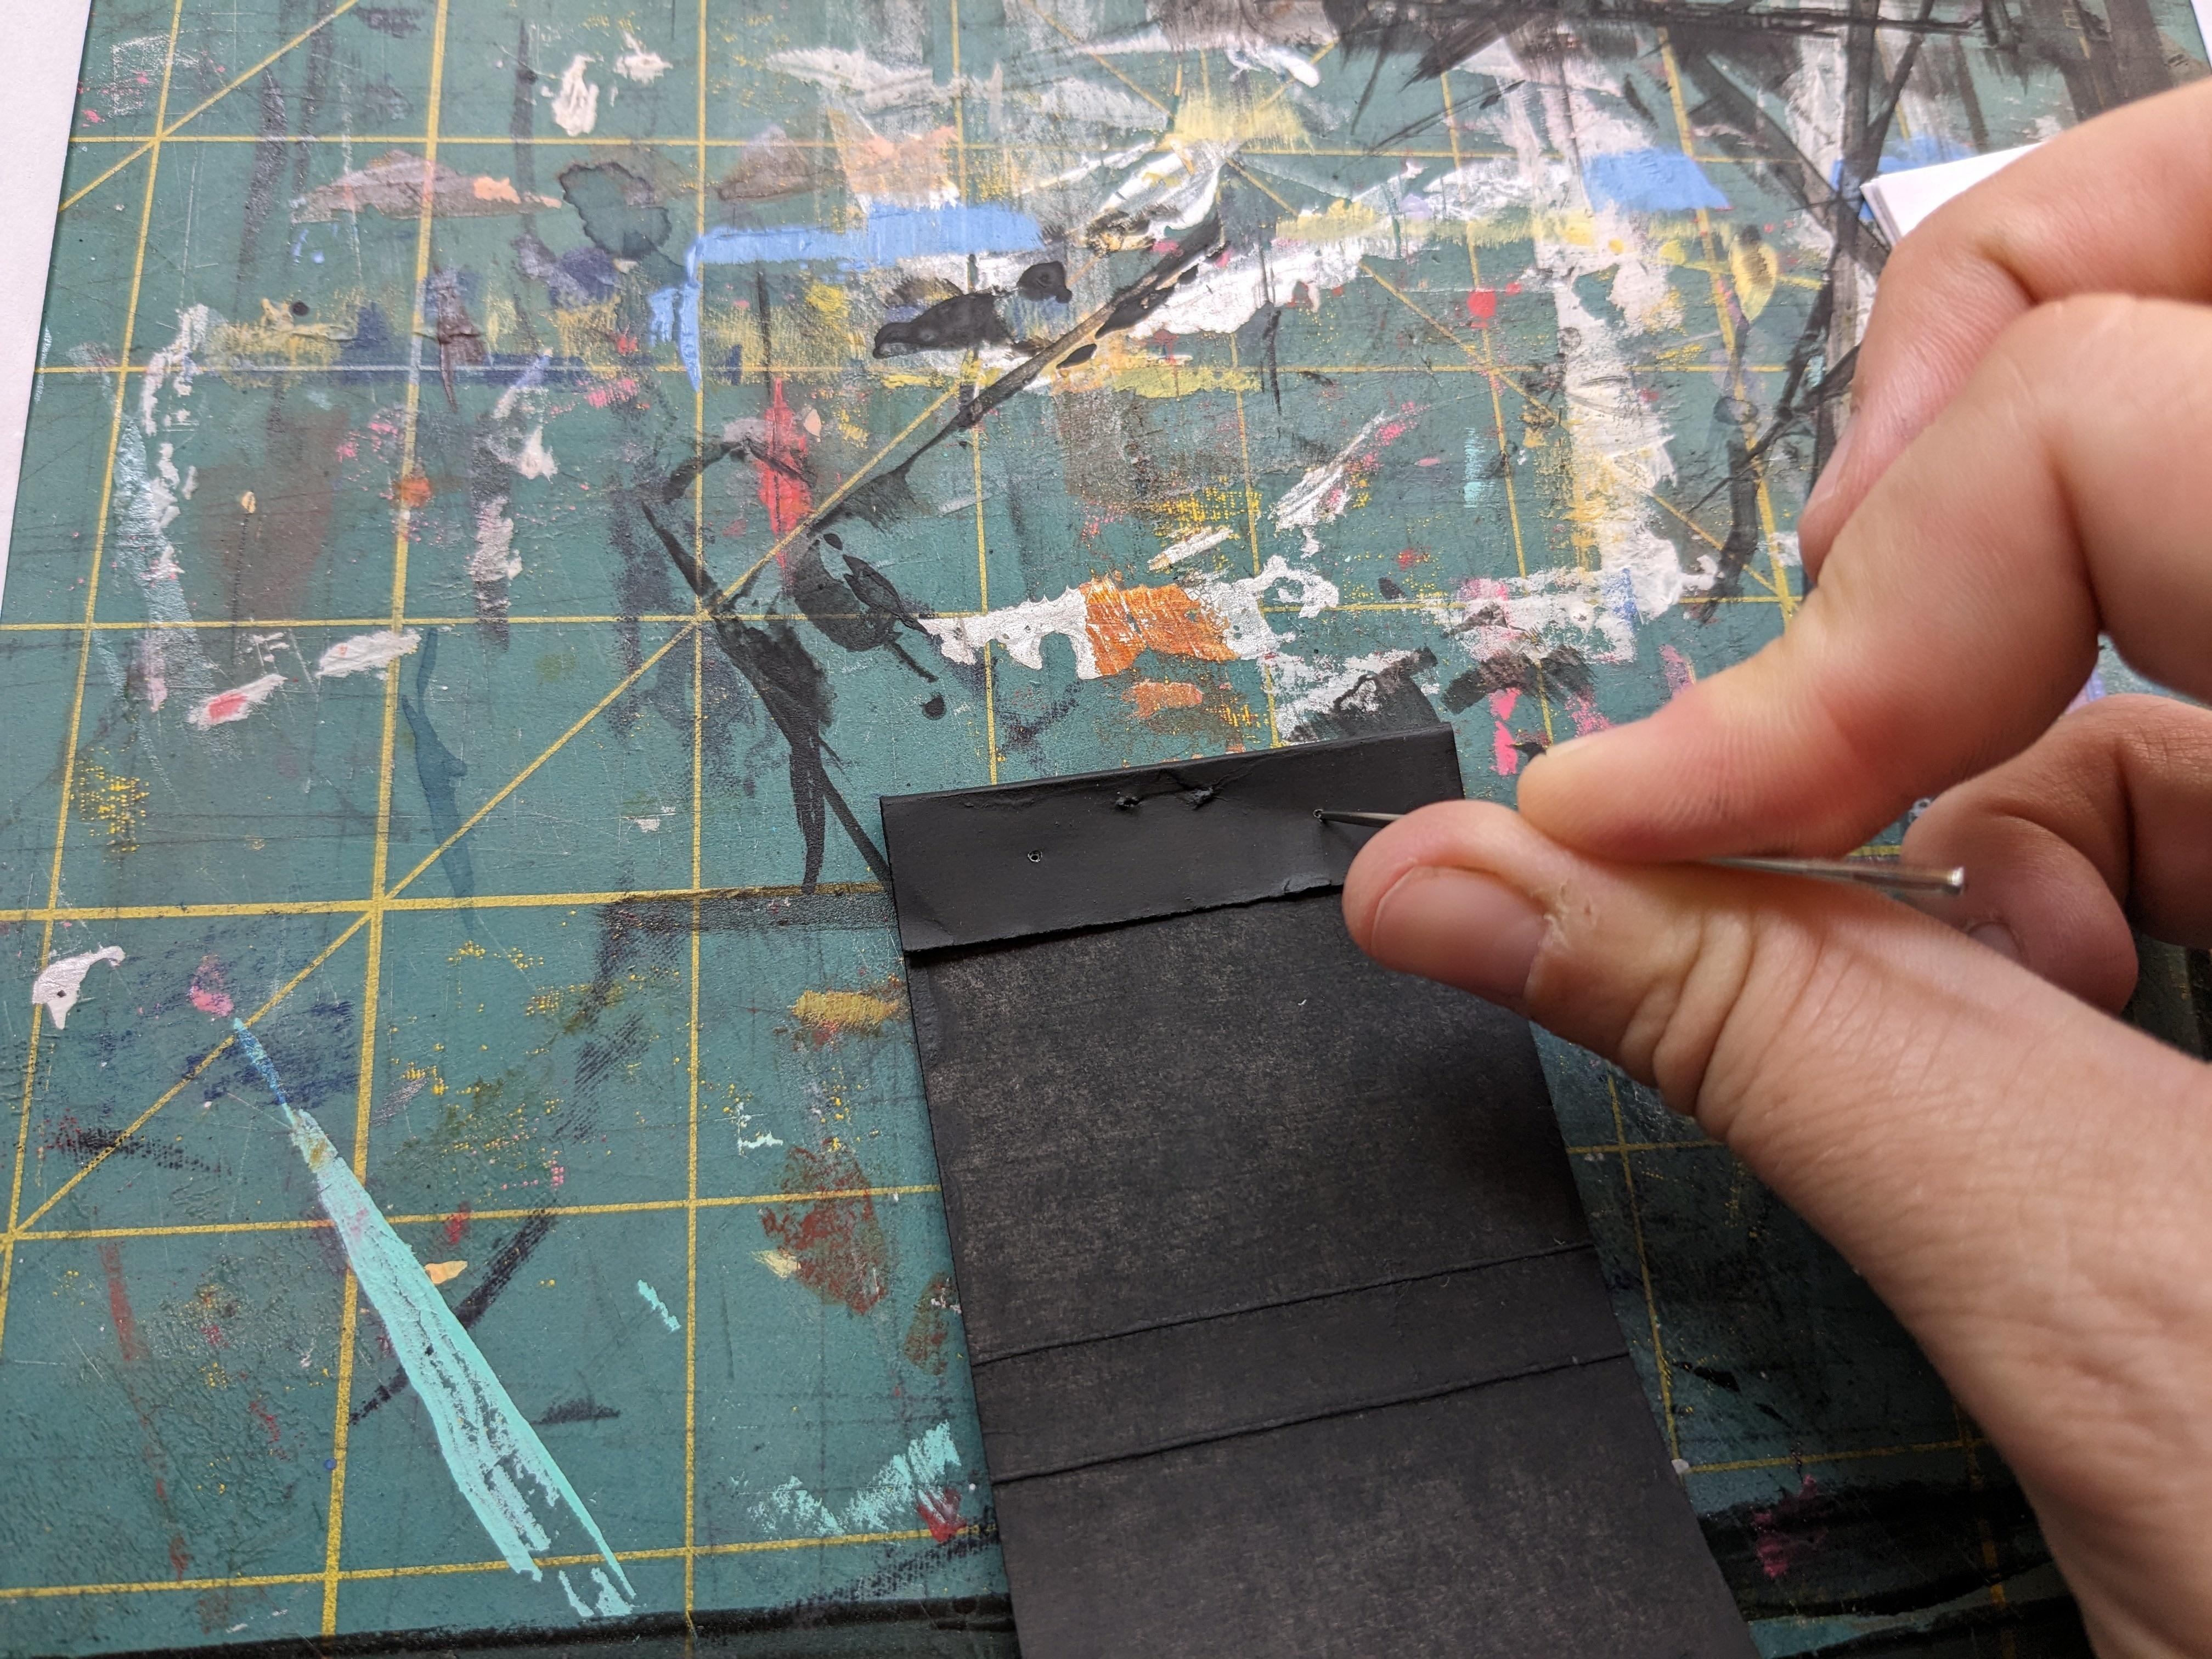
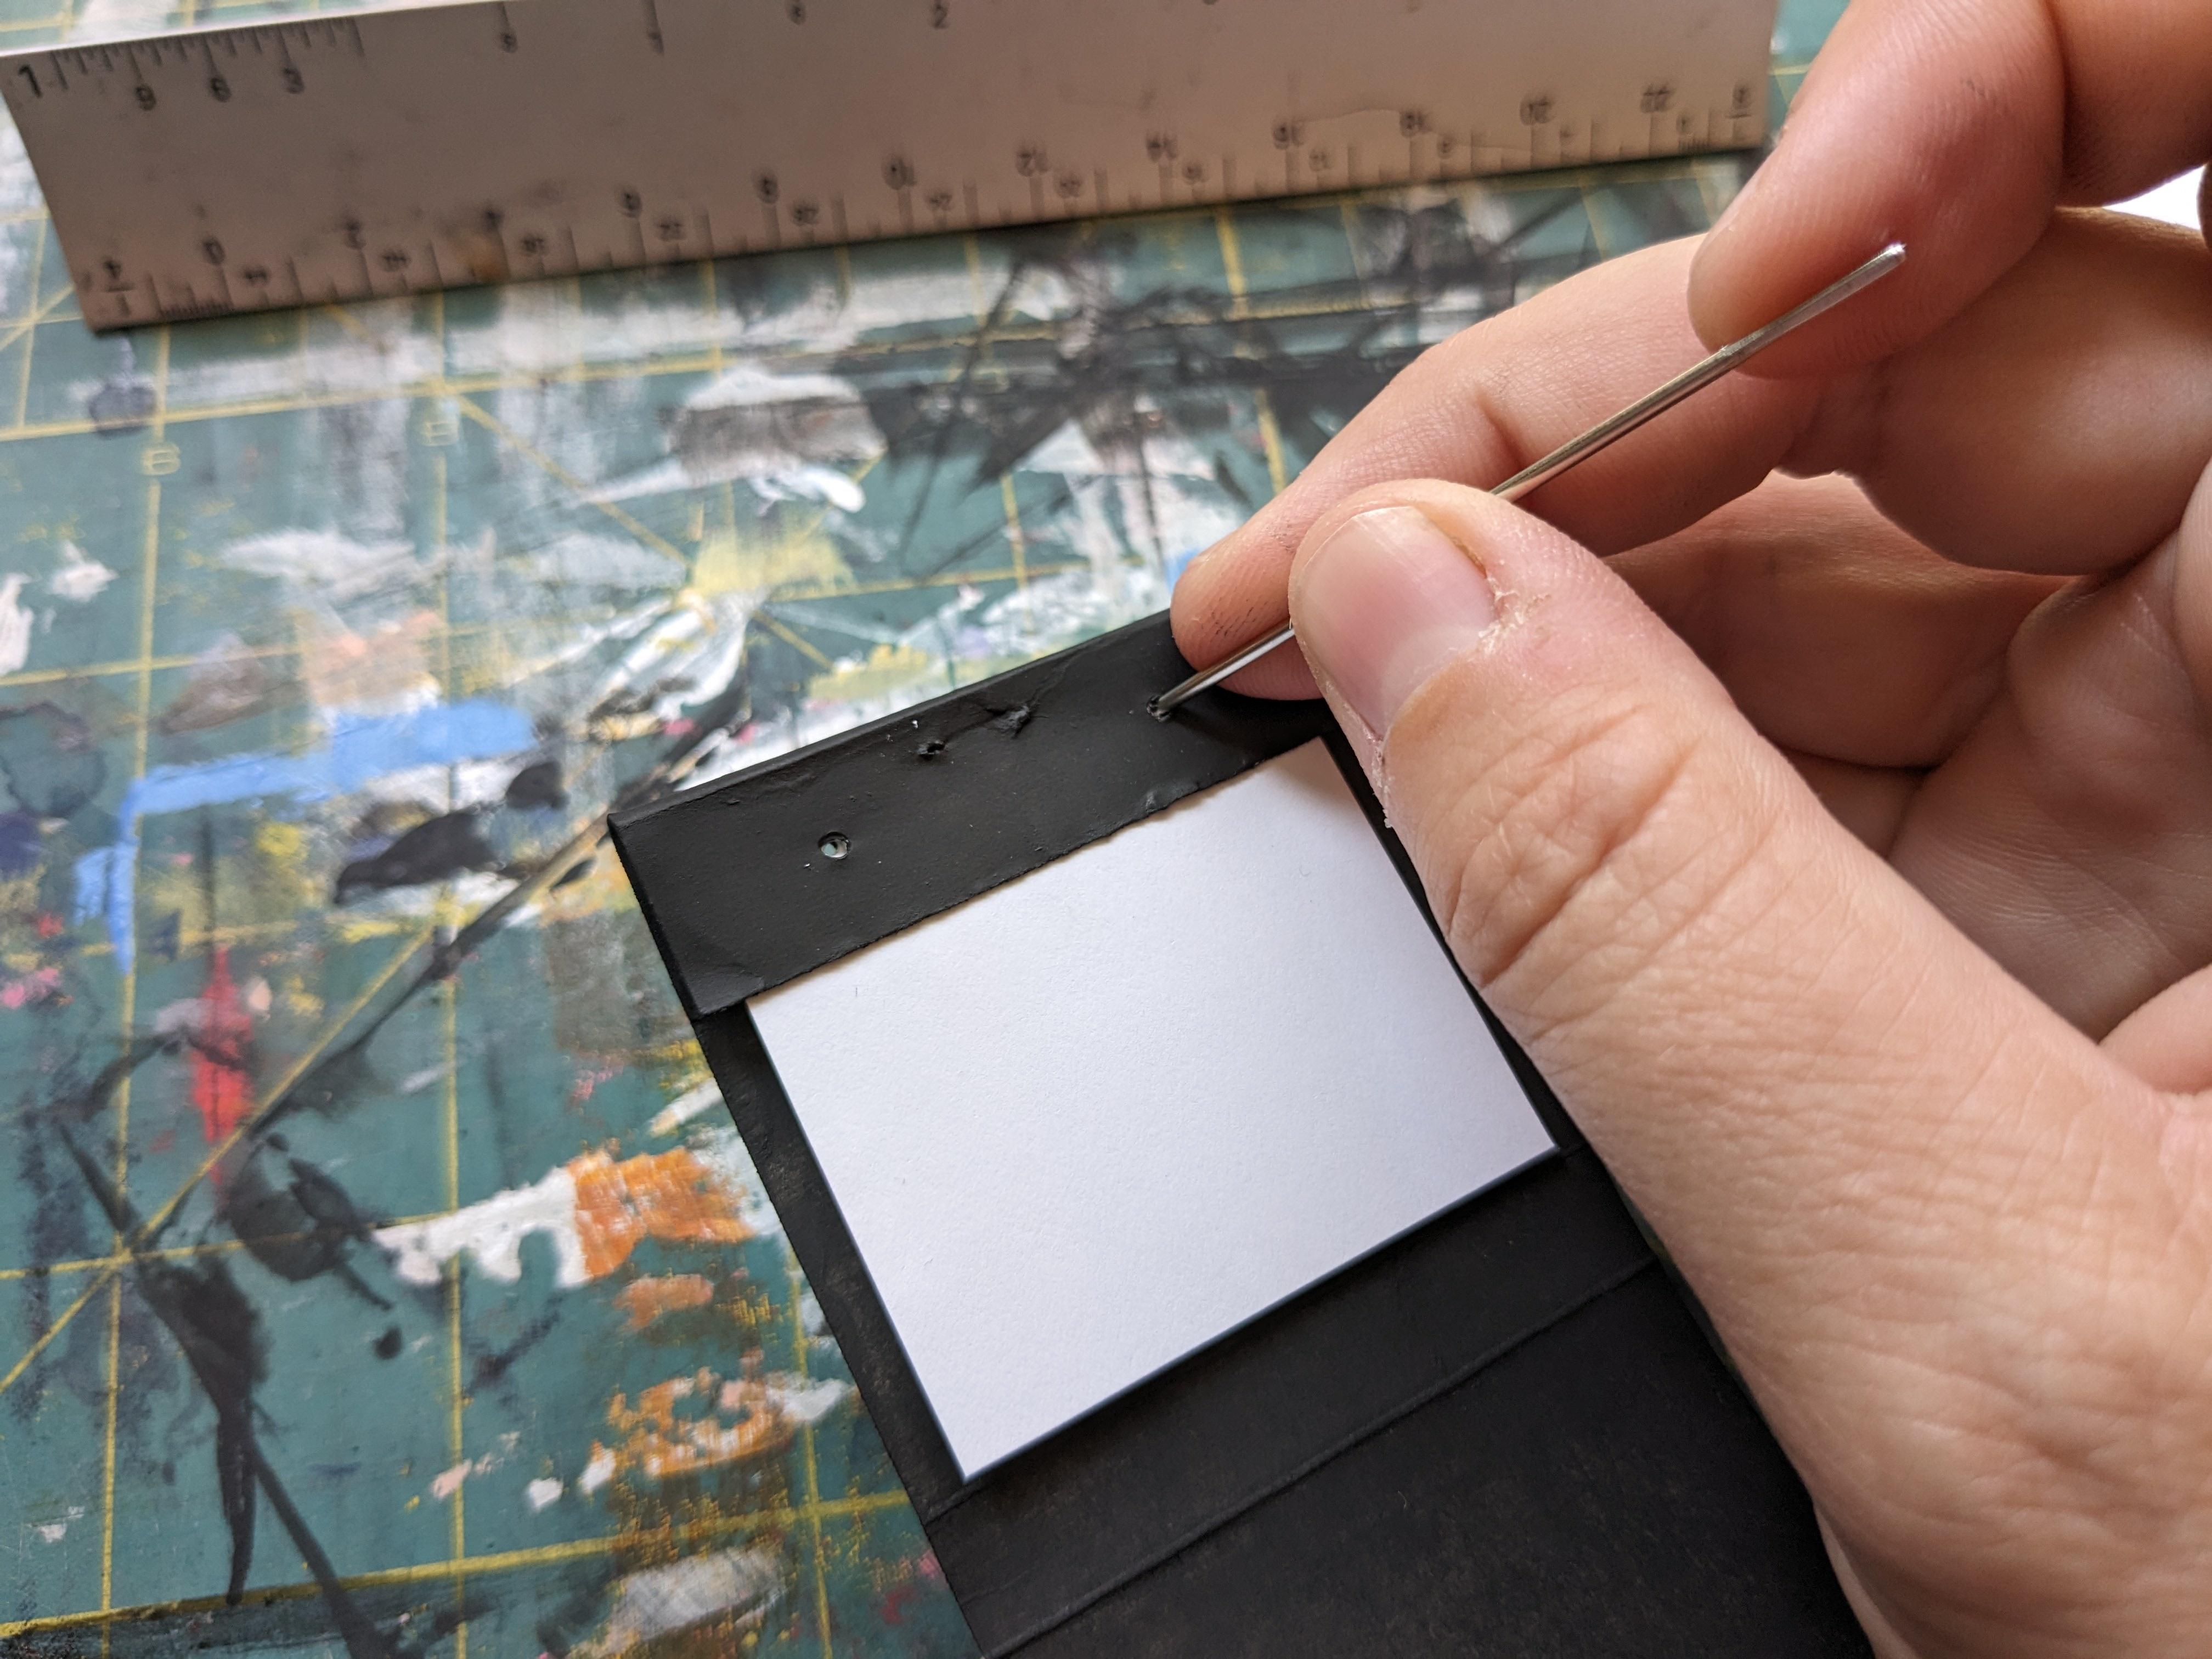
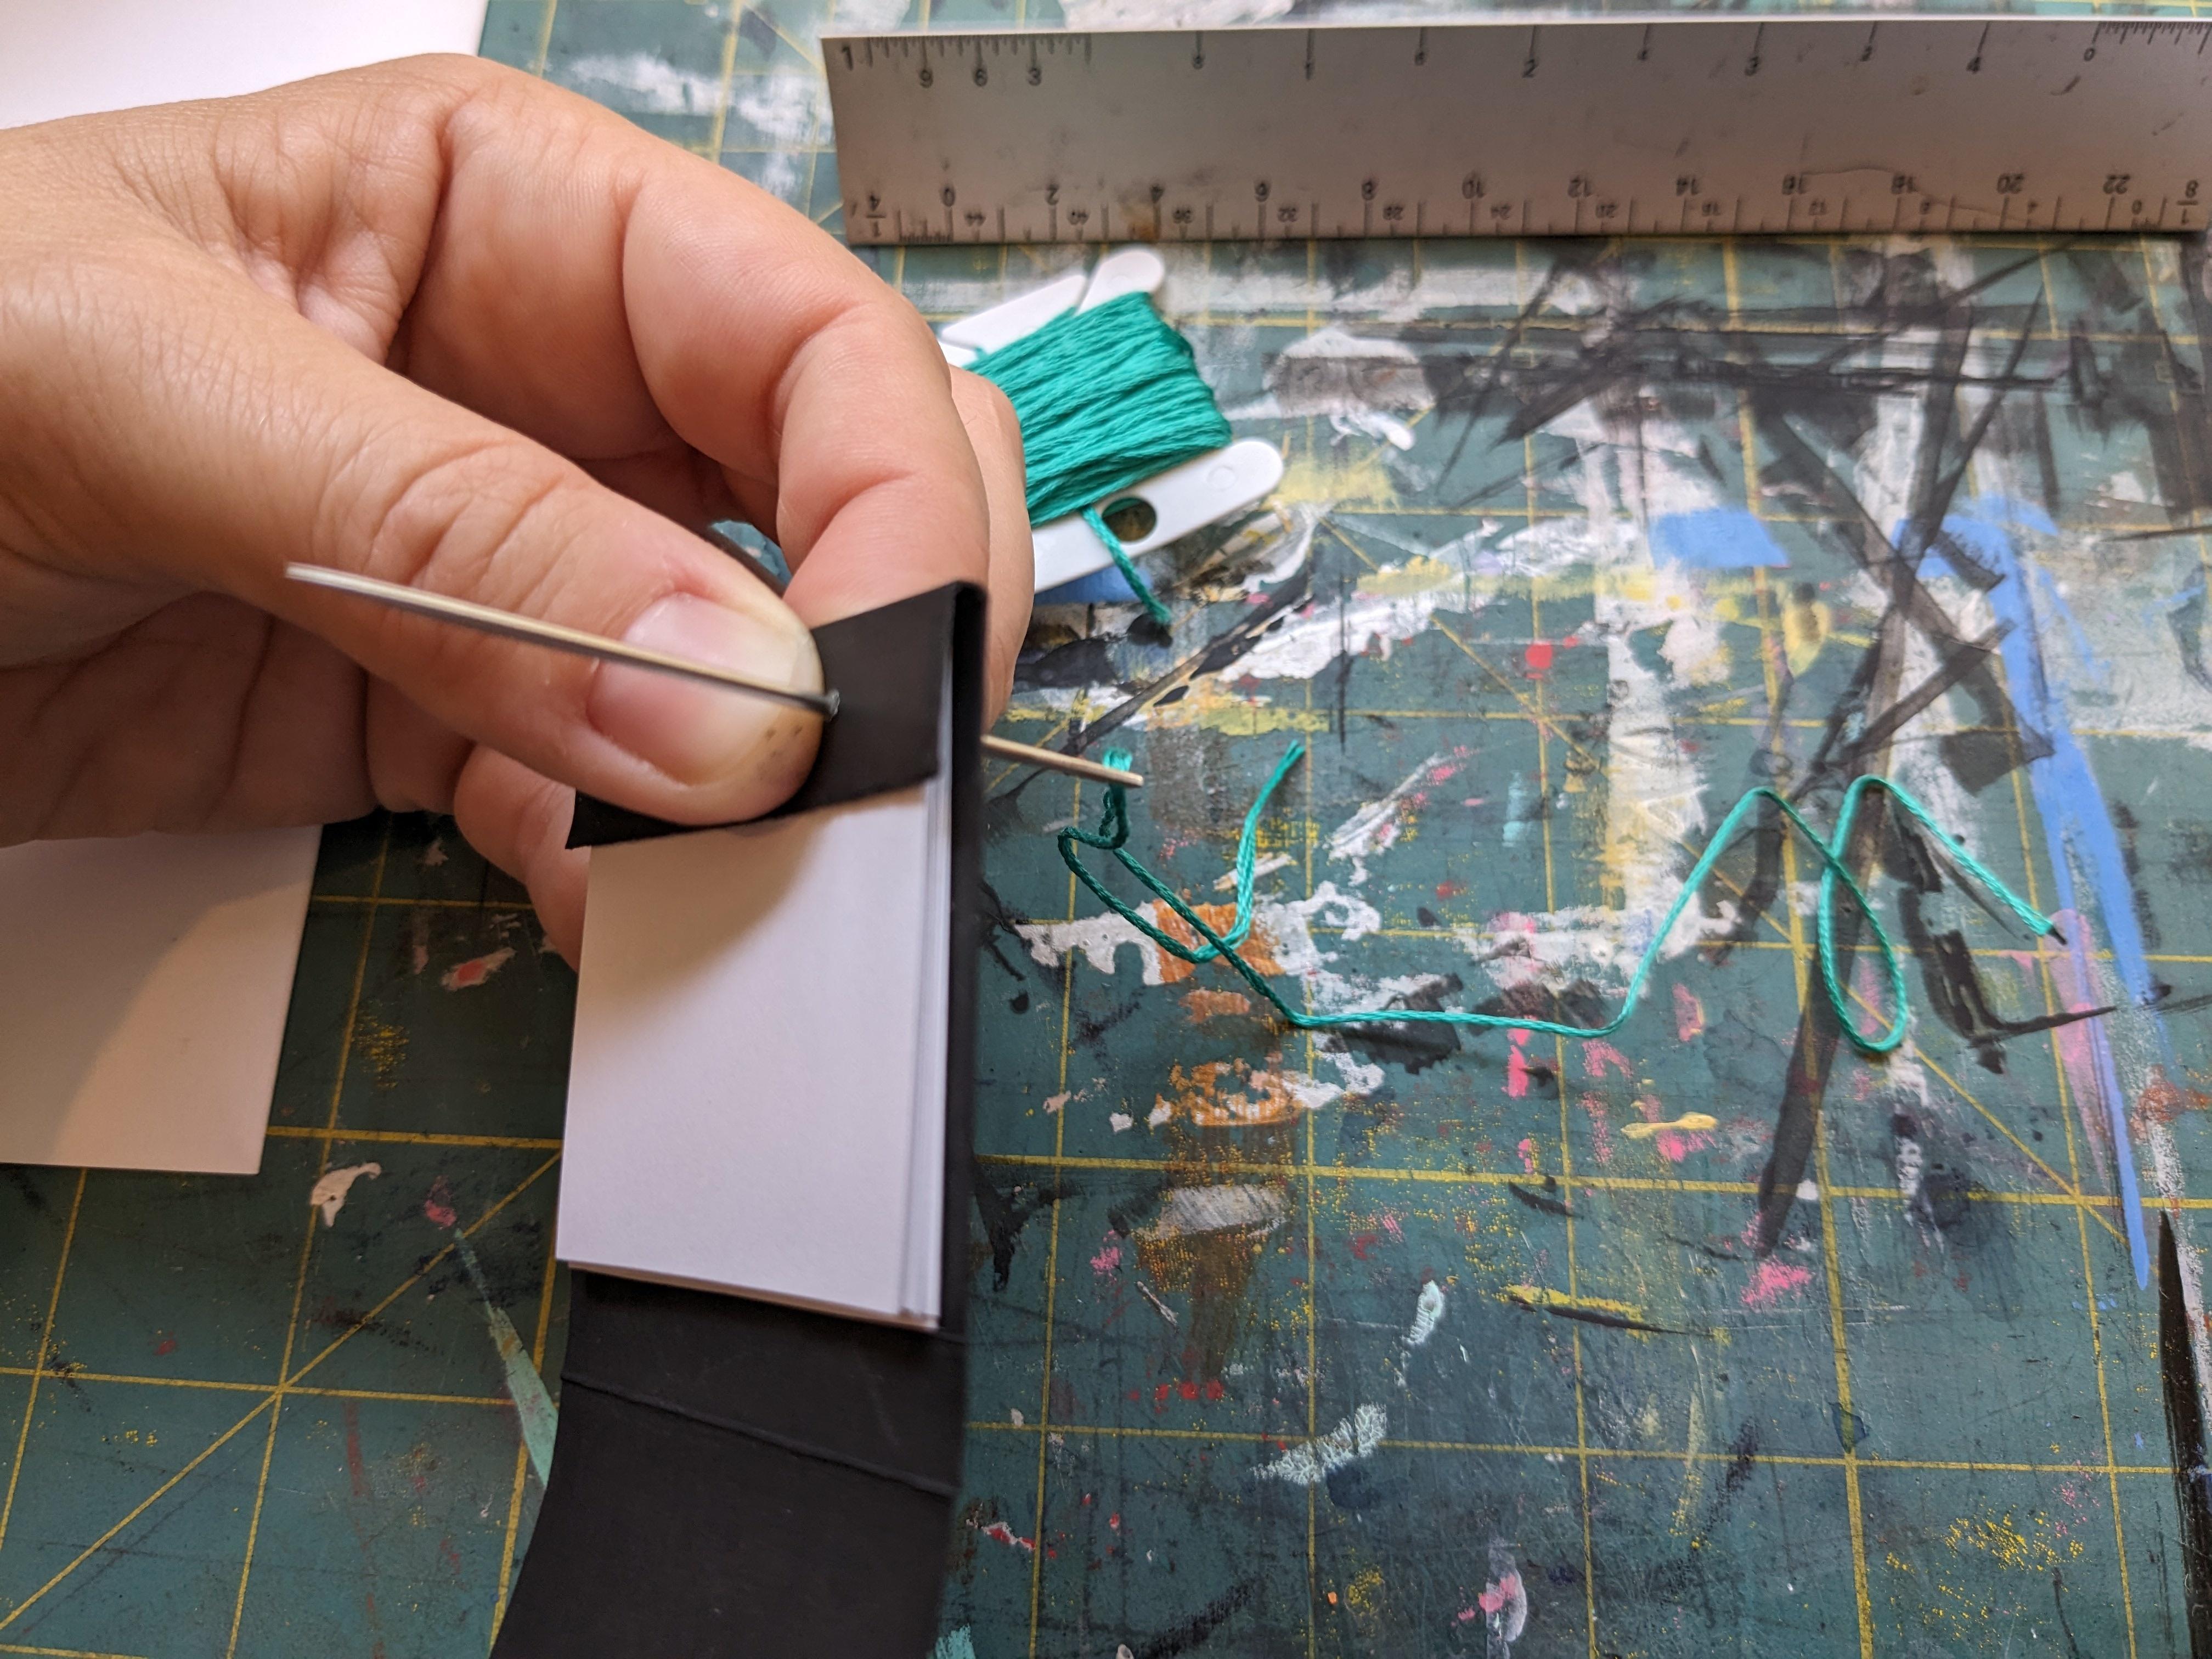
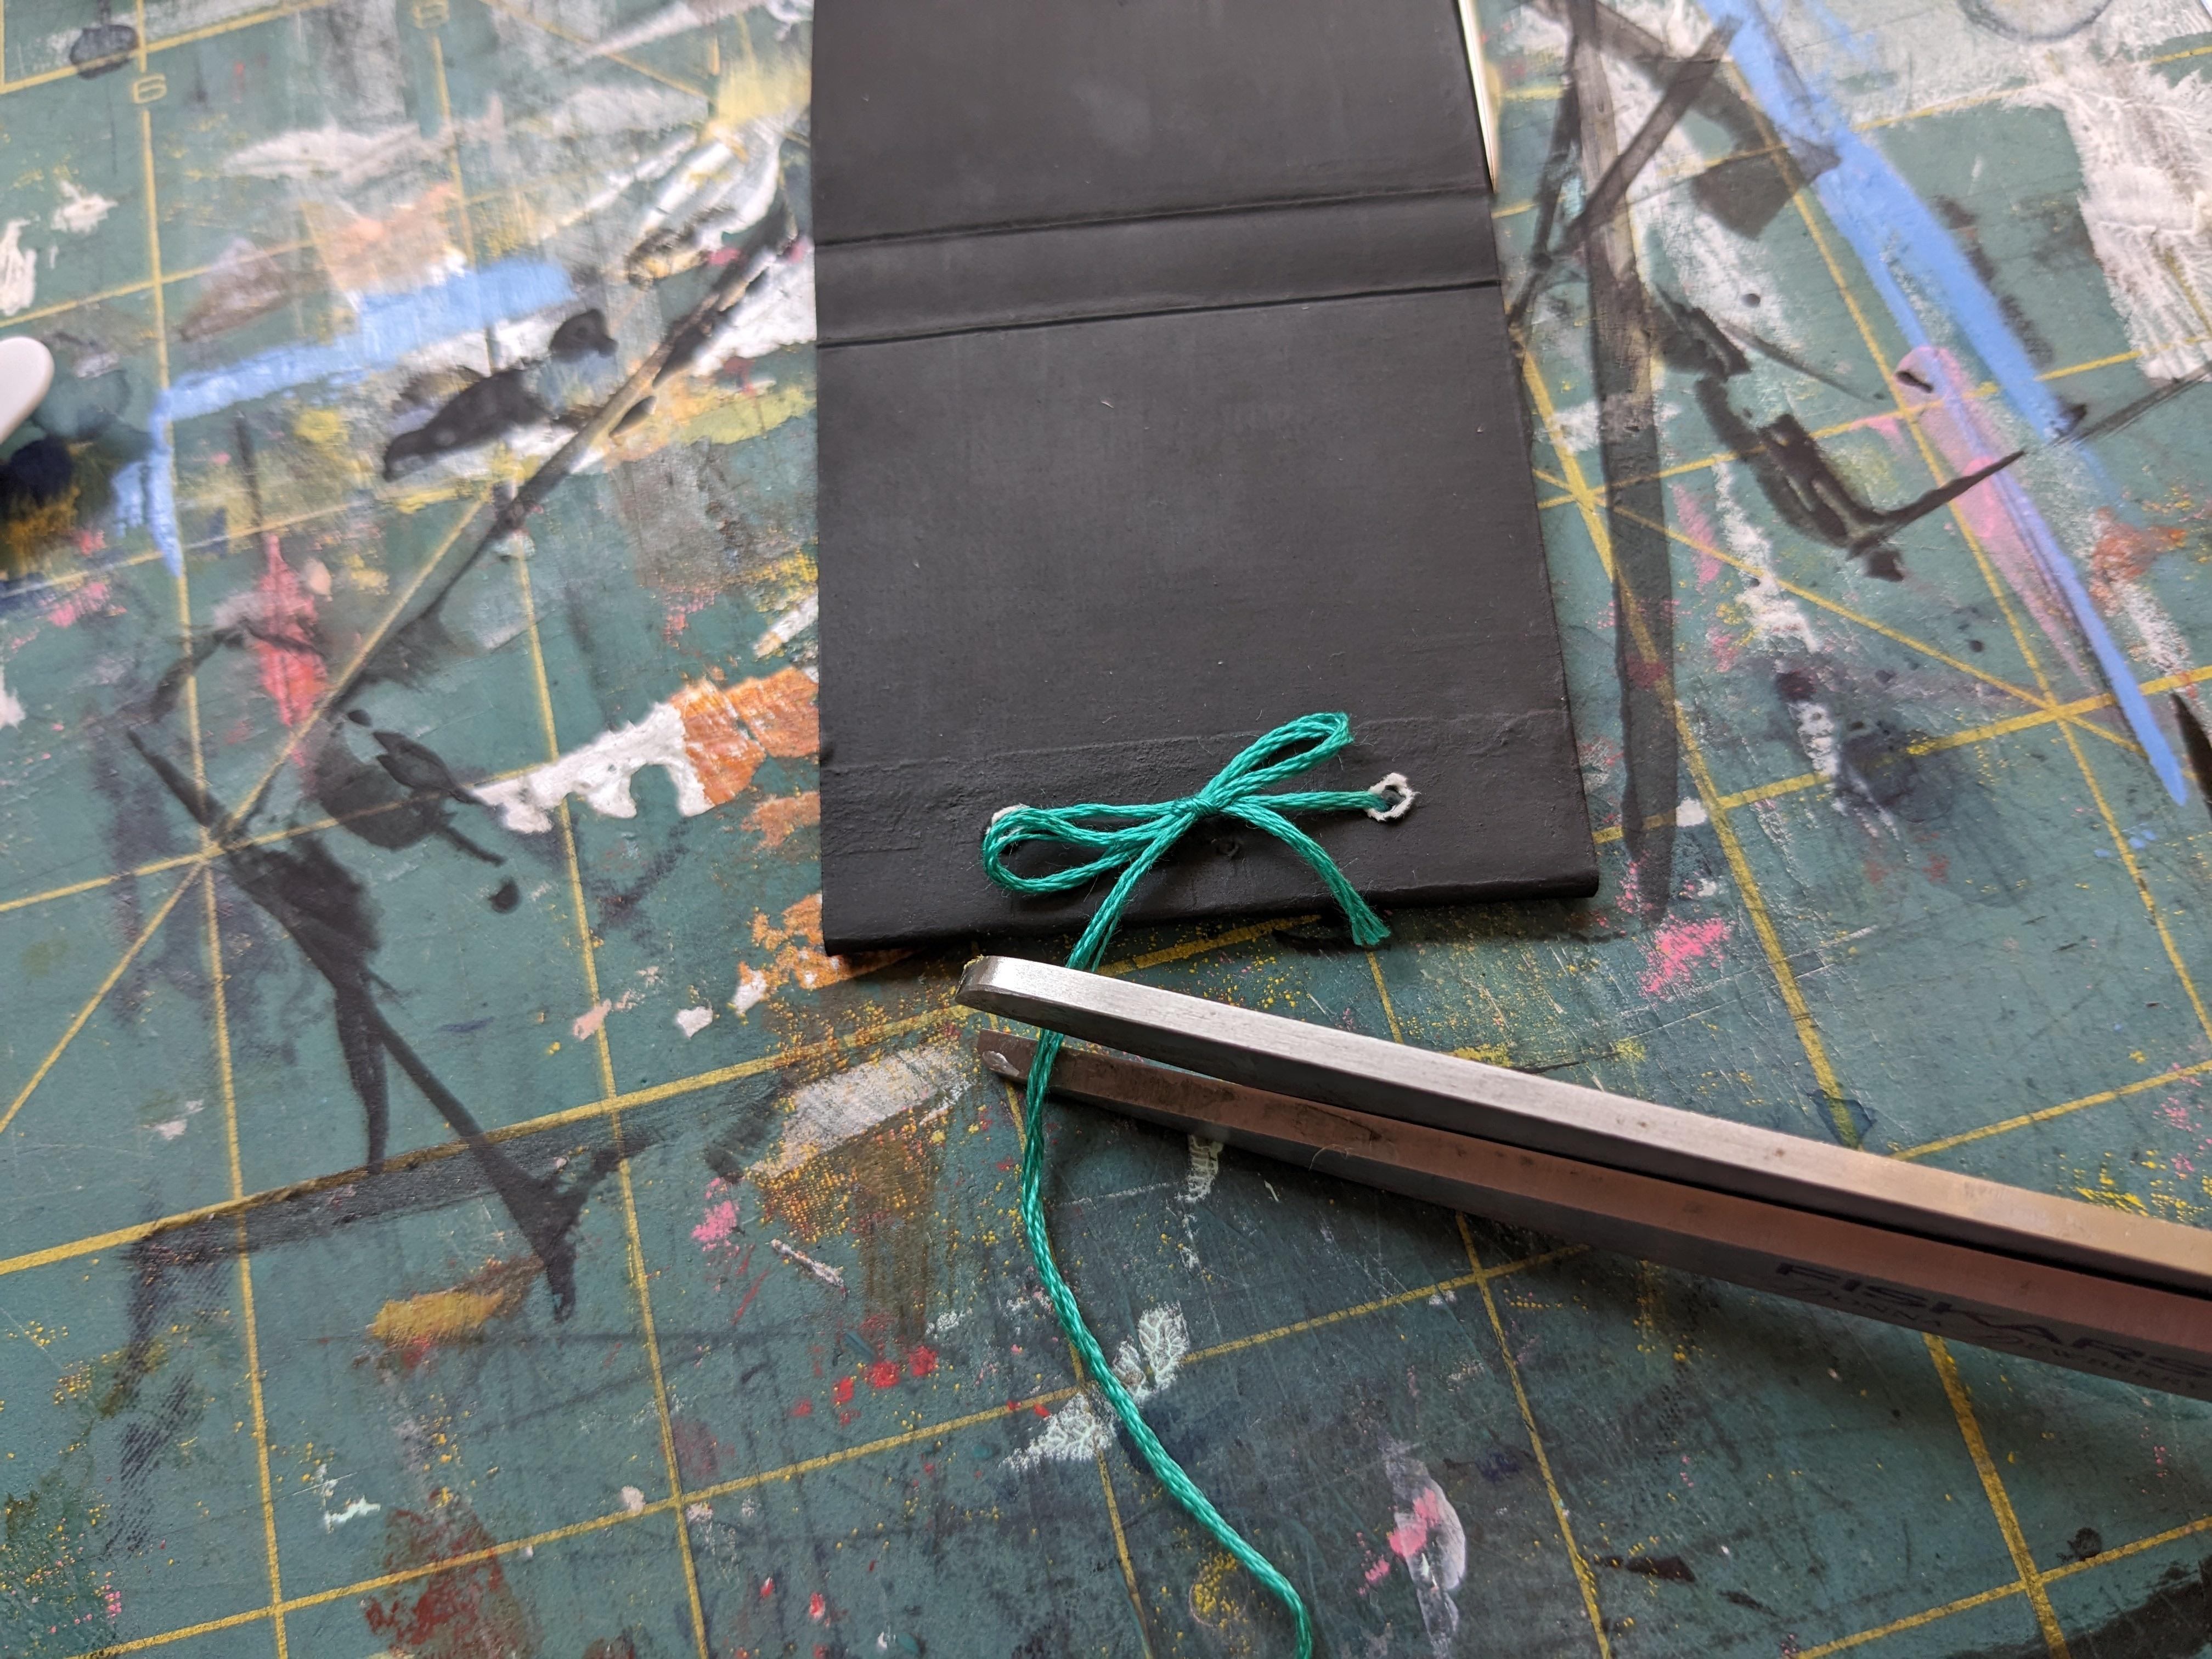
Hey, hey! My name is Missy and I’m an artist and guest blogger for PBS KIDS Utah. I love to make books. Storybooks, big books, drawing books, sketchbooks, and little books. I recently used up a full matchbook and thought it would be fun to turn it into a tiny book. Here’s how to make a tiny matchbook book. 

SUPPLIES

Filer image
  • Matchbook
  • White paper
  • Ruler
  • Pencil
  • Scissors
  • Craft paint
  • Paint brush
  • String
  • Needle
  • Marker
  • Crayons

INSTRUCTIONS

  1. Take apart your matchbook. Take out any leftover matches or staples that hold it together.
  2. Lay the matchbook flat and paint the back and front using your craft paint and paintbrush. Let it dry.
  3. Measure the middle section of your matchbook (not the small flap or the front flap). Make note of those dimensions and subtract about 1/8th inch.
  4. Now use that measurement on your white paper to make 8-10 pages with your pencil and ruler.
  5. Use your scissors to cut out your white pages.
  6. Now use your ruler to measure across the length of the tiny flap. Mark the inch in the very center of the tiny flap. Two points.
  7. Use your needle to poke through those two points.
  8. Now place each page, one by one, under the tiny flap and poke the needle through the points again.
  9. Put all the pages under the tiny flap together.
  10. Thread your needle with your string, and sew the pages into place.
  11. Tie a bow on the back to keep them secure.
  12. Use a marker to draw or write on the front of your matchbook book.

WRAP UP

Now you can use this little matchbook book for anything you like. You can draw pictures in it with your crayons. You can write a story in it. You can make a list in it. You can collect small leaves or feathers in it. Be creative and have fun!