


Hi everyone! My name is Missy. I’m an artist and blogger here at PBS KIDS Utah. Many artists use sketchbooks. Sketchbooks are a place to come up with ideas for larger projects. They are a place to practice drawing and painting. They are a place to practice new art techniques. They are great for making art while travelling. Today I am going to teach you how to make your own sketchbook.
Supplies:
- Cardboard
- Copy/printer paper (about 20 sheets)
- Hole punch
- Two 12”x12” pieces of scrapbook paper (wrapping paper will also work)
- Ruler
- Pencil
- Pen
- Scissors
- Glue stick
- 1" binder rings
Instructions:
- Lay a sheet of copy paper on your cardboard. Using a pencil, trace around the paper.
- Using scissors, cut along the pencil line you just made. Cardboard can be tricky to cut. Take your time, or have an adult help you.
- Spread glue on one side of your cardboard and stick it to the back side of your scrapbook paper (in the middle). Let it dry.
- Cut off the corners of the scrapbook paper. This will leave four “flaps” of scrapbook paper sticking out from each side of the cardboard.
- Spread glue on each flap and fold them over so they stick to the cardboard. Put a heavy book on top while the glue dries completely. Repeat steps 1-5. These pieces will be a “front cover” and a “back cover” for our sketchbooks.
- Take a sheet of copy paper and fold the top 2 inches over. This will be a measuring guide.
- Using your ruler, measure along the fold and make a mark two inches from each side.
- Holding the guide with the fold closest to you, make a hole punch straight in from the two inch marks (about ½ inch in from the fold). These will be your guide holes.
- Use the guide and slip each of your other sheets of copy paper in between the fold and punch a hole where the guide holes line up.
- Use the guide and slip it over the front cover and the back cover in between the fold and punch a hole where the guide holes line up.
- Put the copy paper in between the front and back cover. Line up all the holes. Put a binder ring through all the holes on one side and close it.
- Put a binder ring through all the holes on the other side and close it.
Wrap-up:
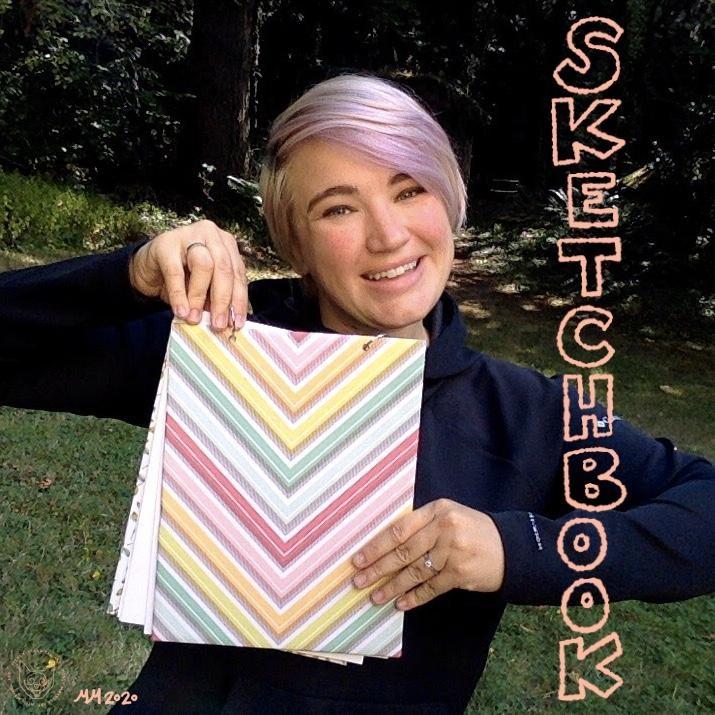
Flip through your new sketchbook and admire your work! You can write your name on the front of the cover. Or on the inside of the front cover. Put your guide page in the back of the sketchbook. You can use it in the future to add pages to your sketchbook. Be creative and have fun!

.jpg)