
Missy's Elastic Notebook

Email share

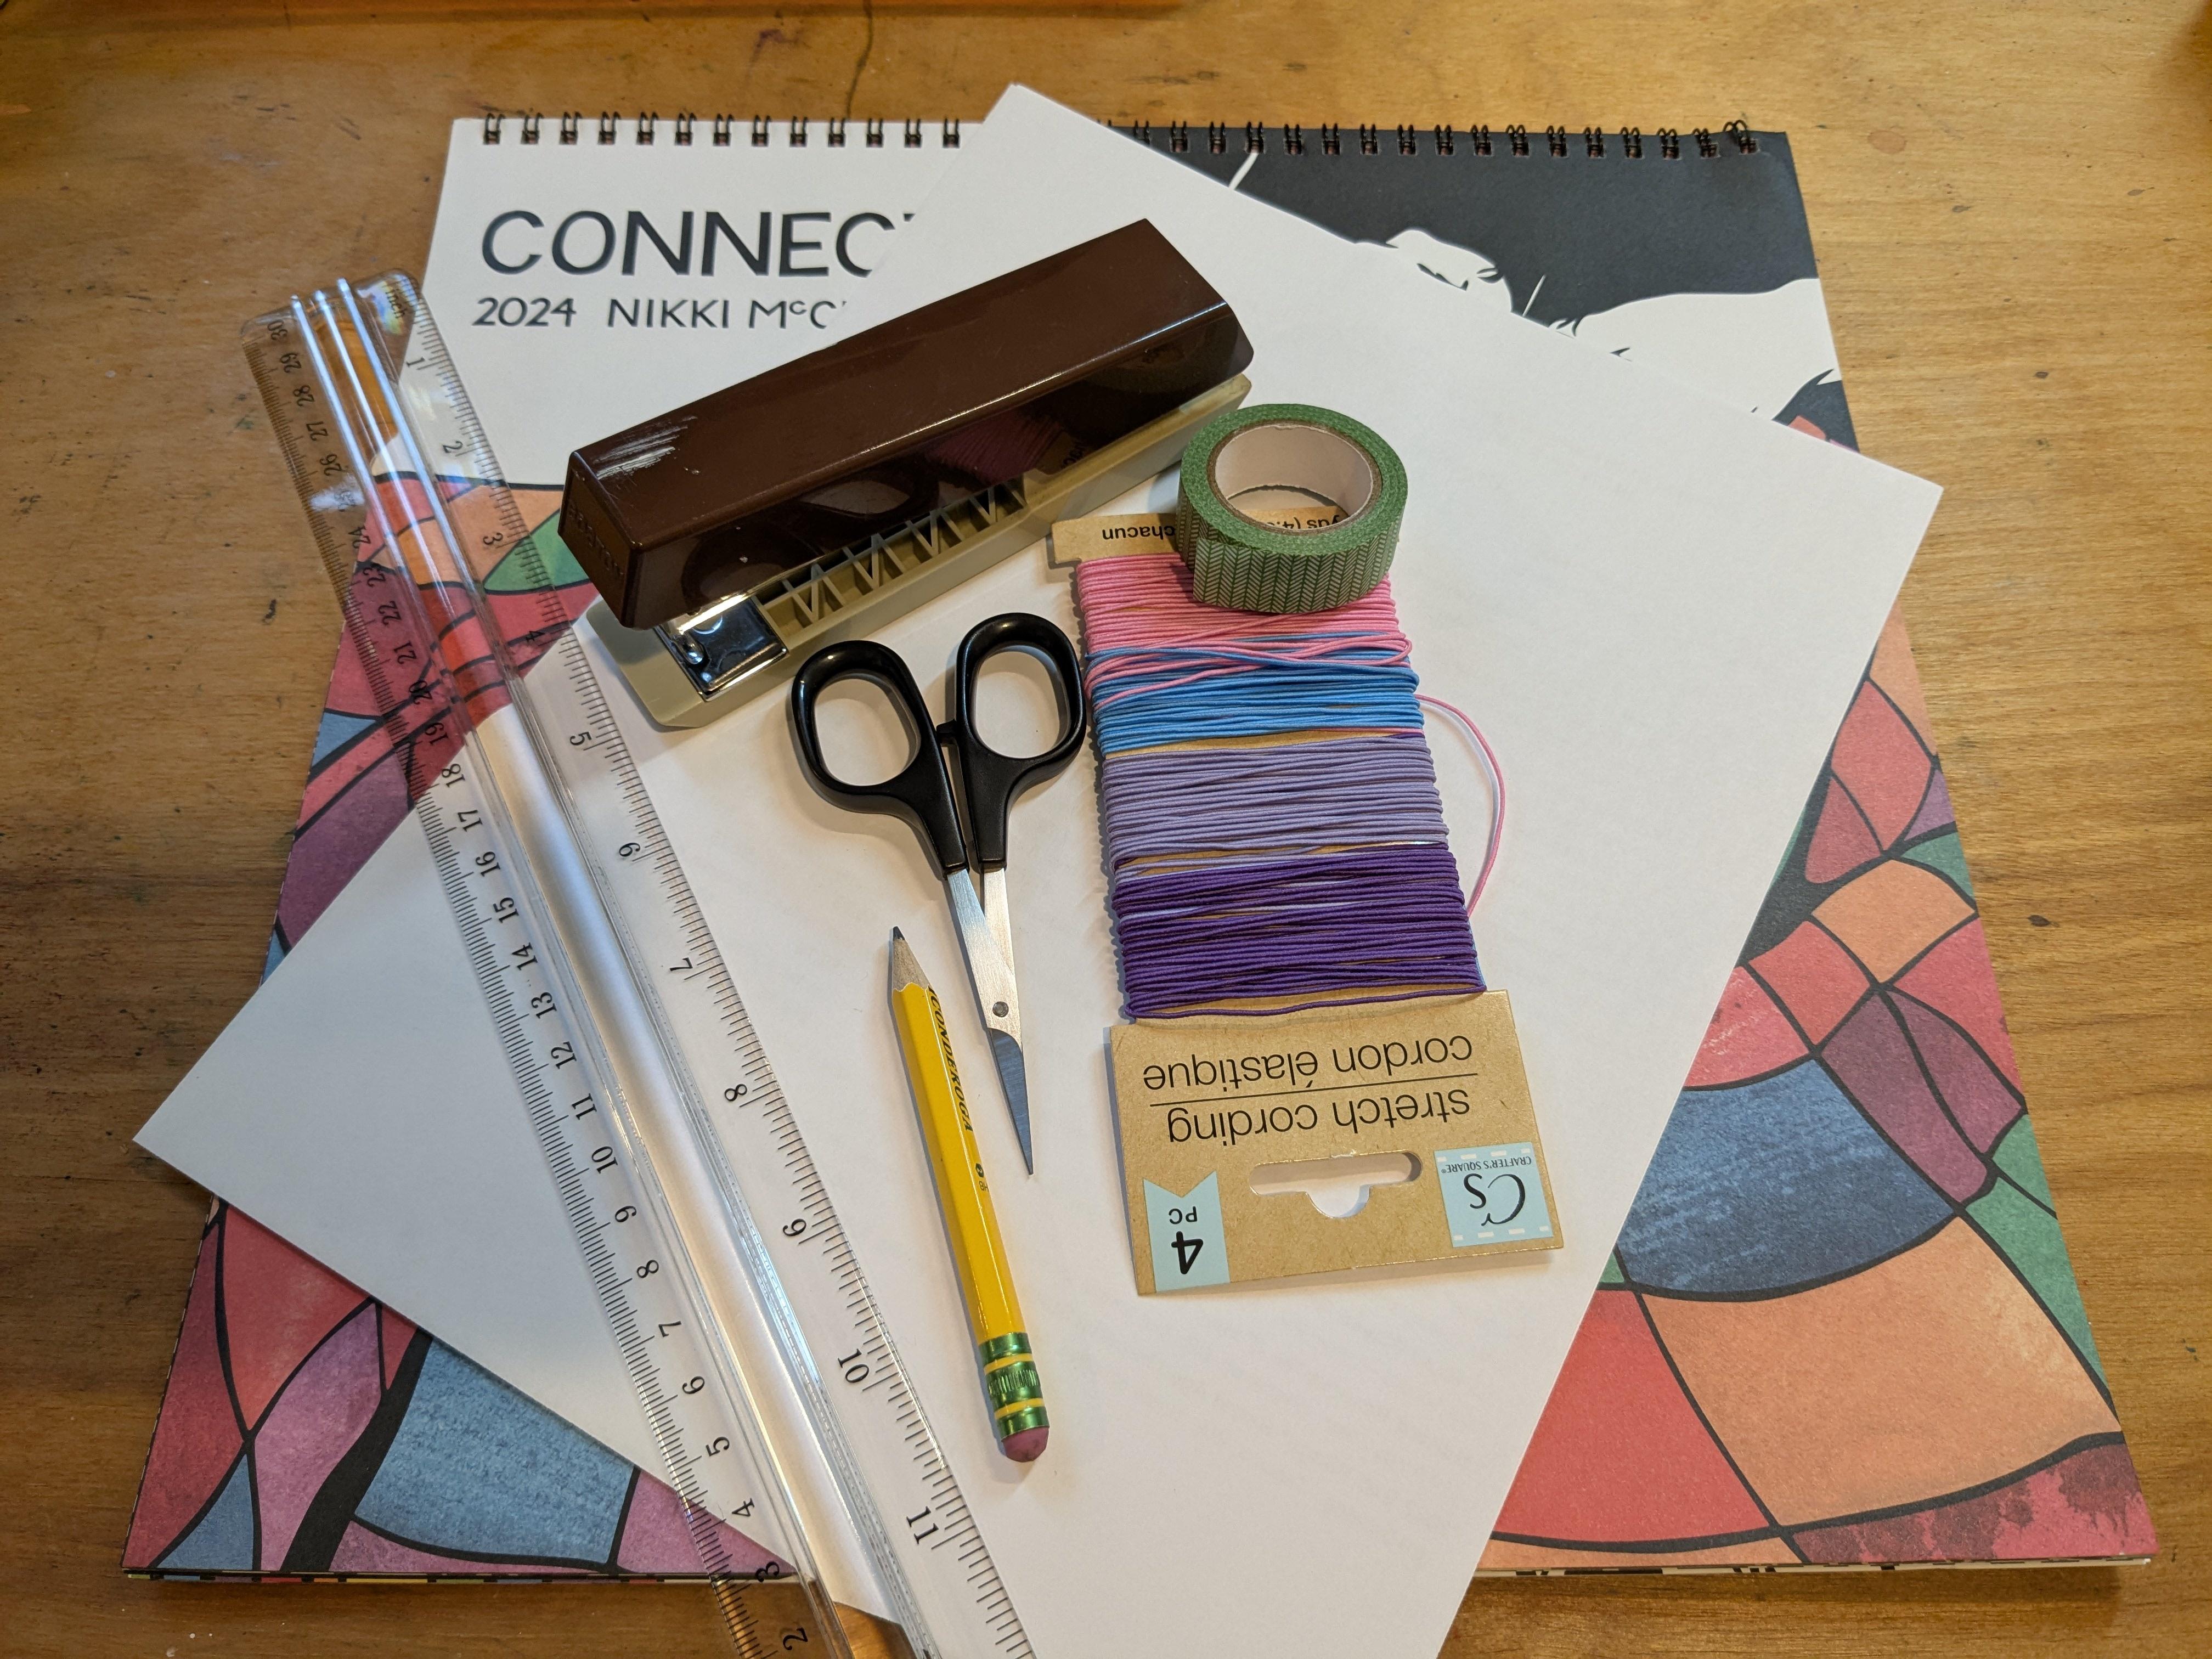
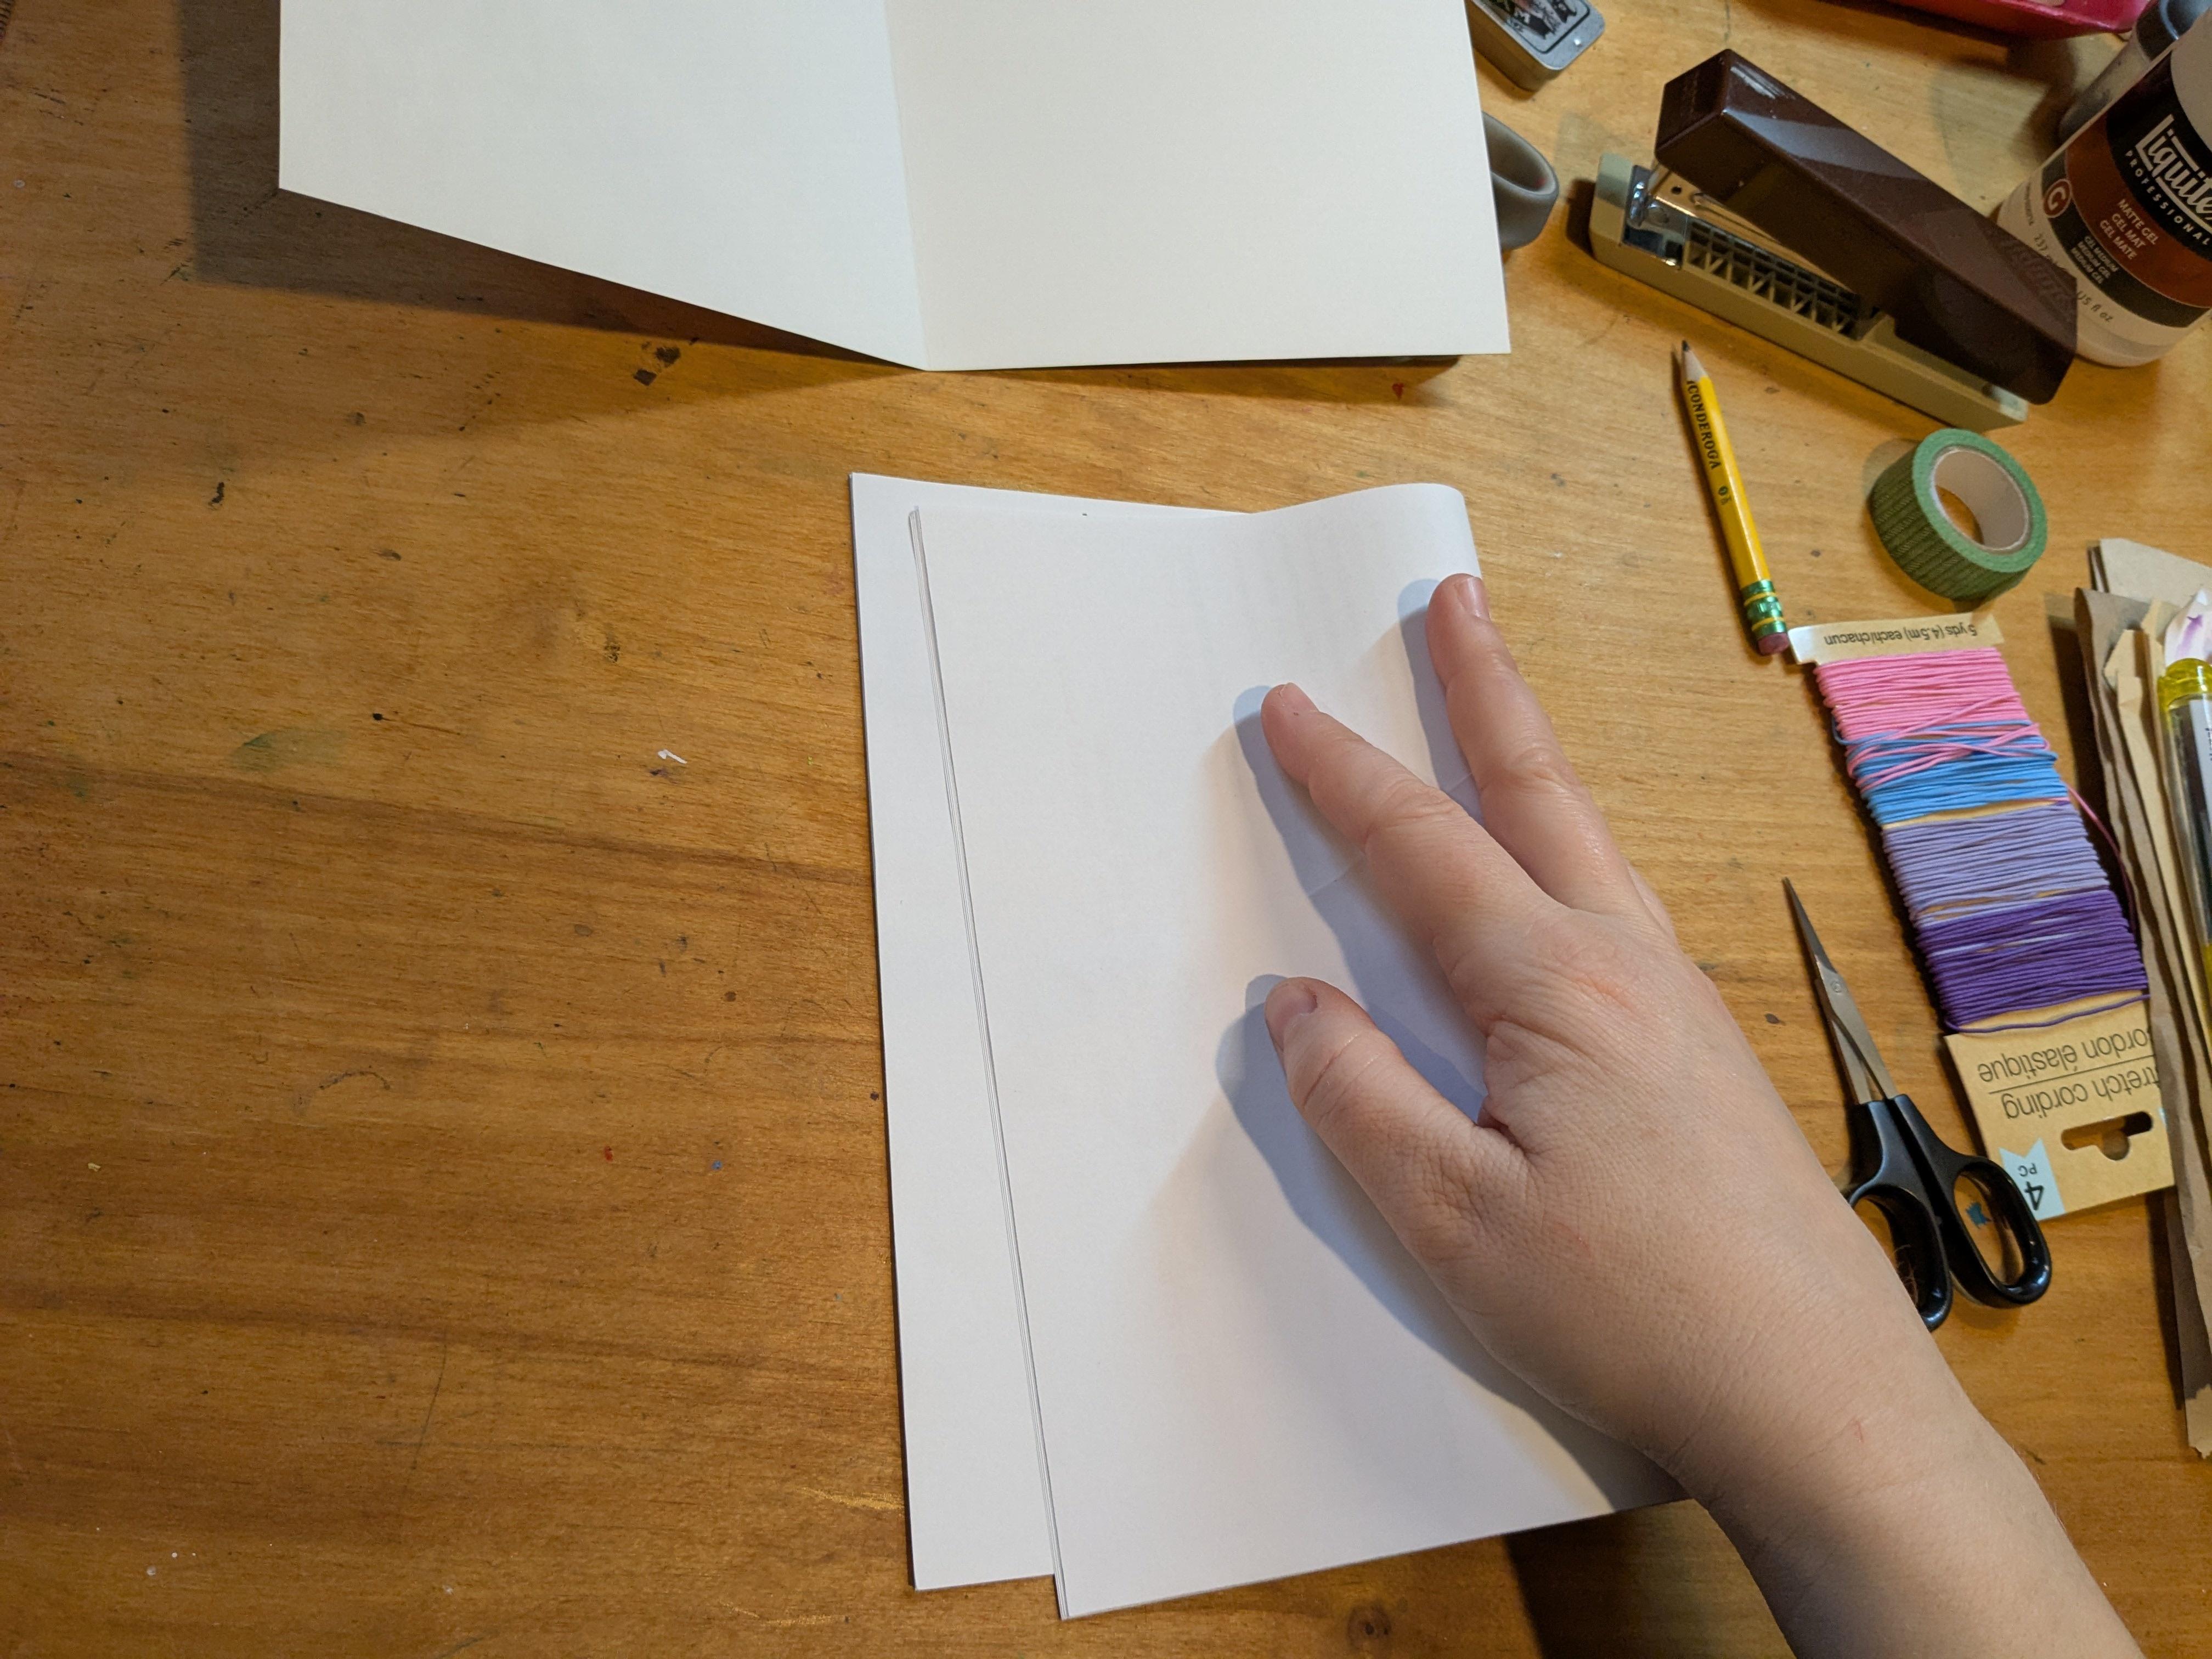
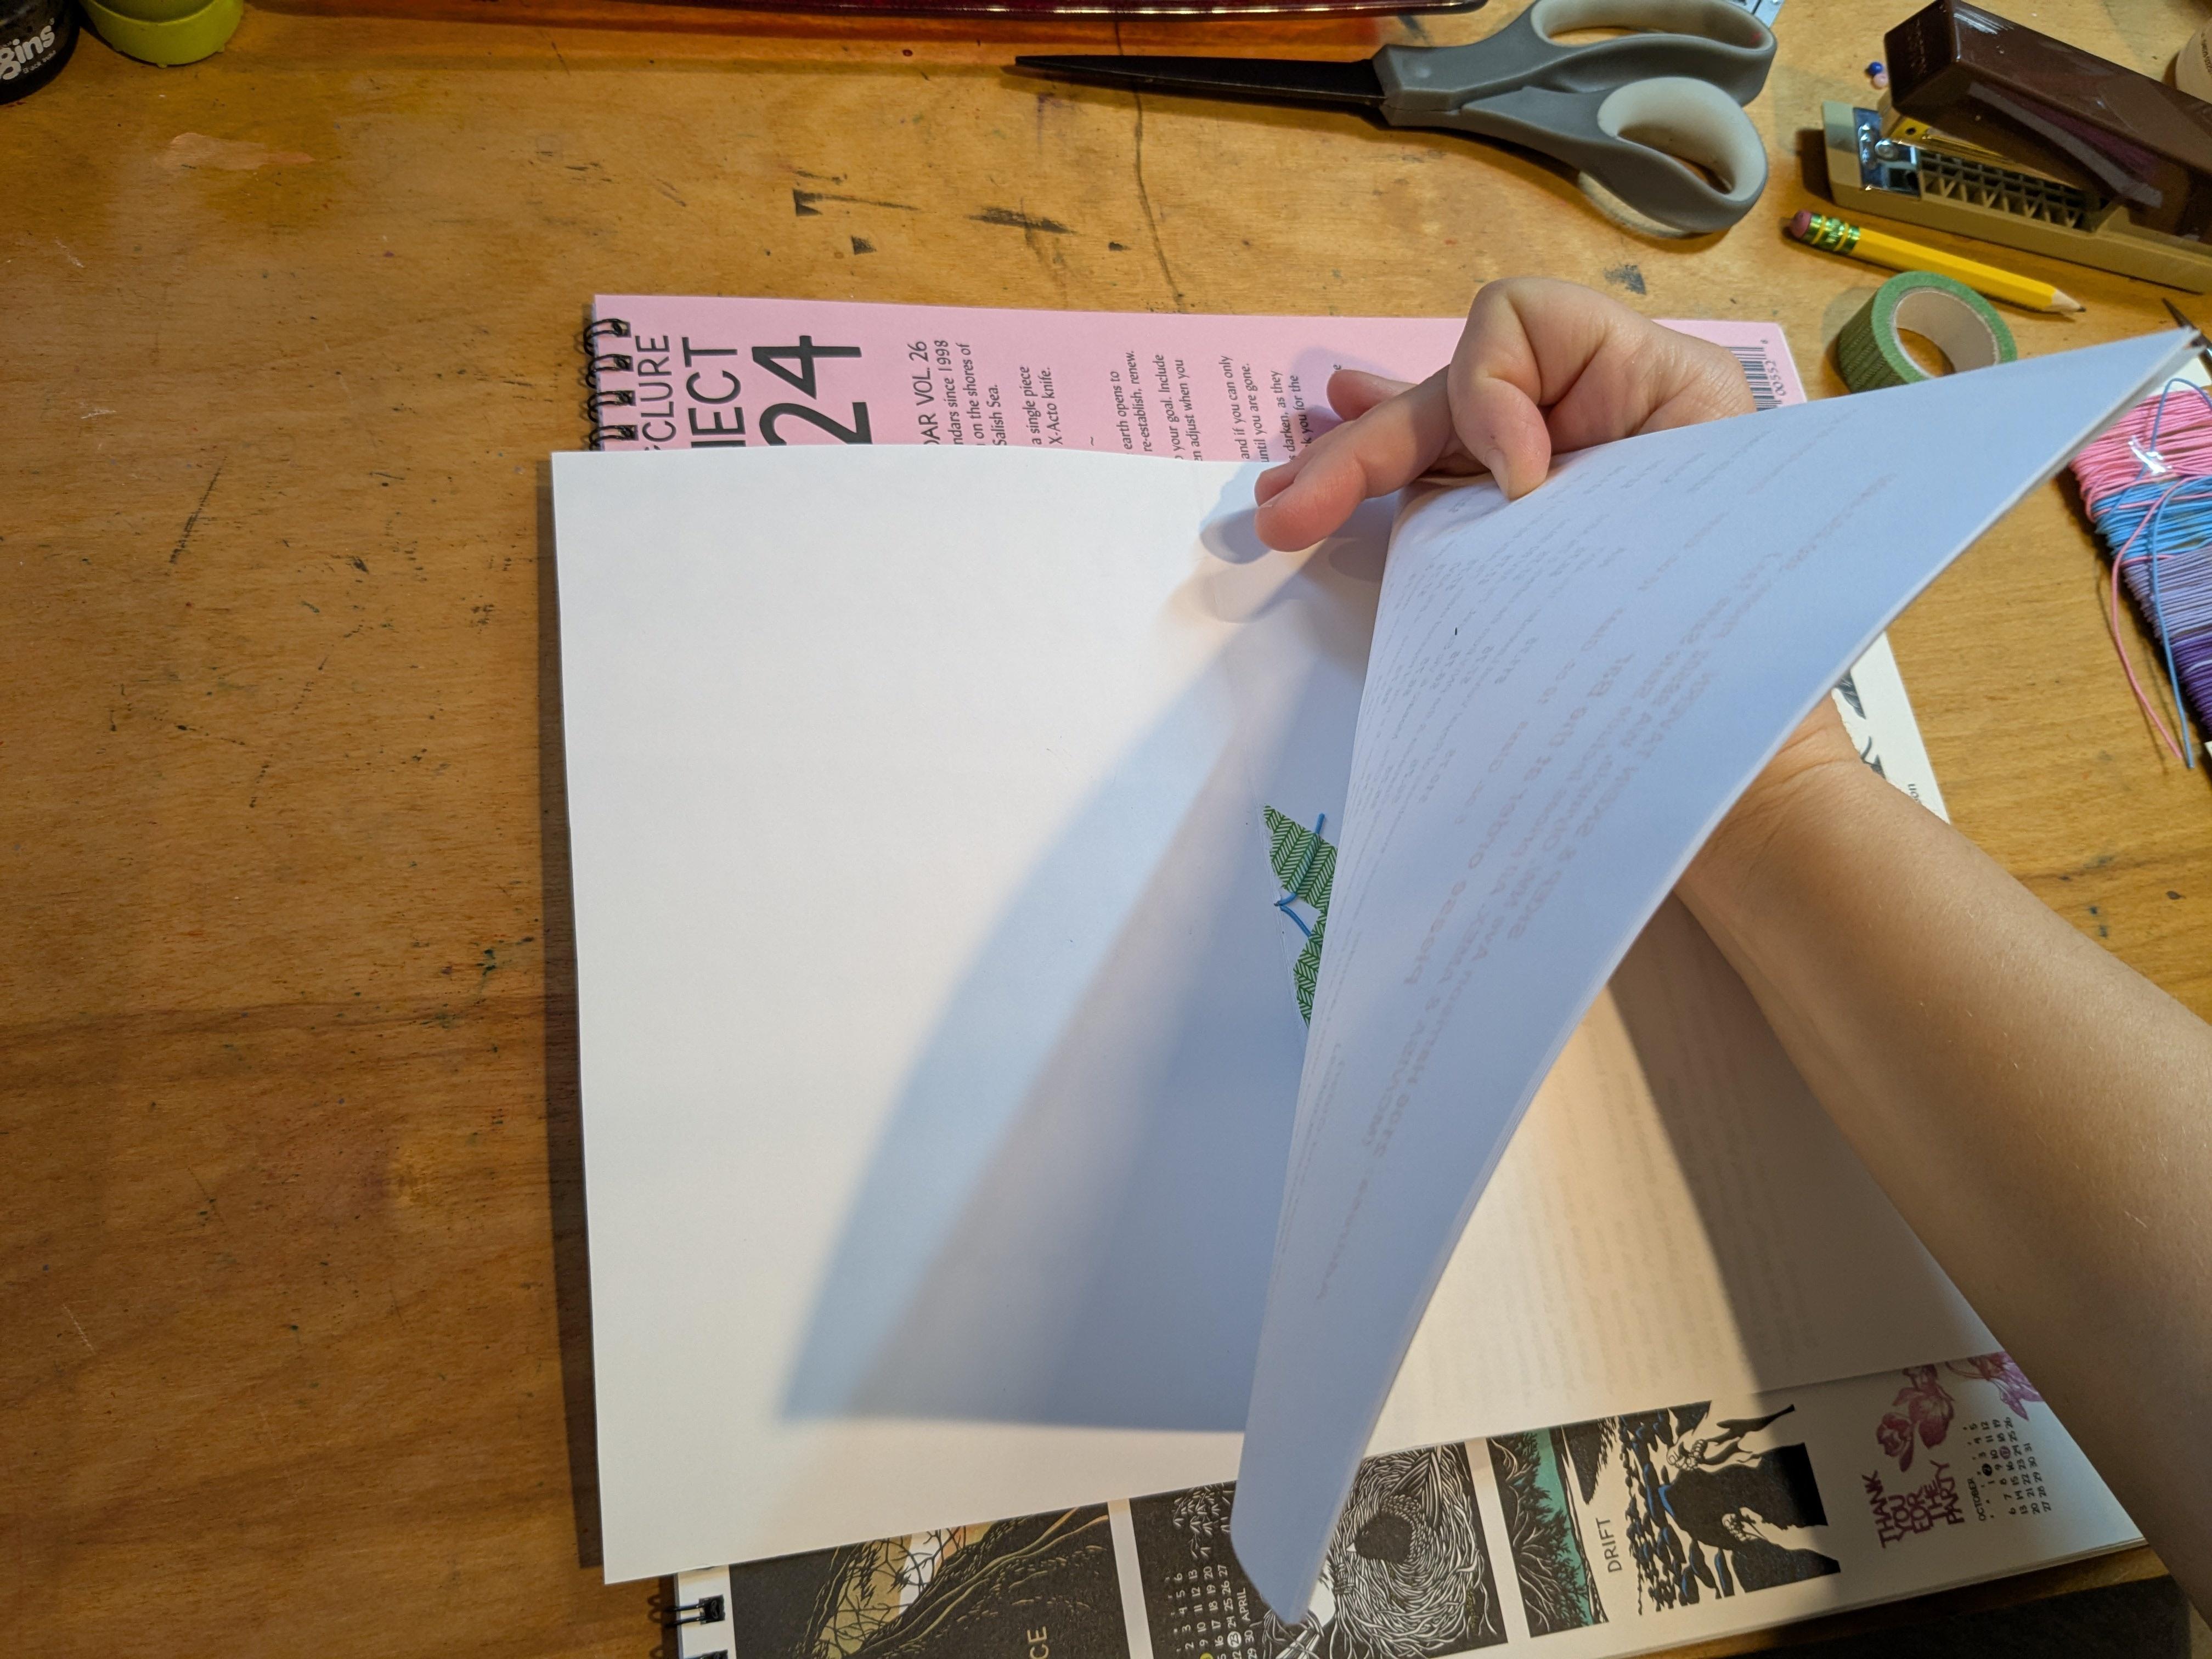
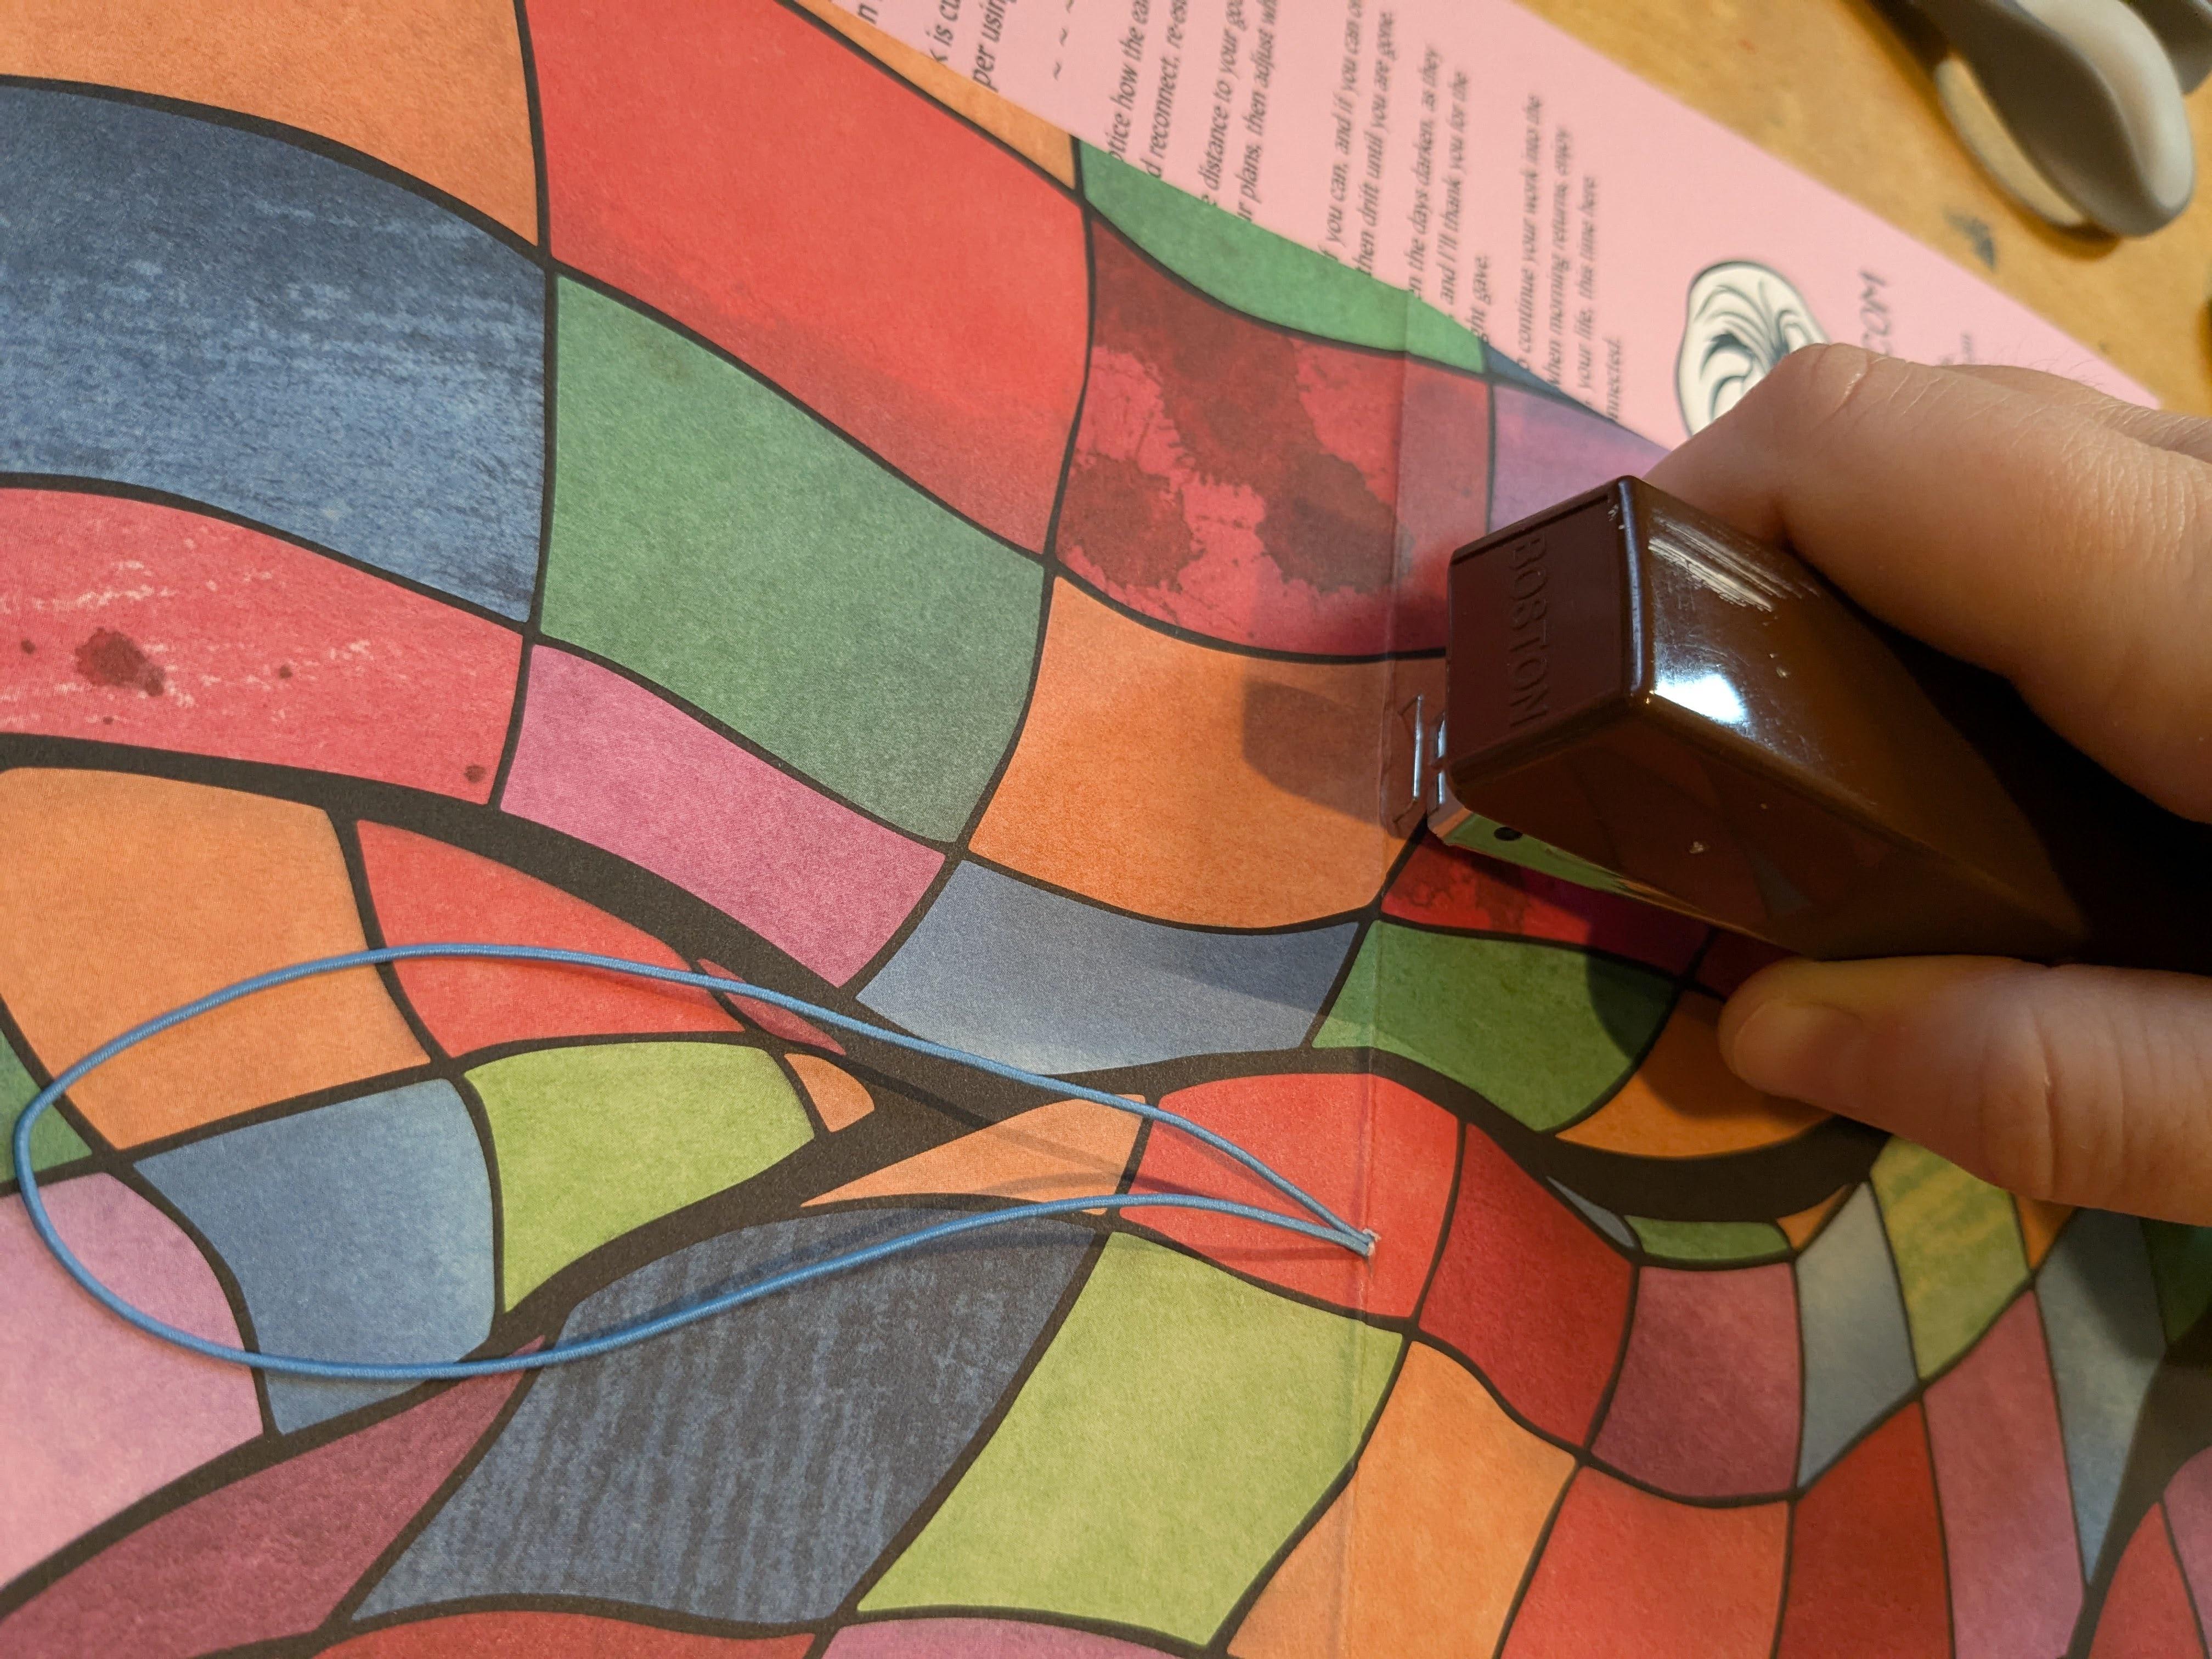
Hey there! My name is Missy. I’m an artist and guest blogger here at PBS Utah. I am always making my own little books whether it’s a journal, a sketchbook, or a notebook. Today I will teach you how to make a little elastic notebook.

Supplies

Filer image
  • An old calendar
  • 15 sheets printer paper
  • Sharp scissors
  • Pencil
  • Ruler
  • Elastic string
  • Tape
  • Stapler

Instructions

  1. Lay a sheet of paper on your calendar and trace it with your pencil (this will be the cover of your notebook).
  2. Use your scissors to cut out the cover.
  3. Fold the cover in half “hotdog style.”
  4. Unfold, lay flat and use your ruler and pencil to mark along the fold the very middle of the pages, 4 ¼ inches.
  5. Use your scissors to punch a small hole through the cover on that mark.
  6. Using your ruler, measure your elastic string 11 inches and cut.
  7. Fold it in half and carefully poke the loop through the hole in the cover. Start inside, poke to the outside.
  8. Pull the elastic through the hole and leave tails of about 1 inch inside the cover.
  9. Use your tape to secure those tails.
  10. Take all your sheets of printer paper and fold them (together) in half “hotdog style.”
  11. With the inside of the cover facing up, lay the printer papers on top, lining up the middle folds.
  12. Flip the whole thing over and use a stapler to join all the pages together. Staple along the middle fold, on the outside of the cover about 2 inches from the middle hole on each side.
  13. Now fold your notebook in half and pull the elastic around it to keep it closed.


Wrap Up

You can now decorate the cover any way you like. You can write your name on it. You can add crayon or glitter or collage. And you can use your notebook for whatever you like as well. Use it as a sketchbook. Use it as a diary. Use it to write lists. Be creative and have fun!

Filer image