
Missy's Weaving Fun

Email share

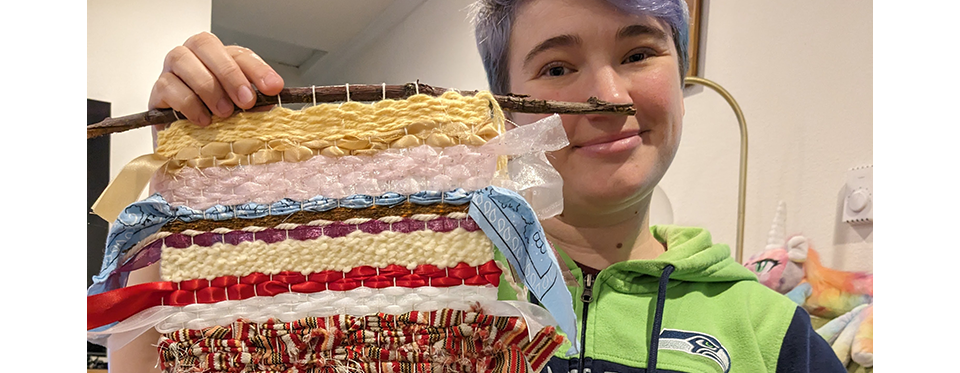
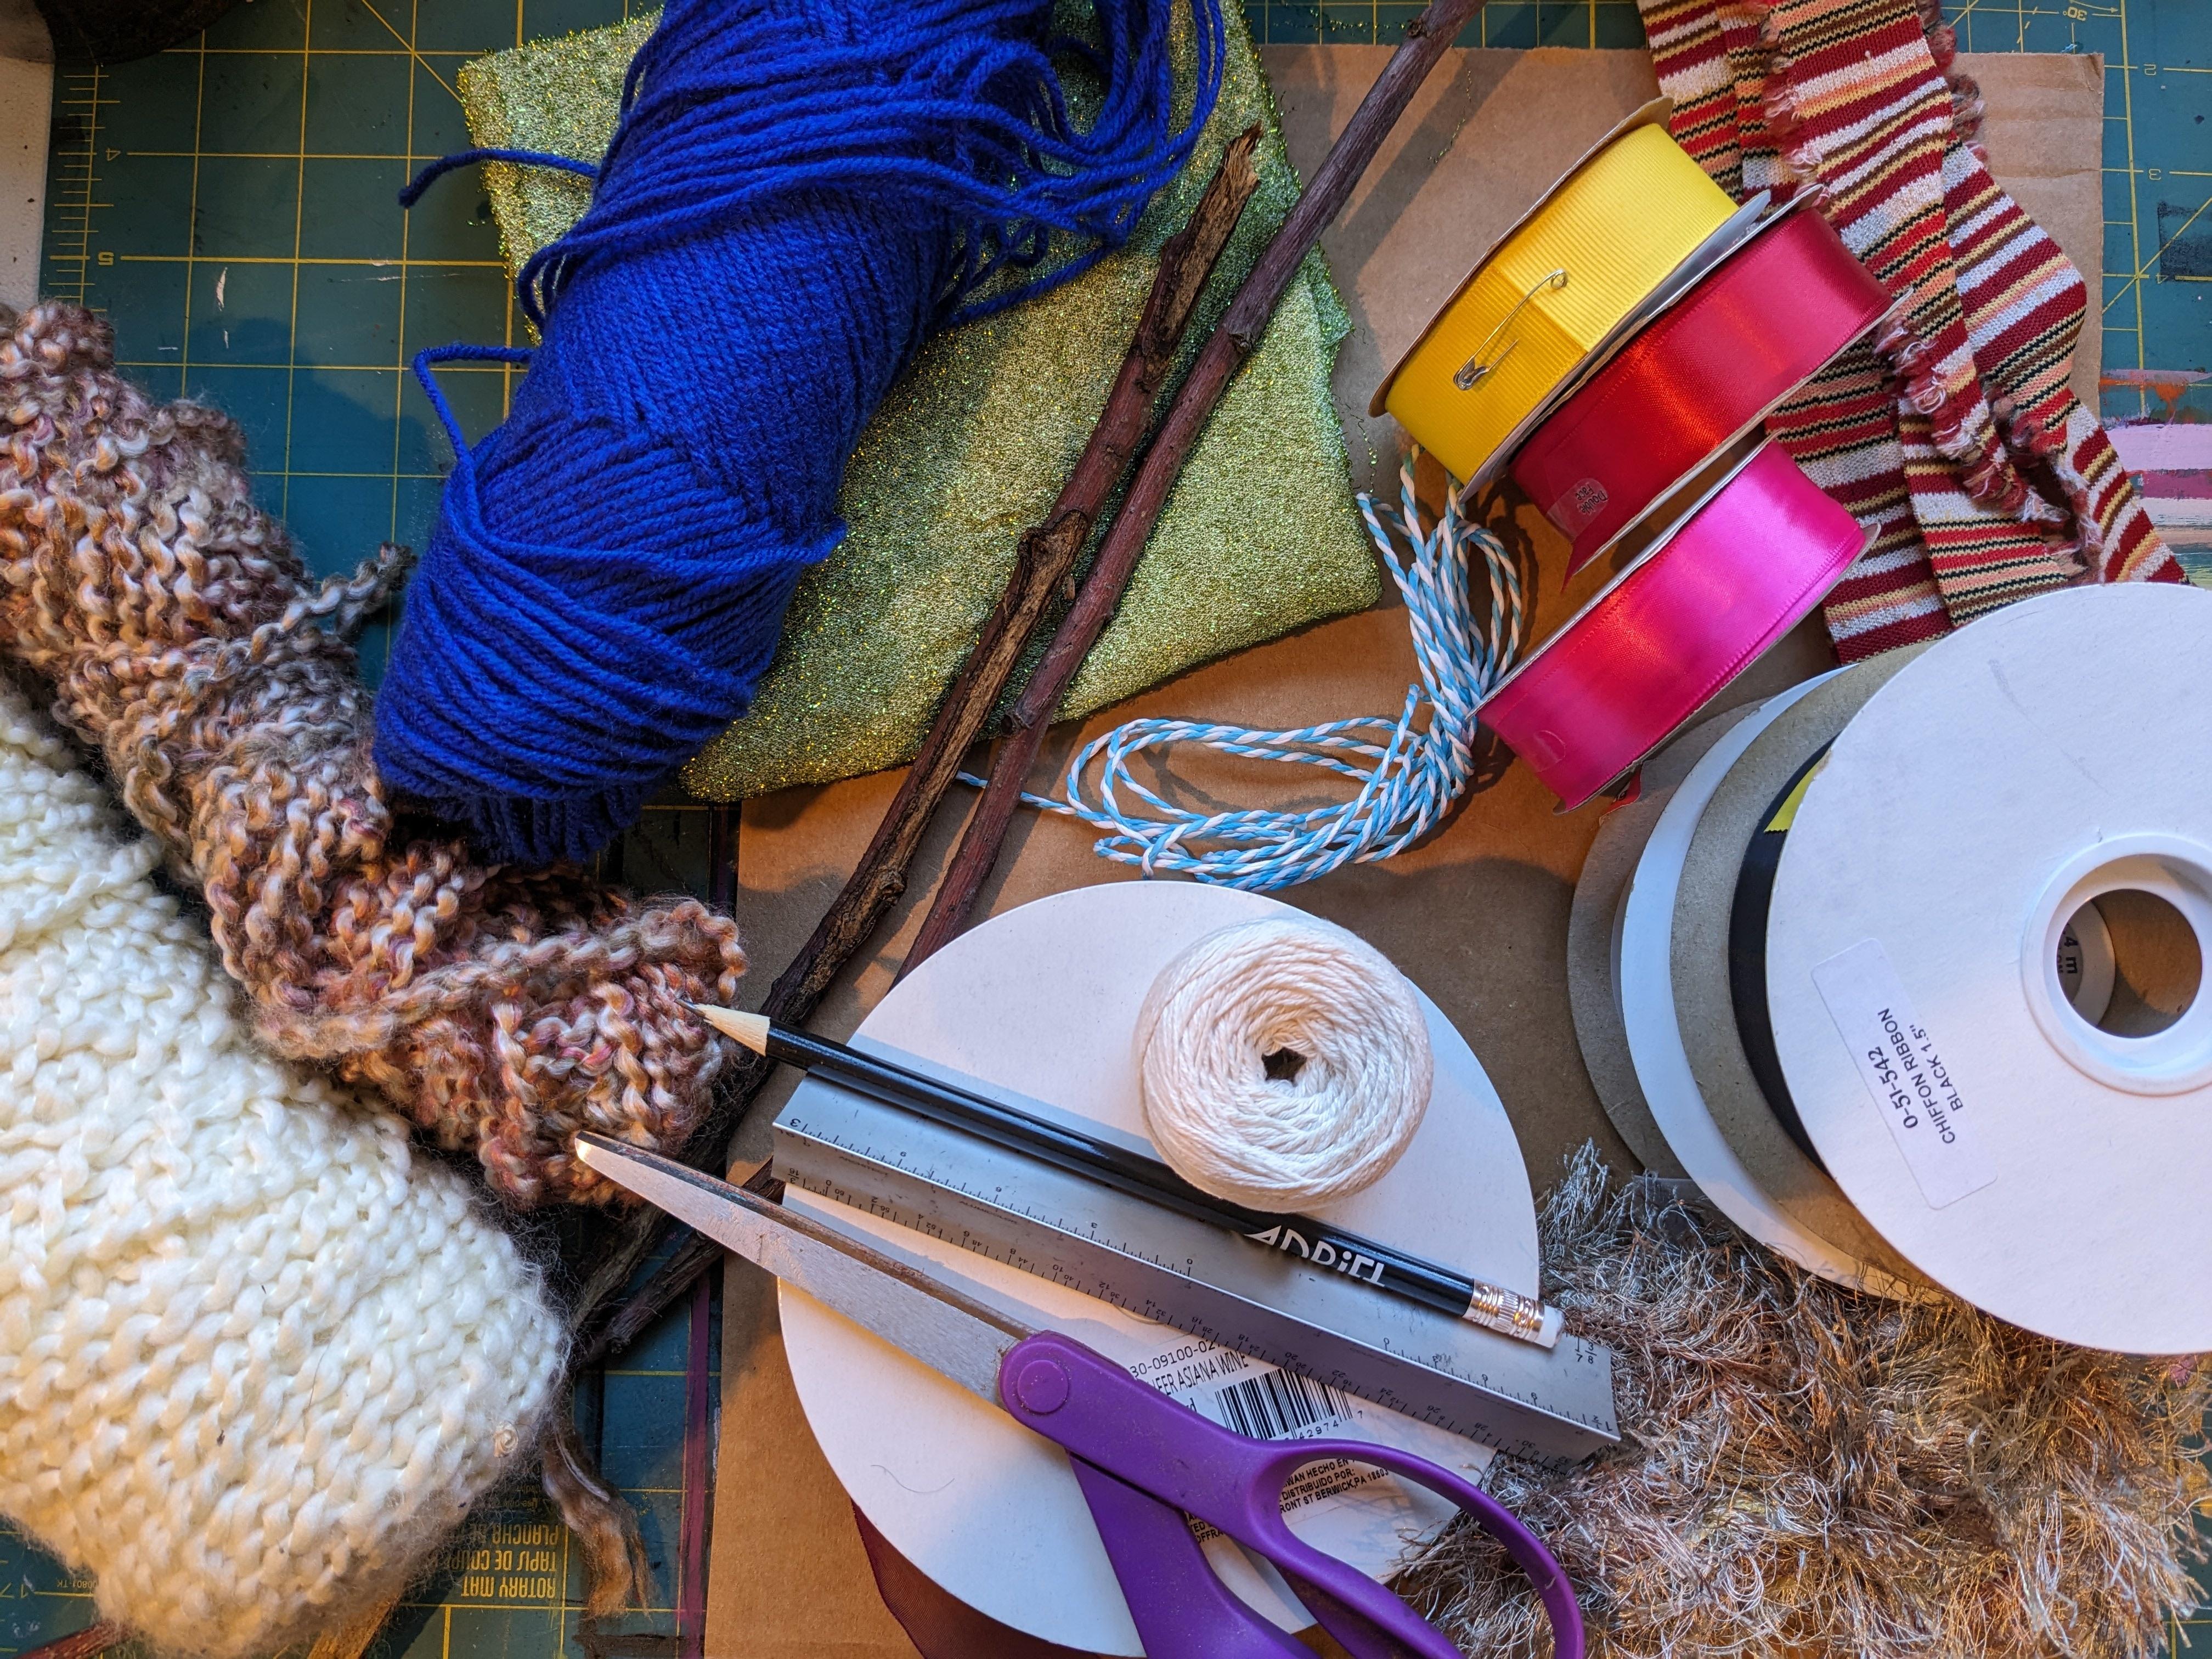
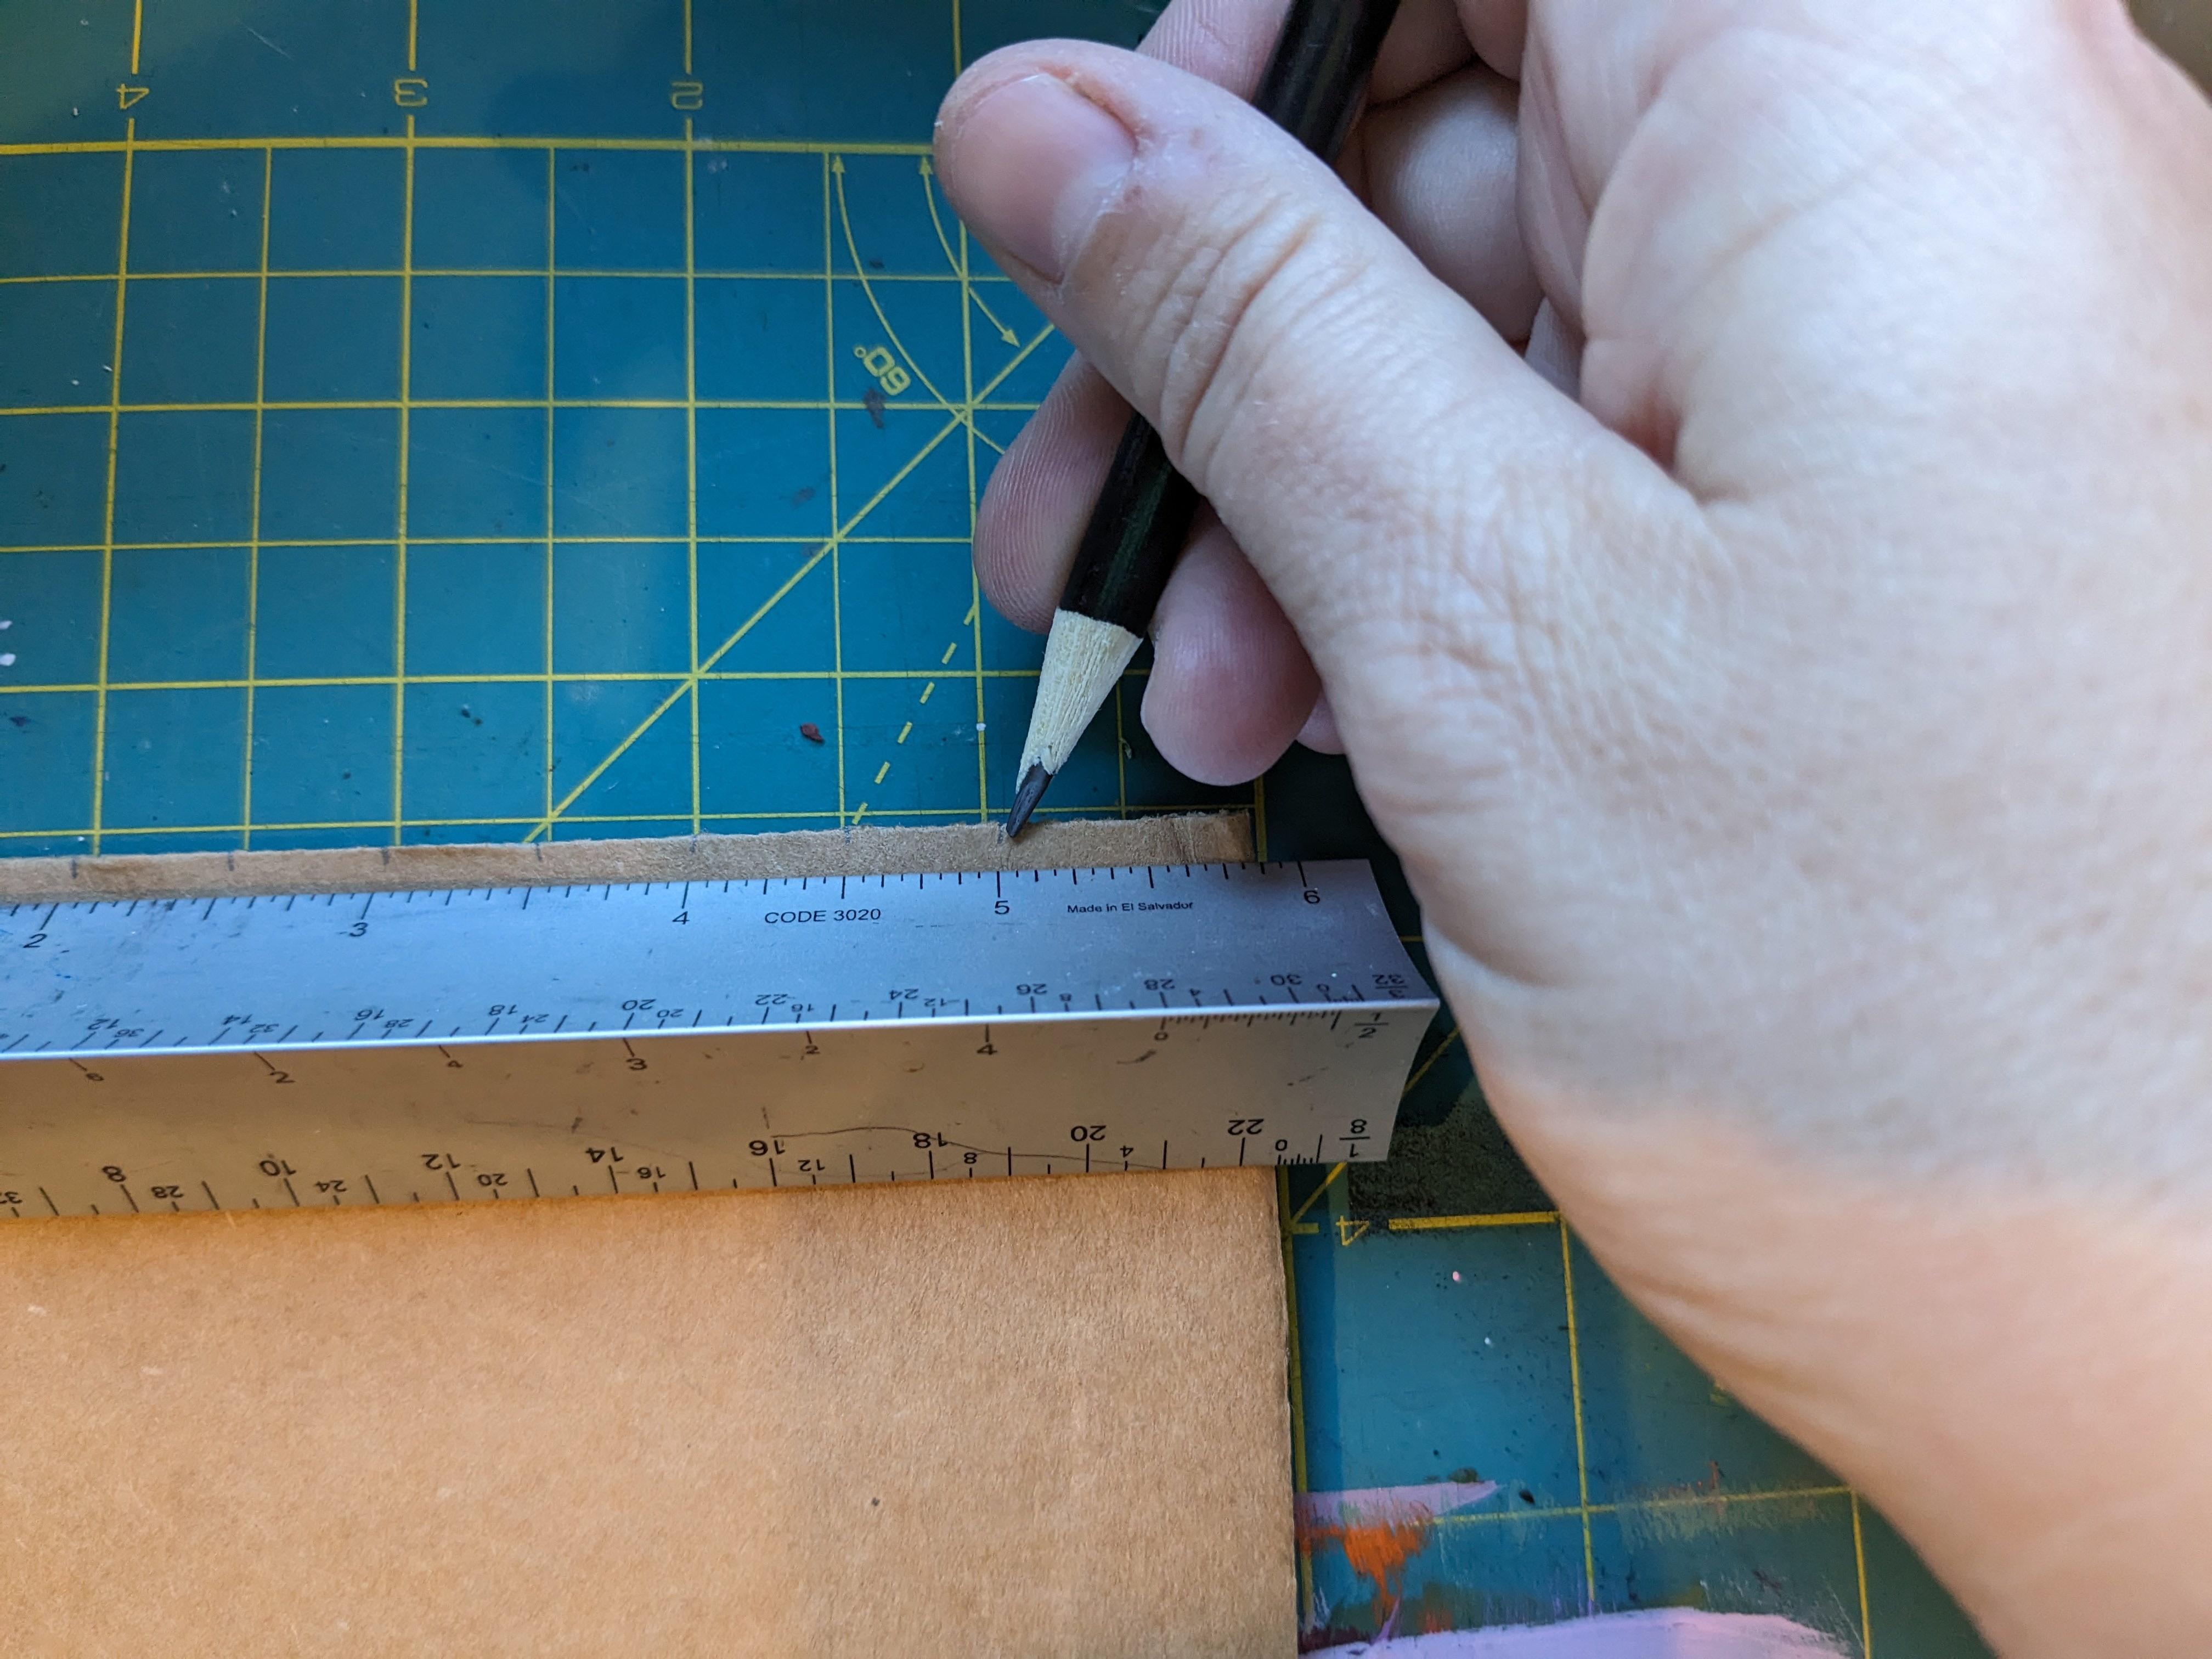
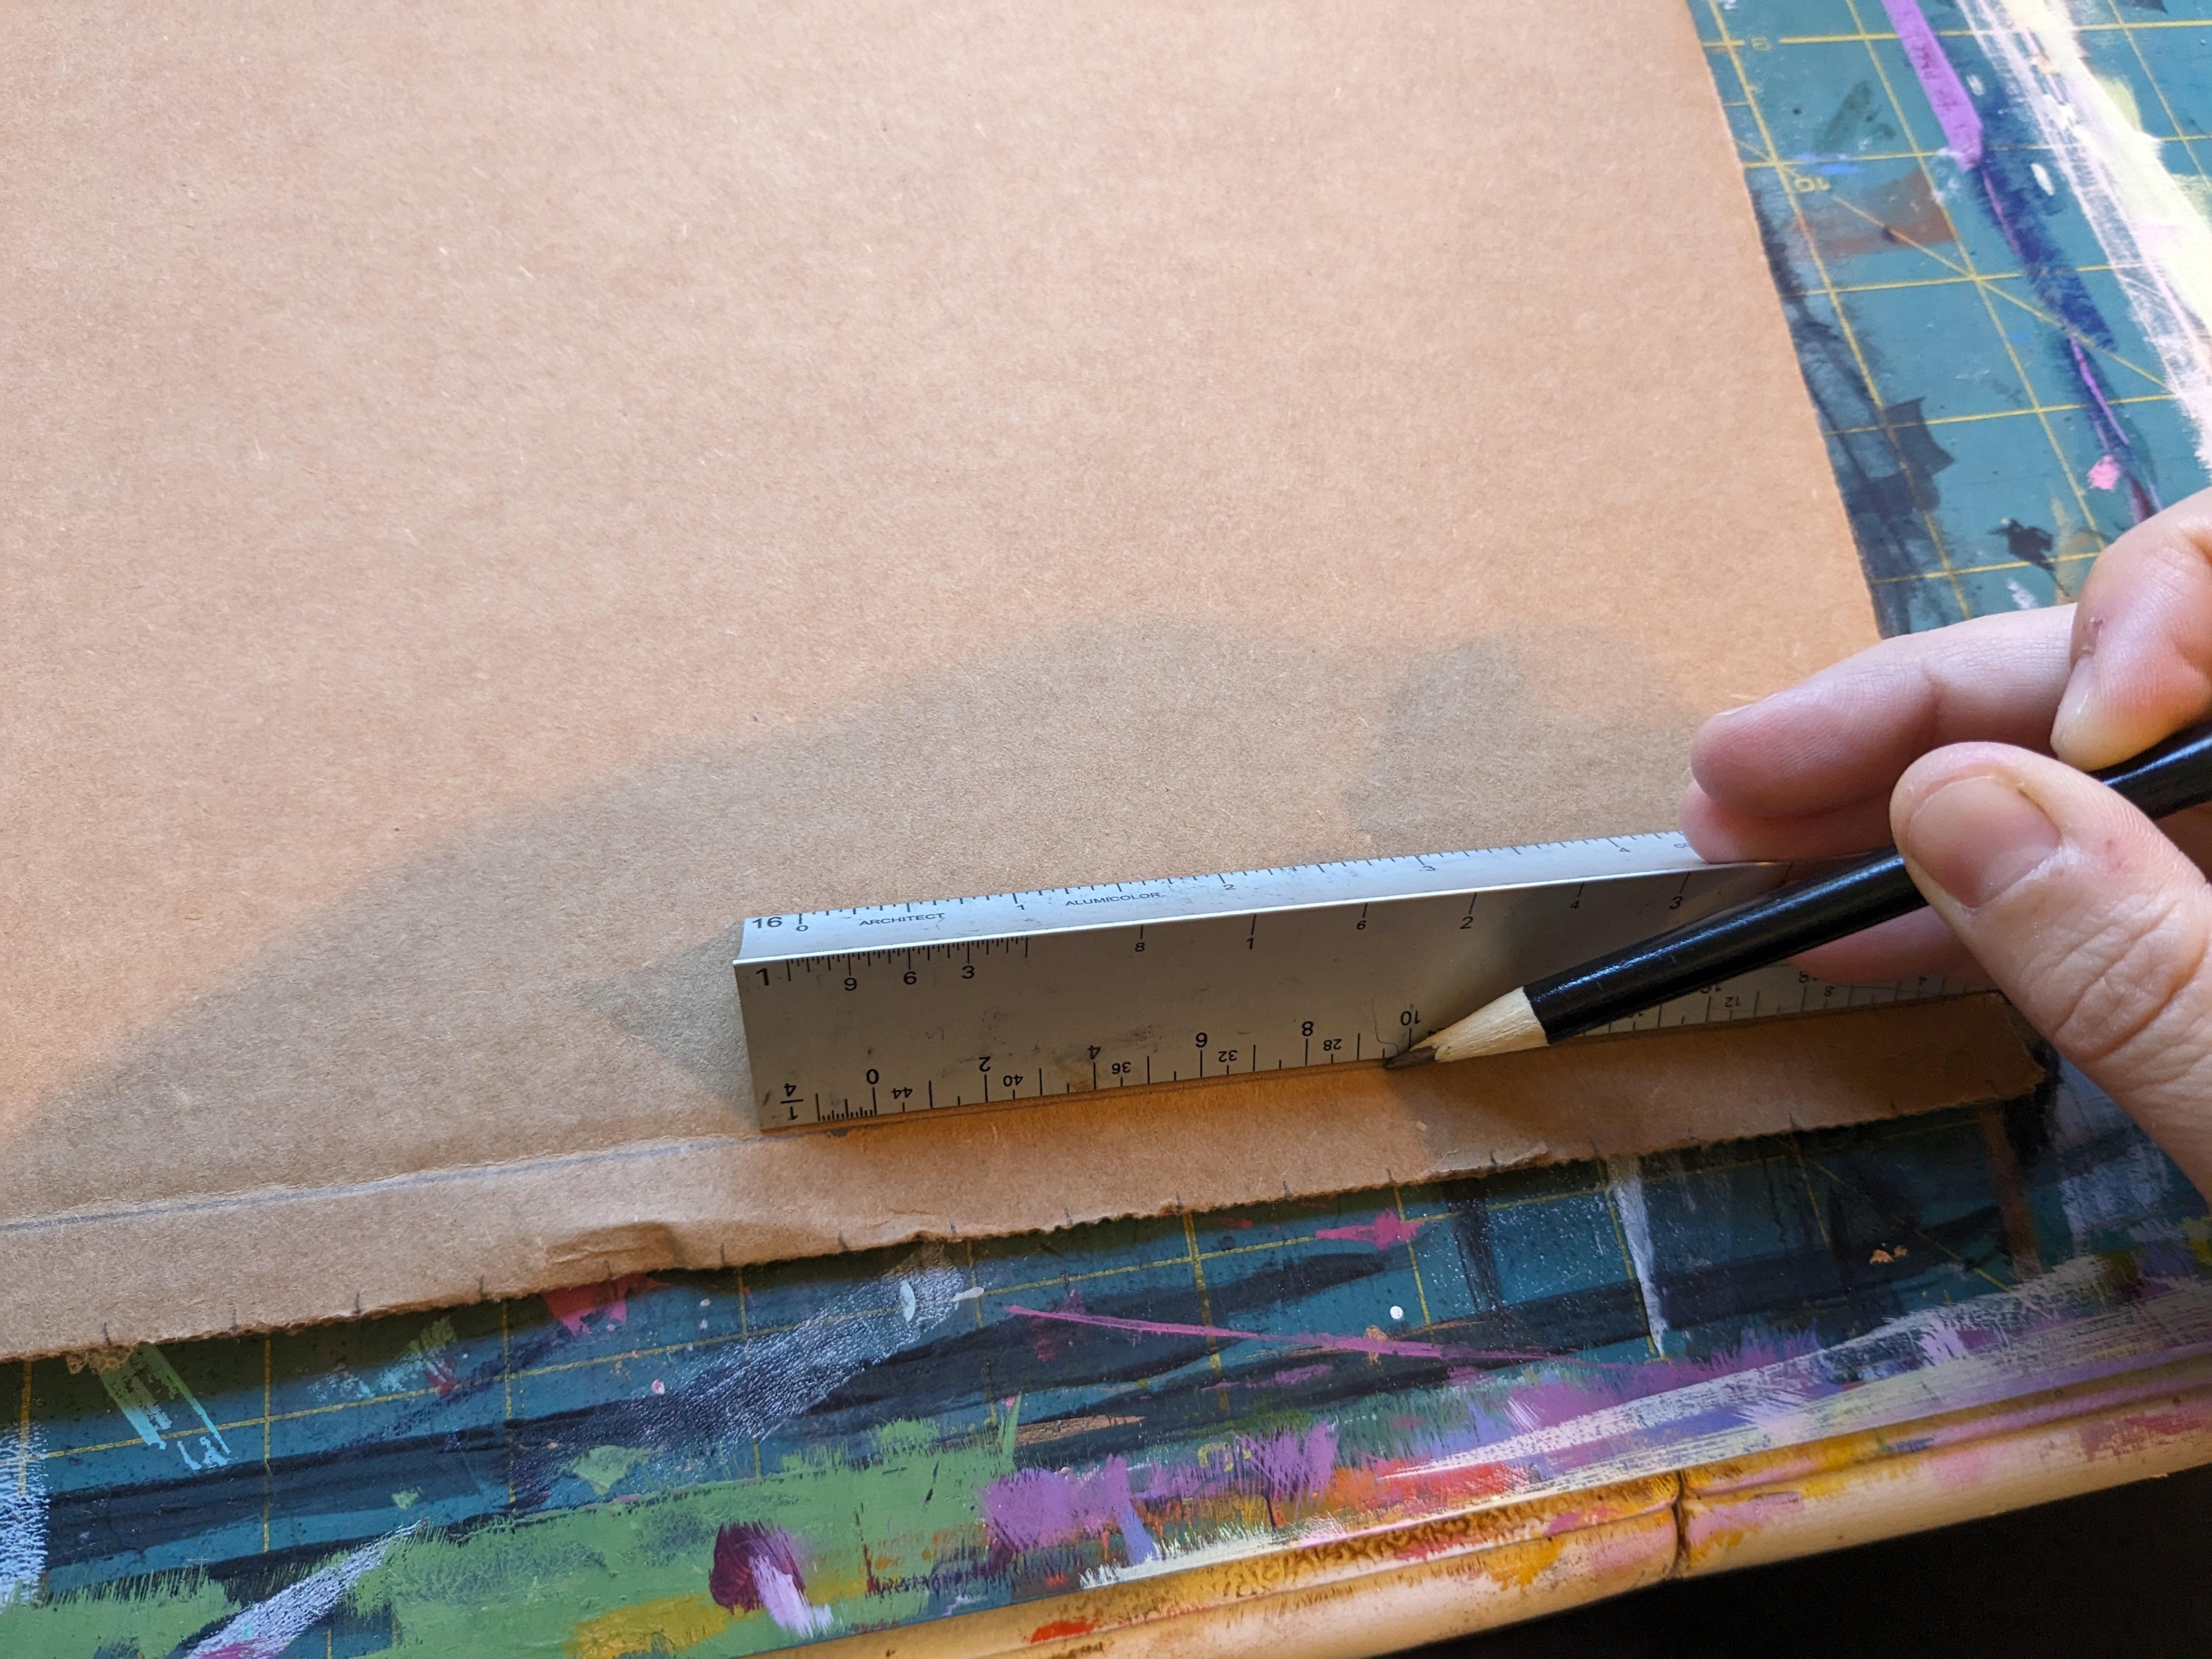
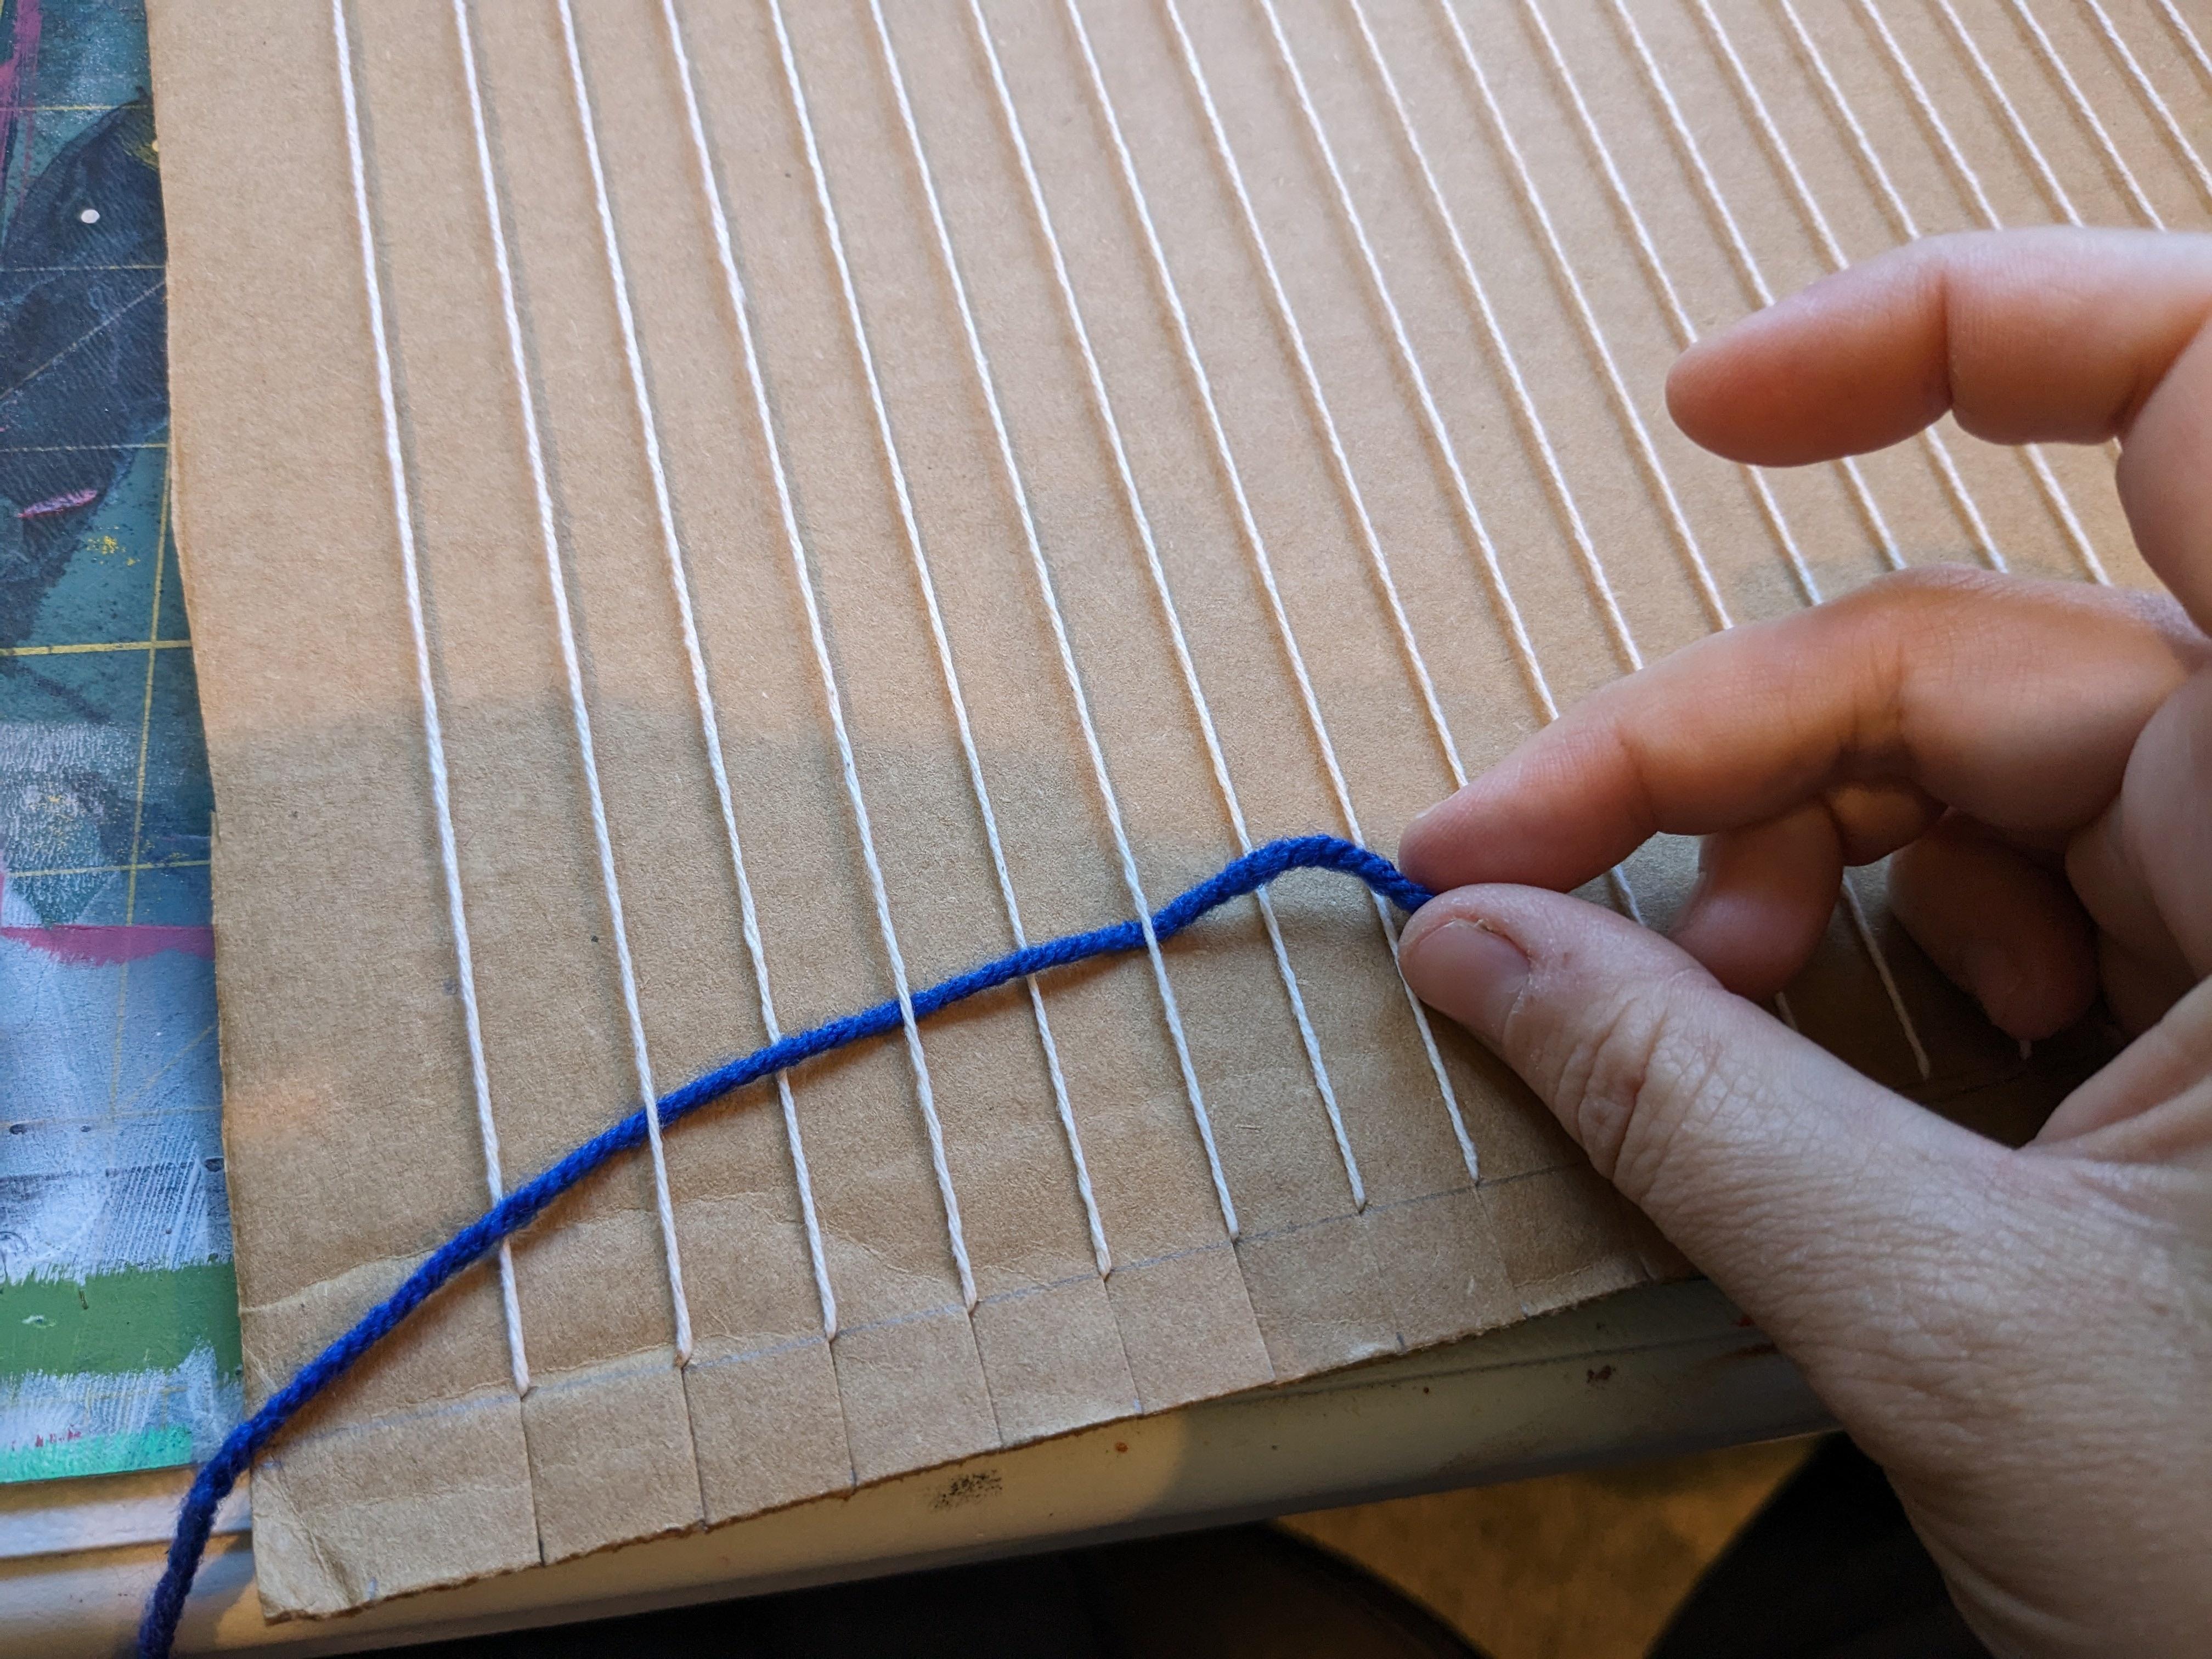
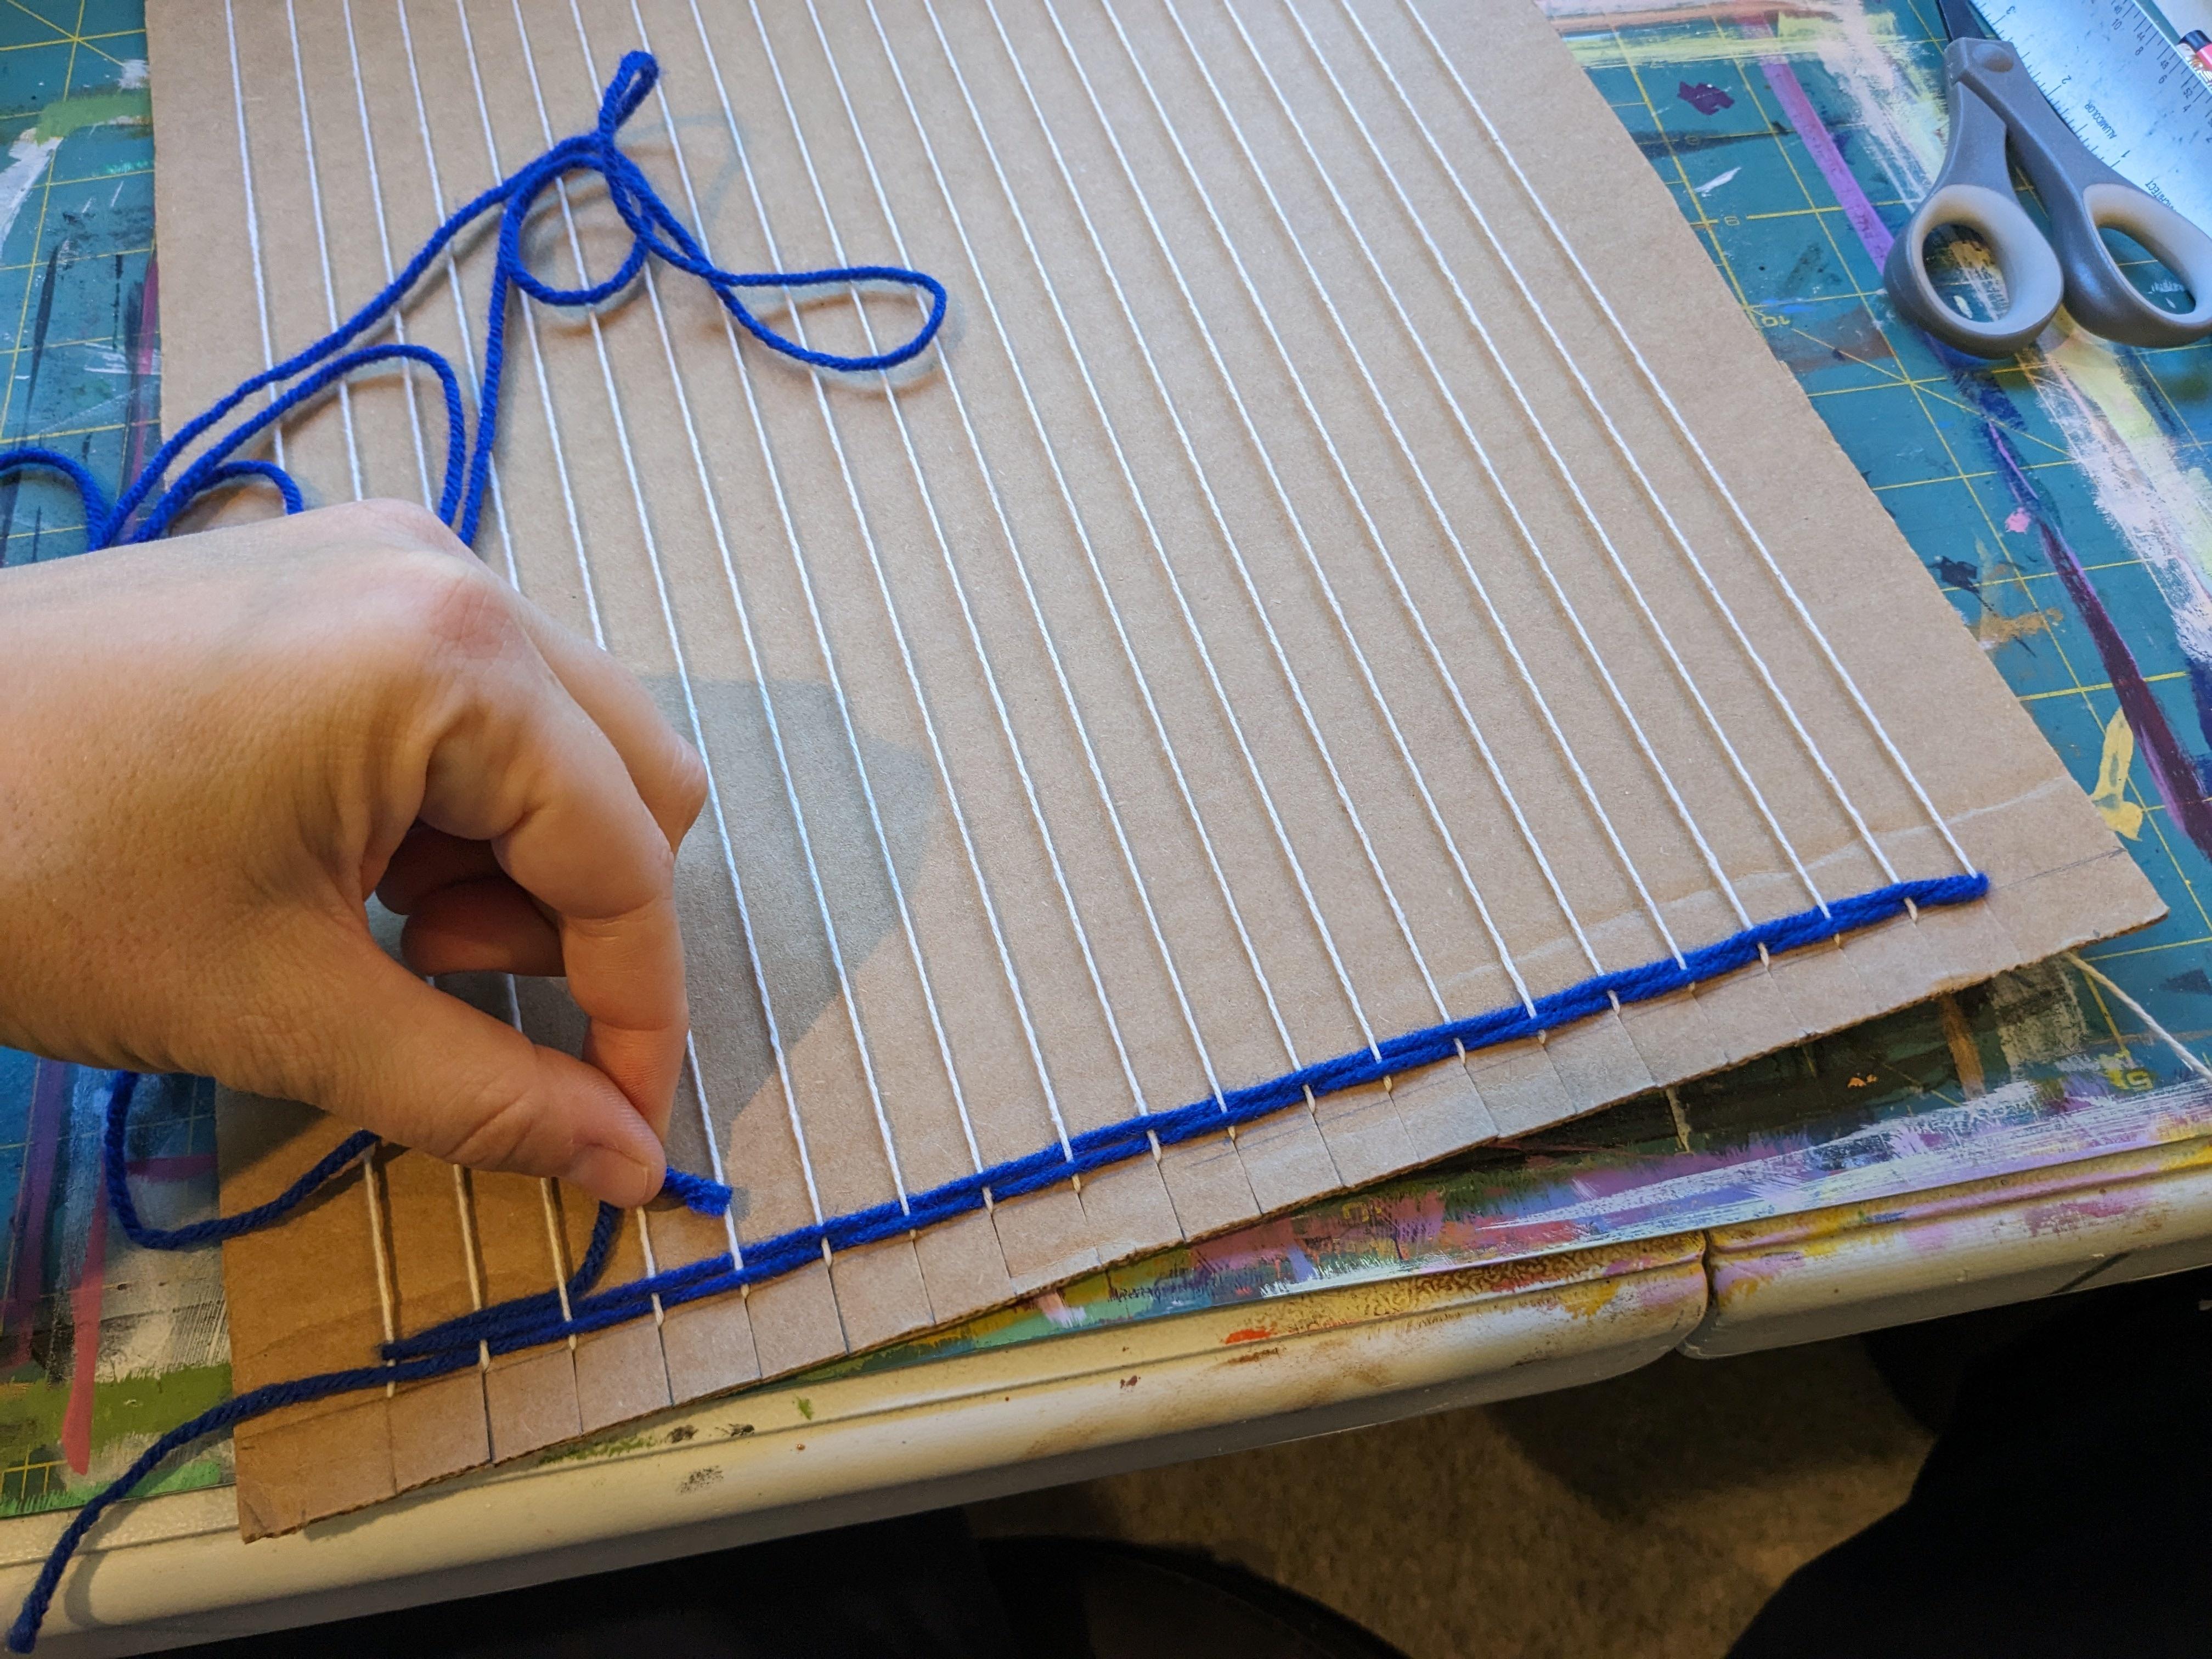
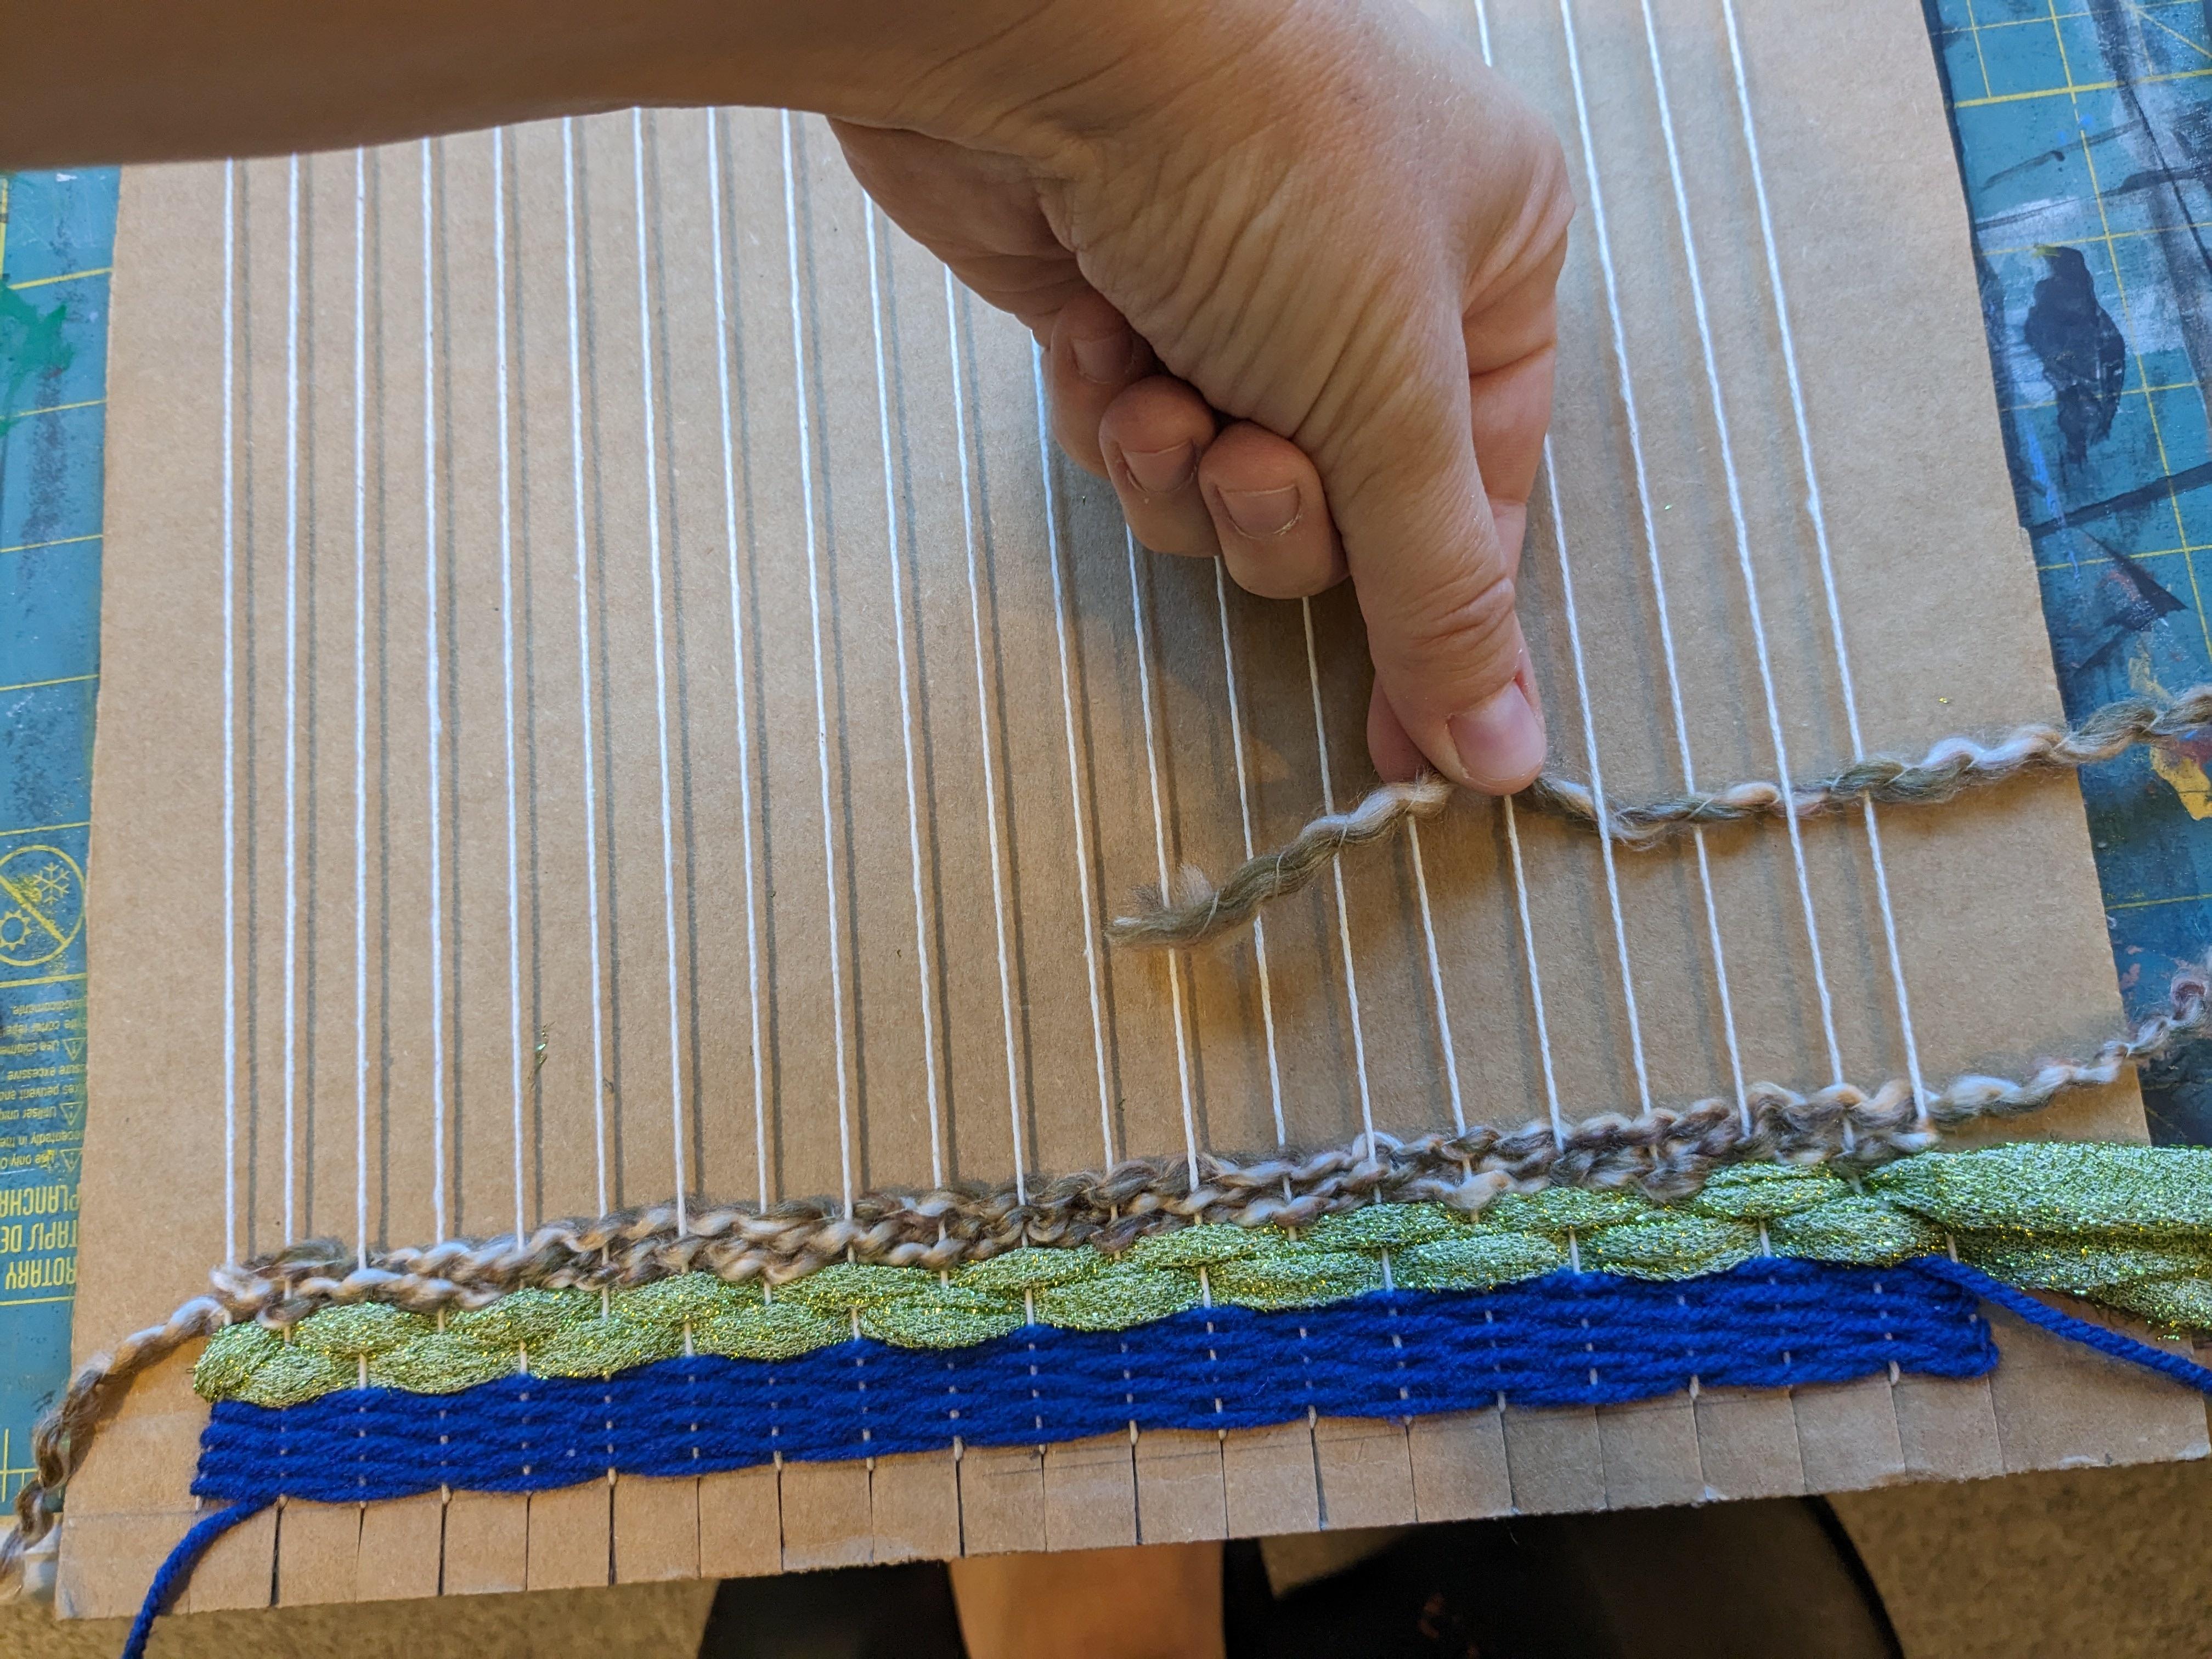
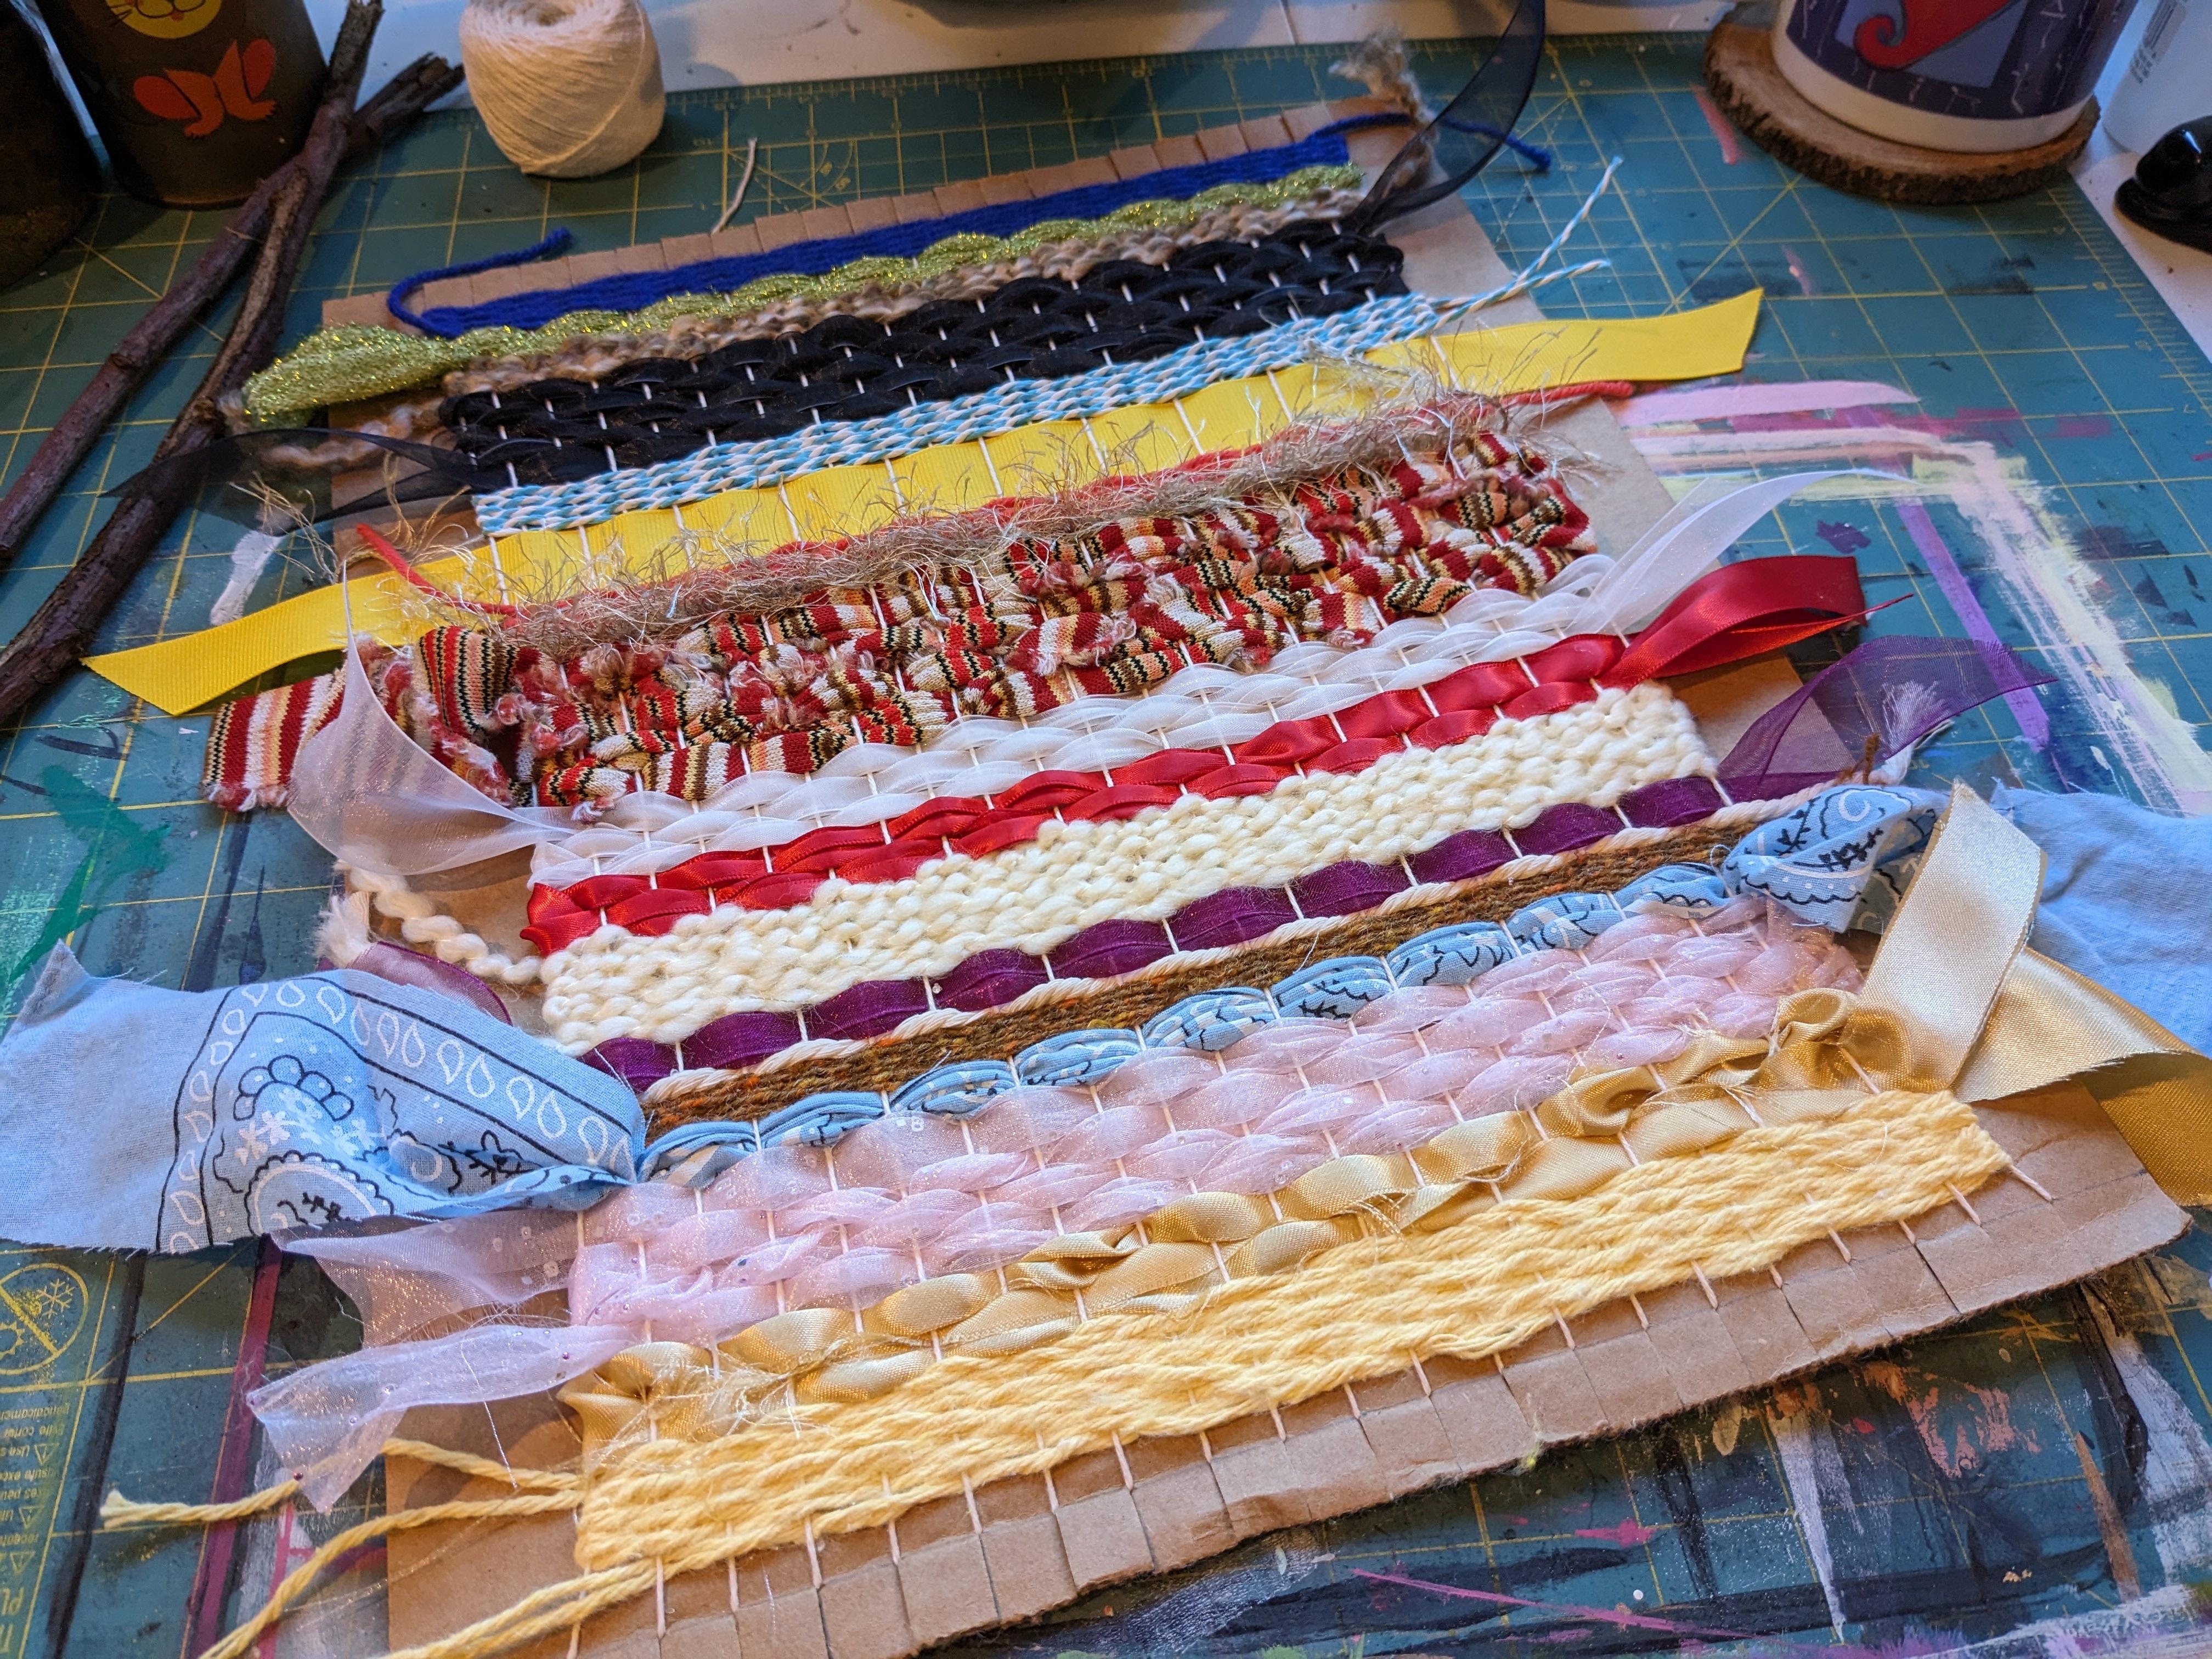
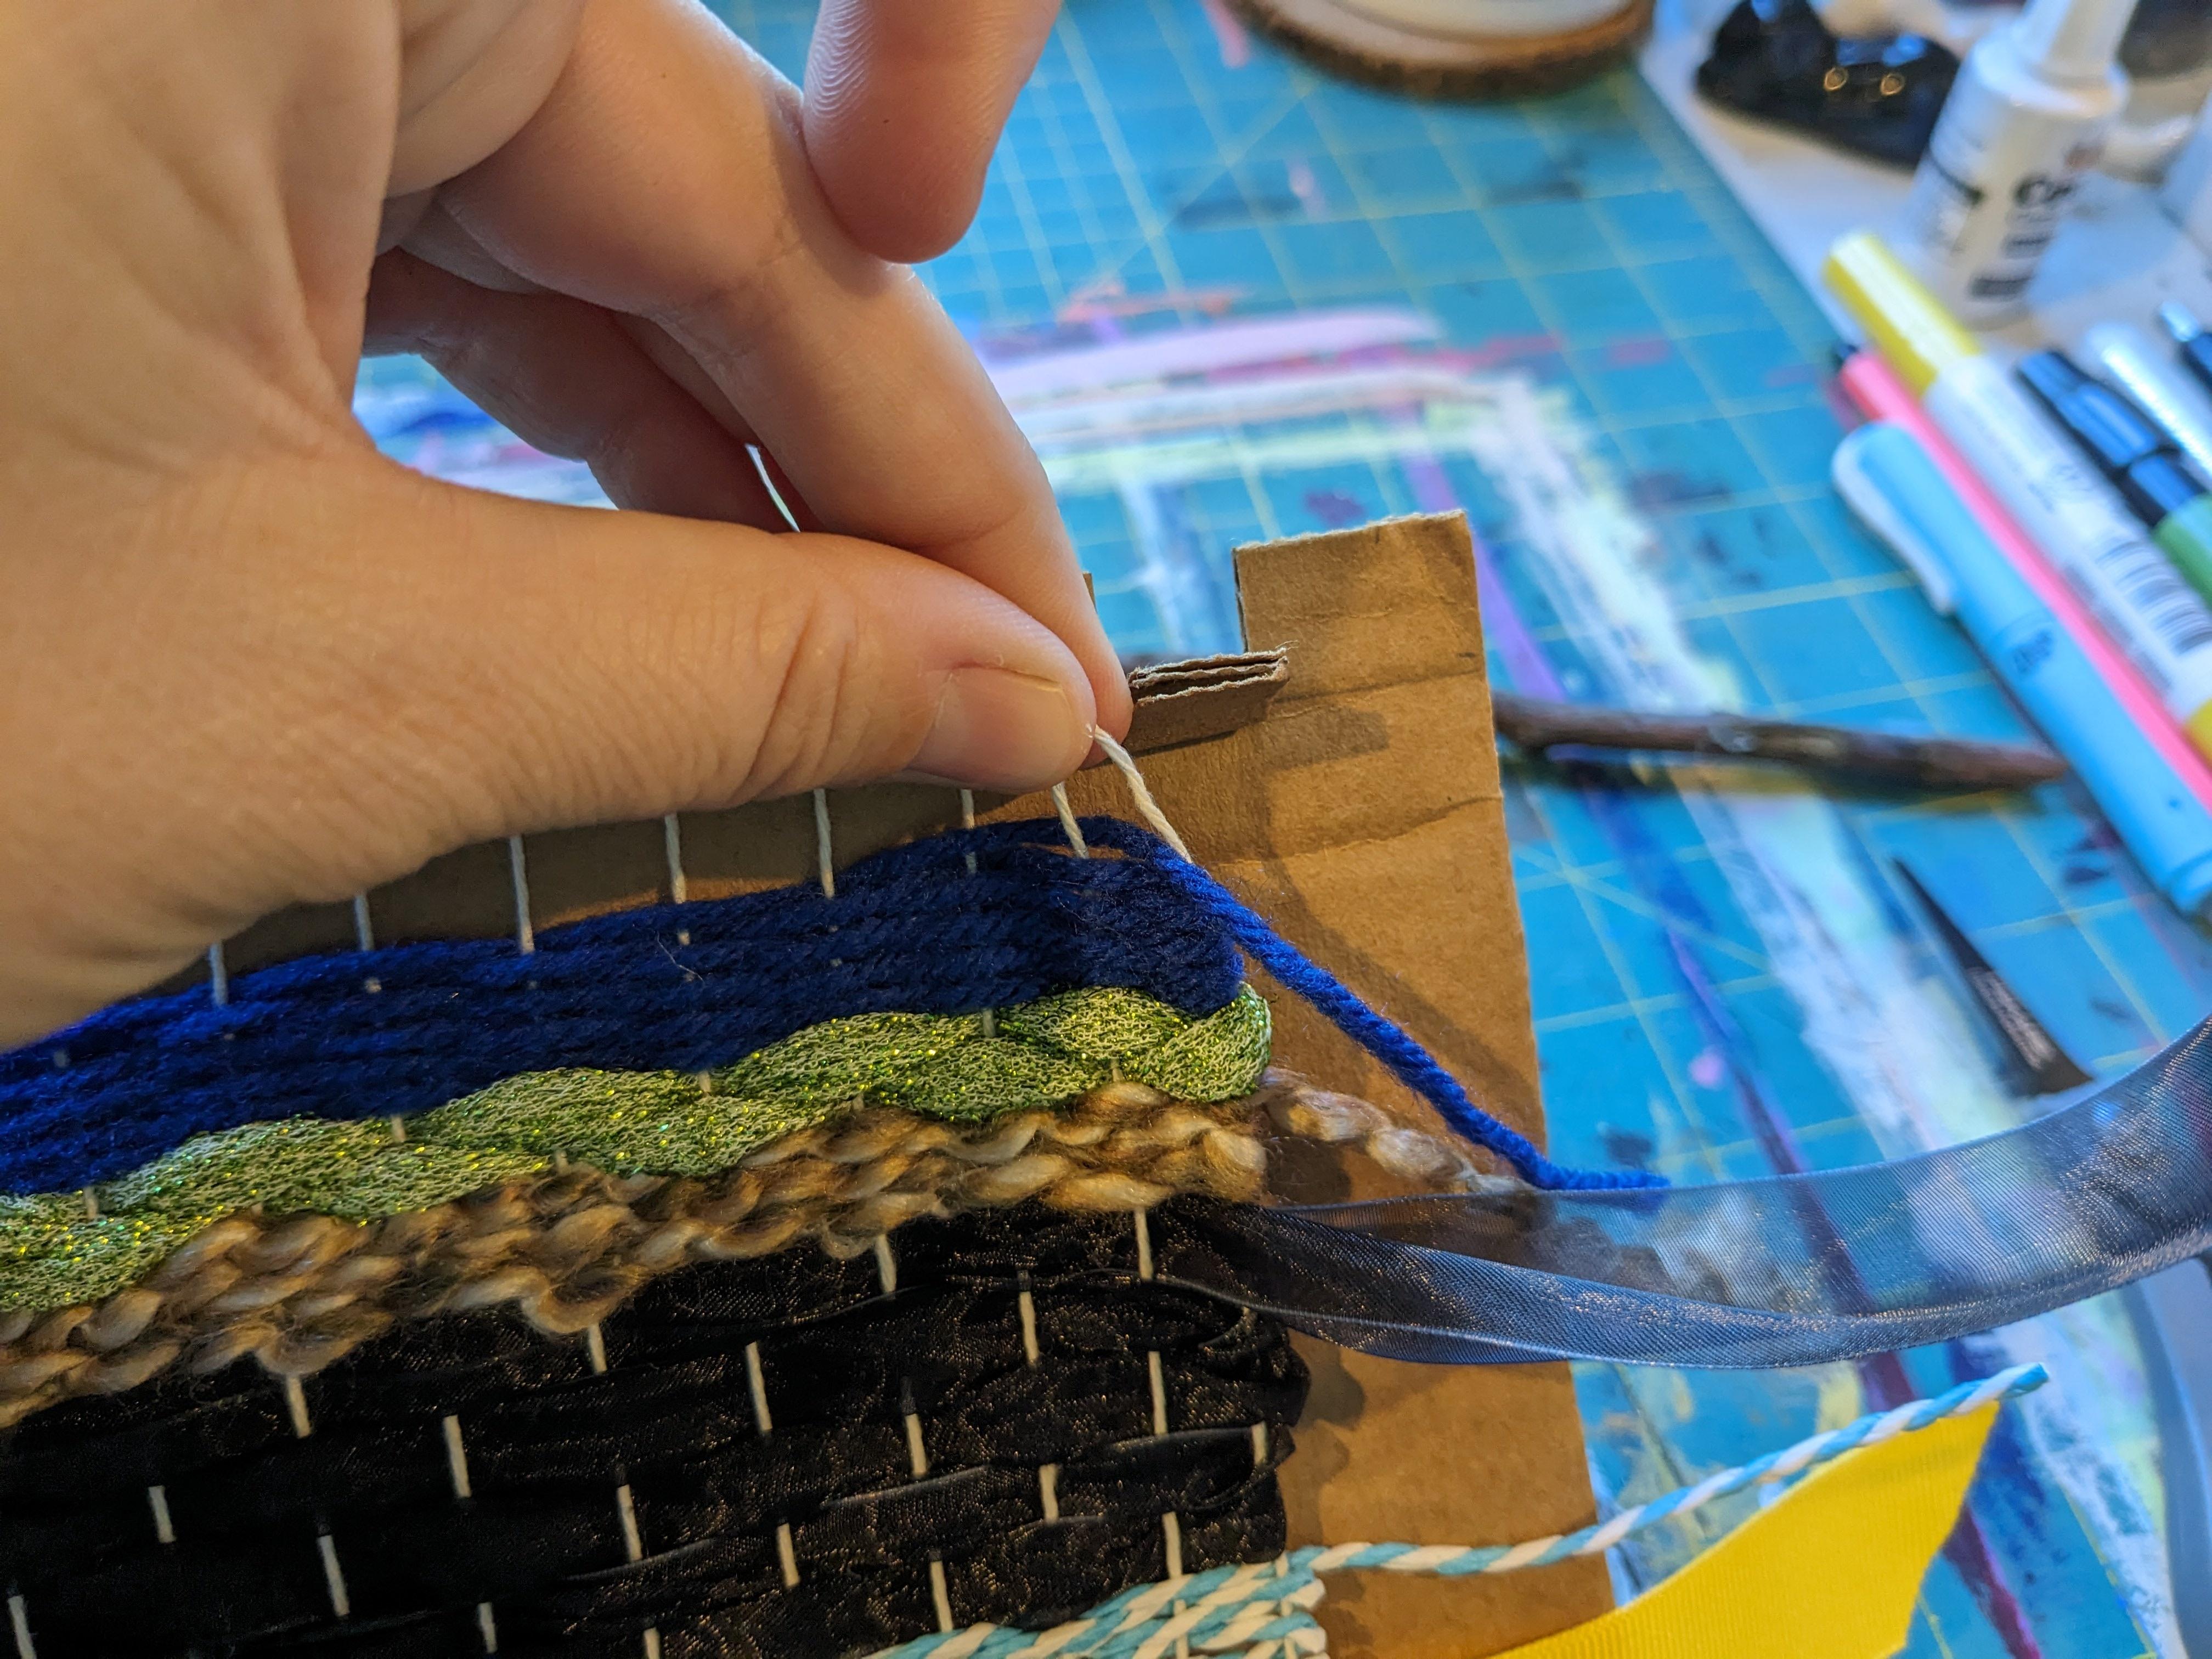
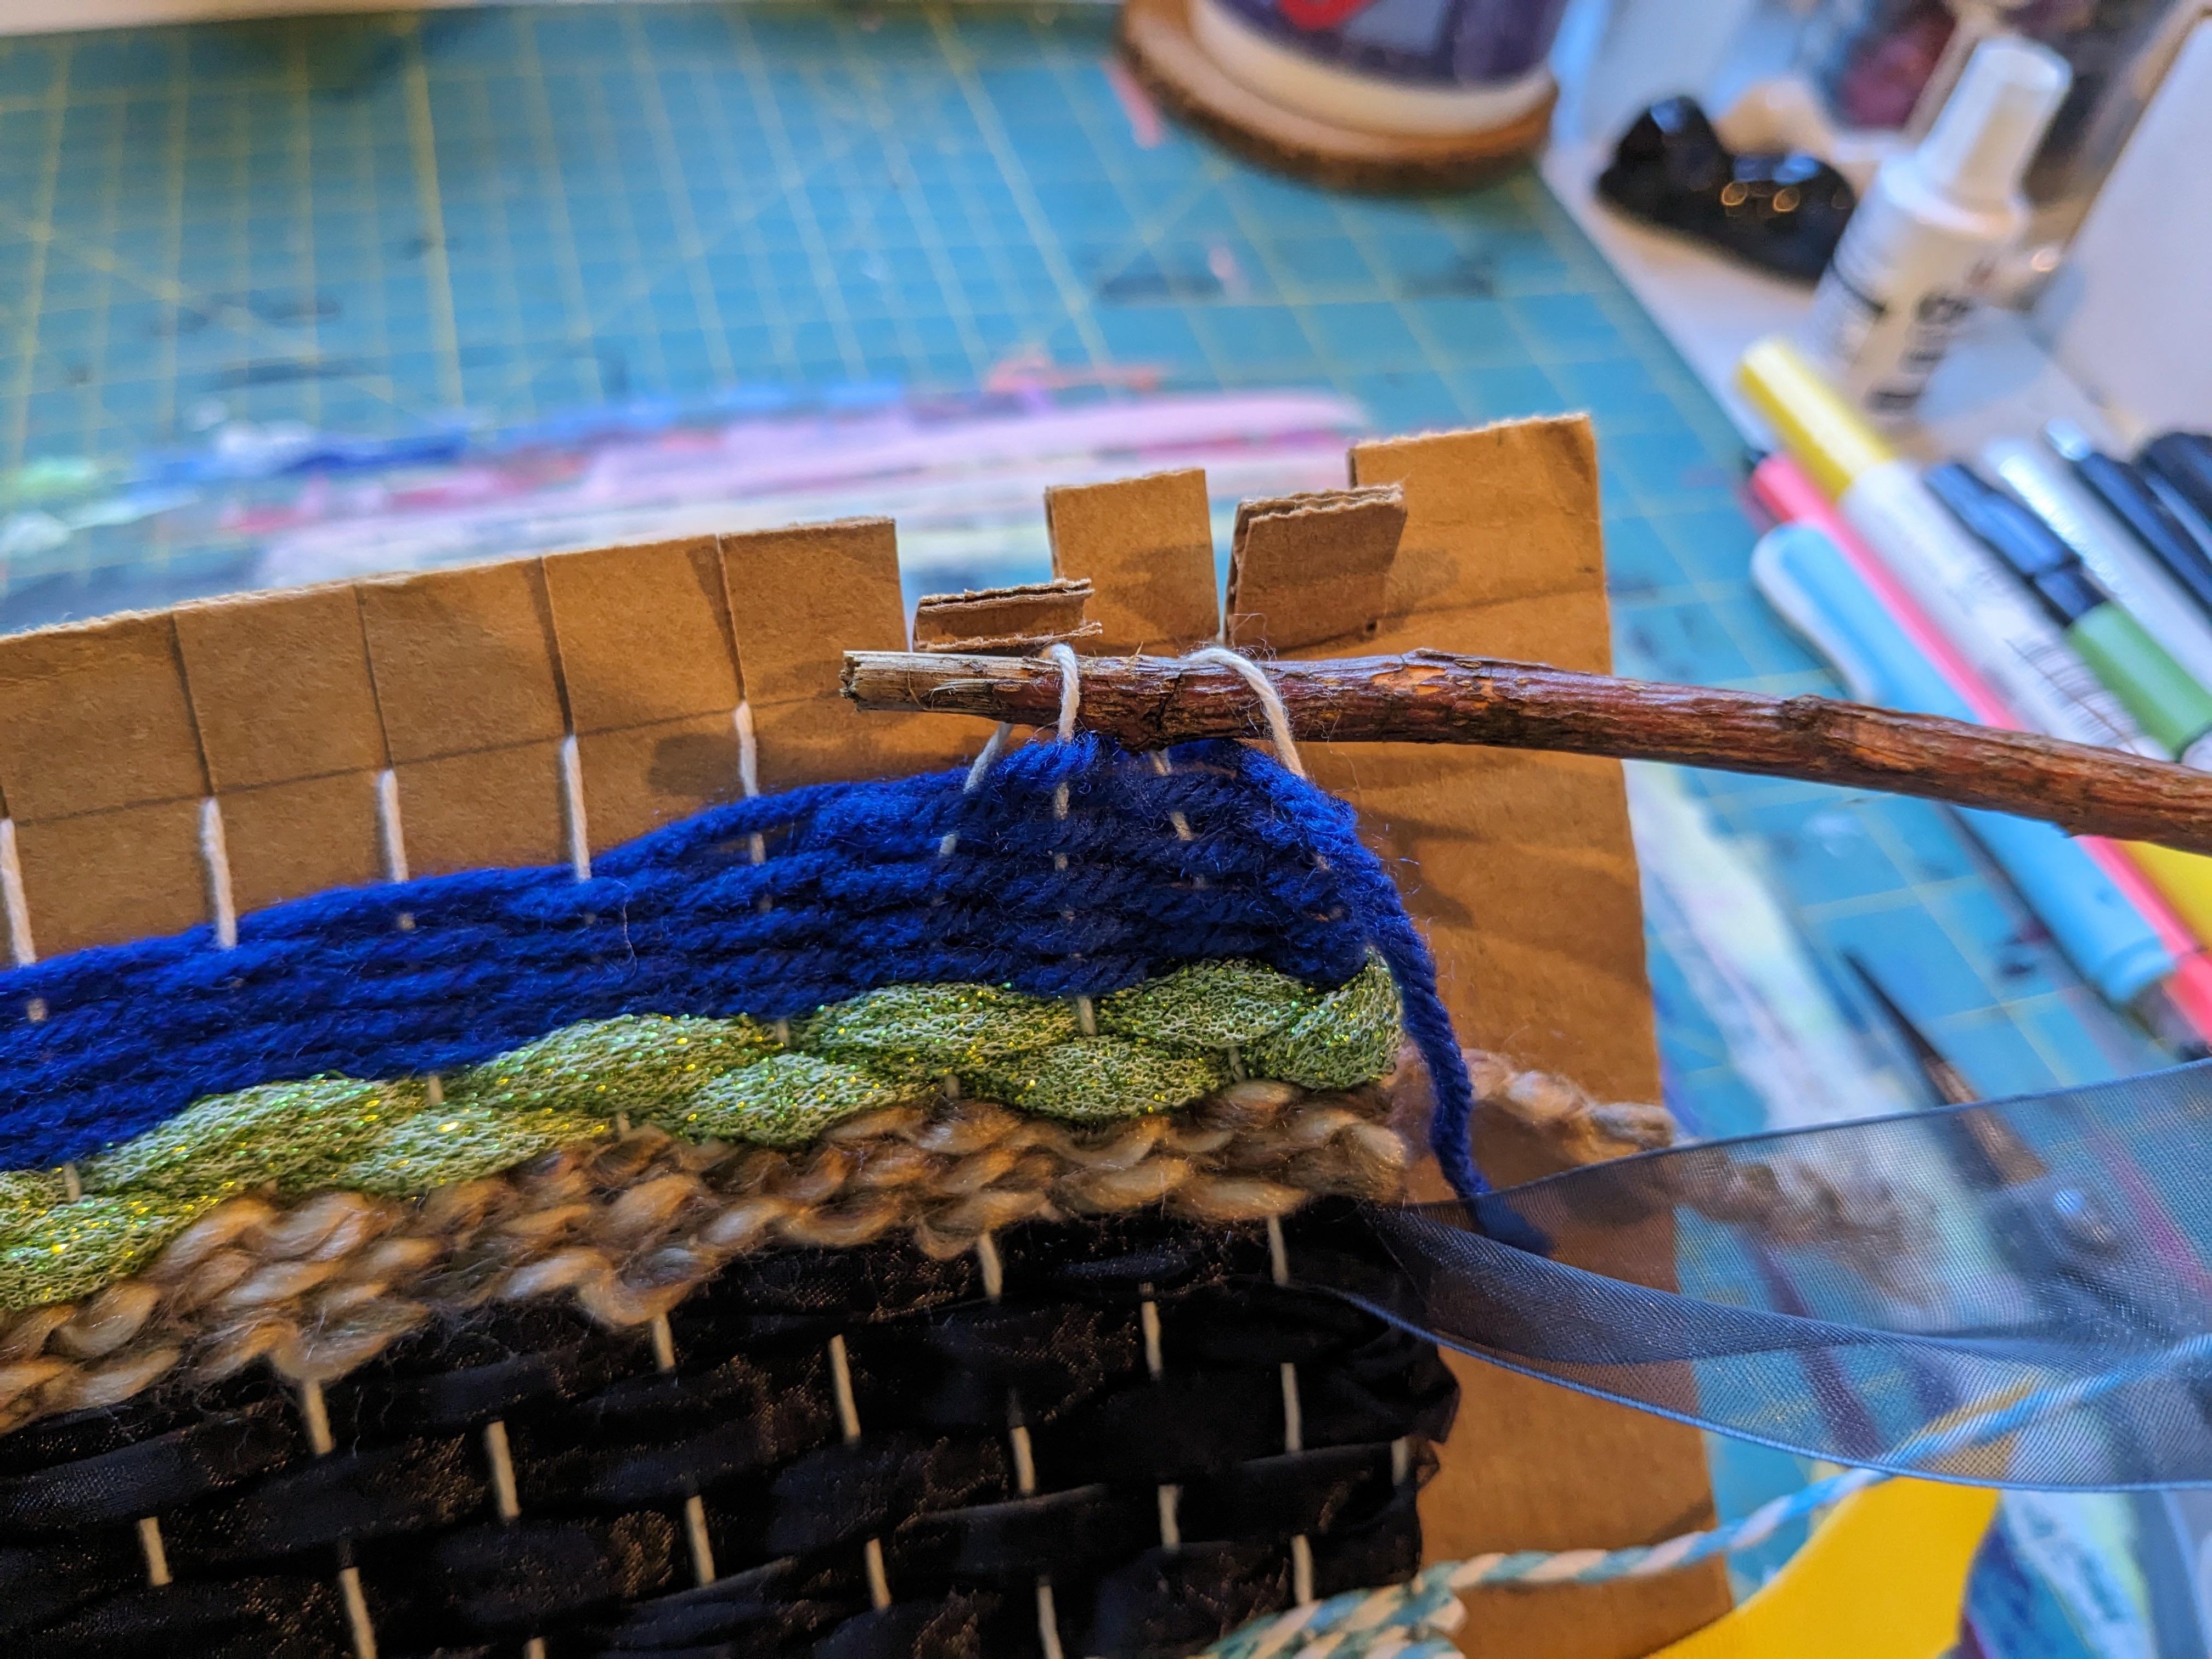
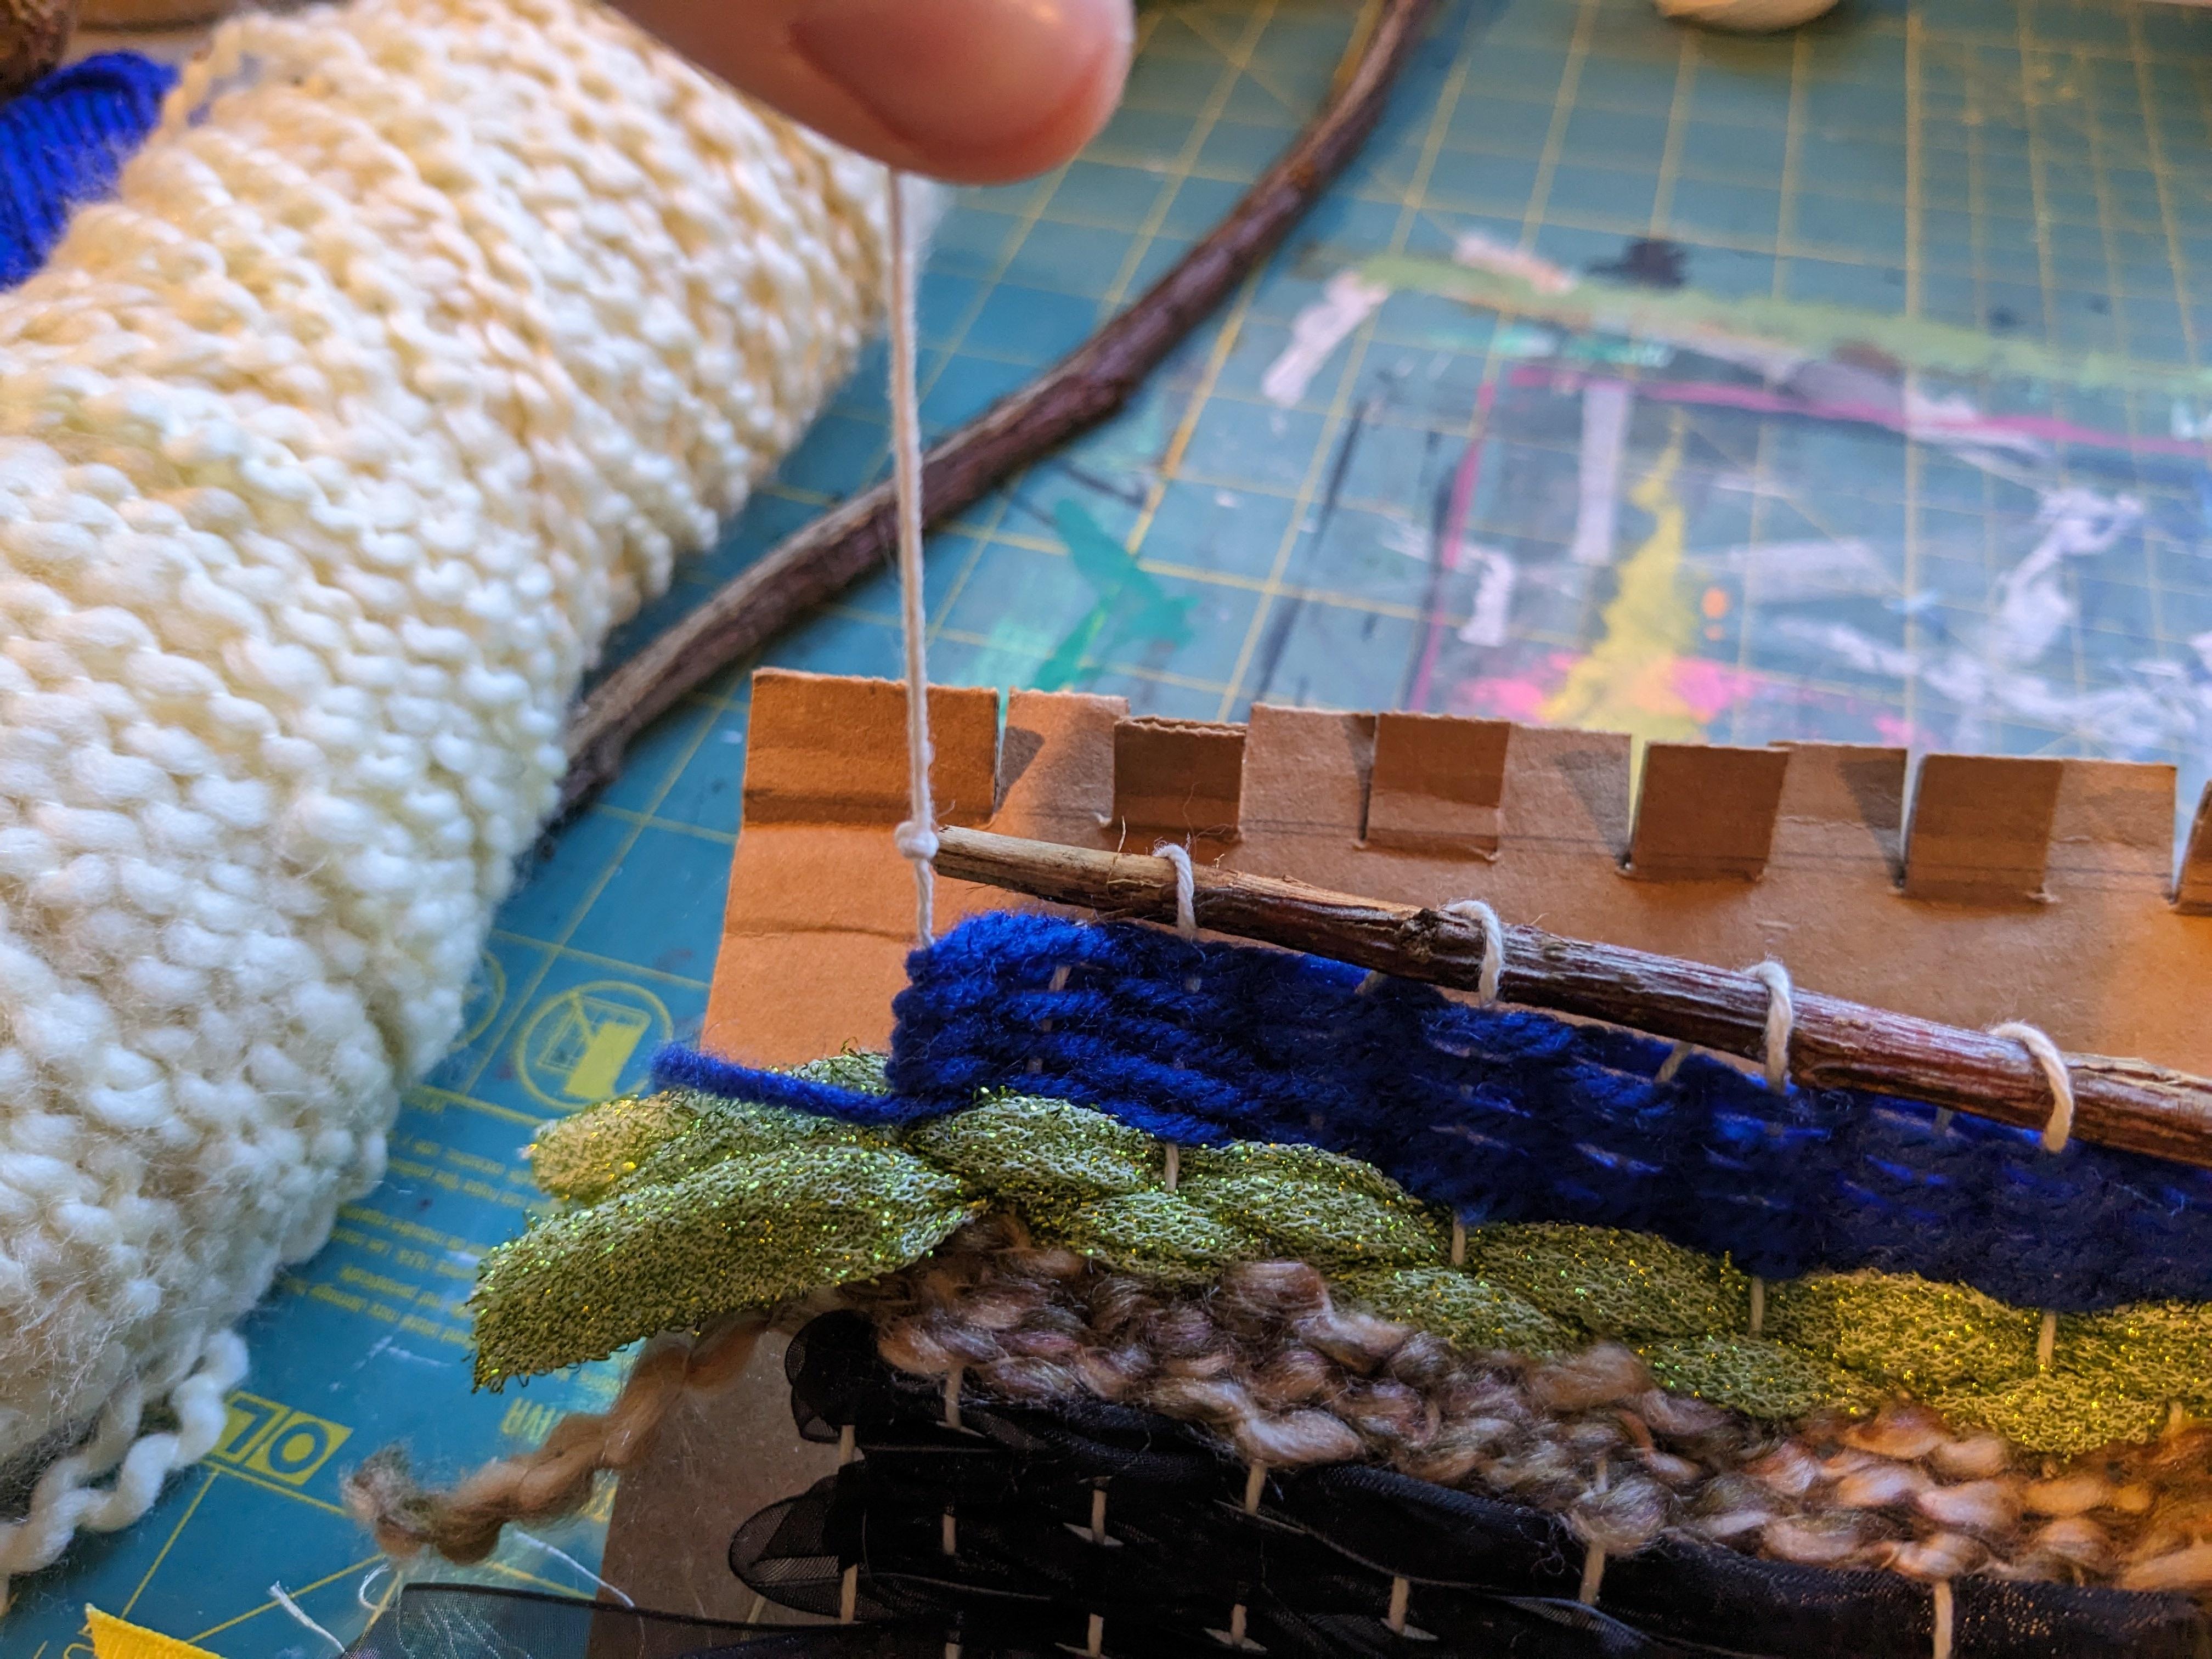
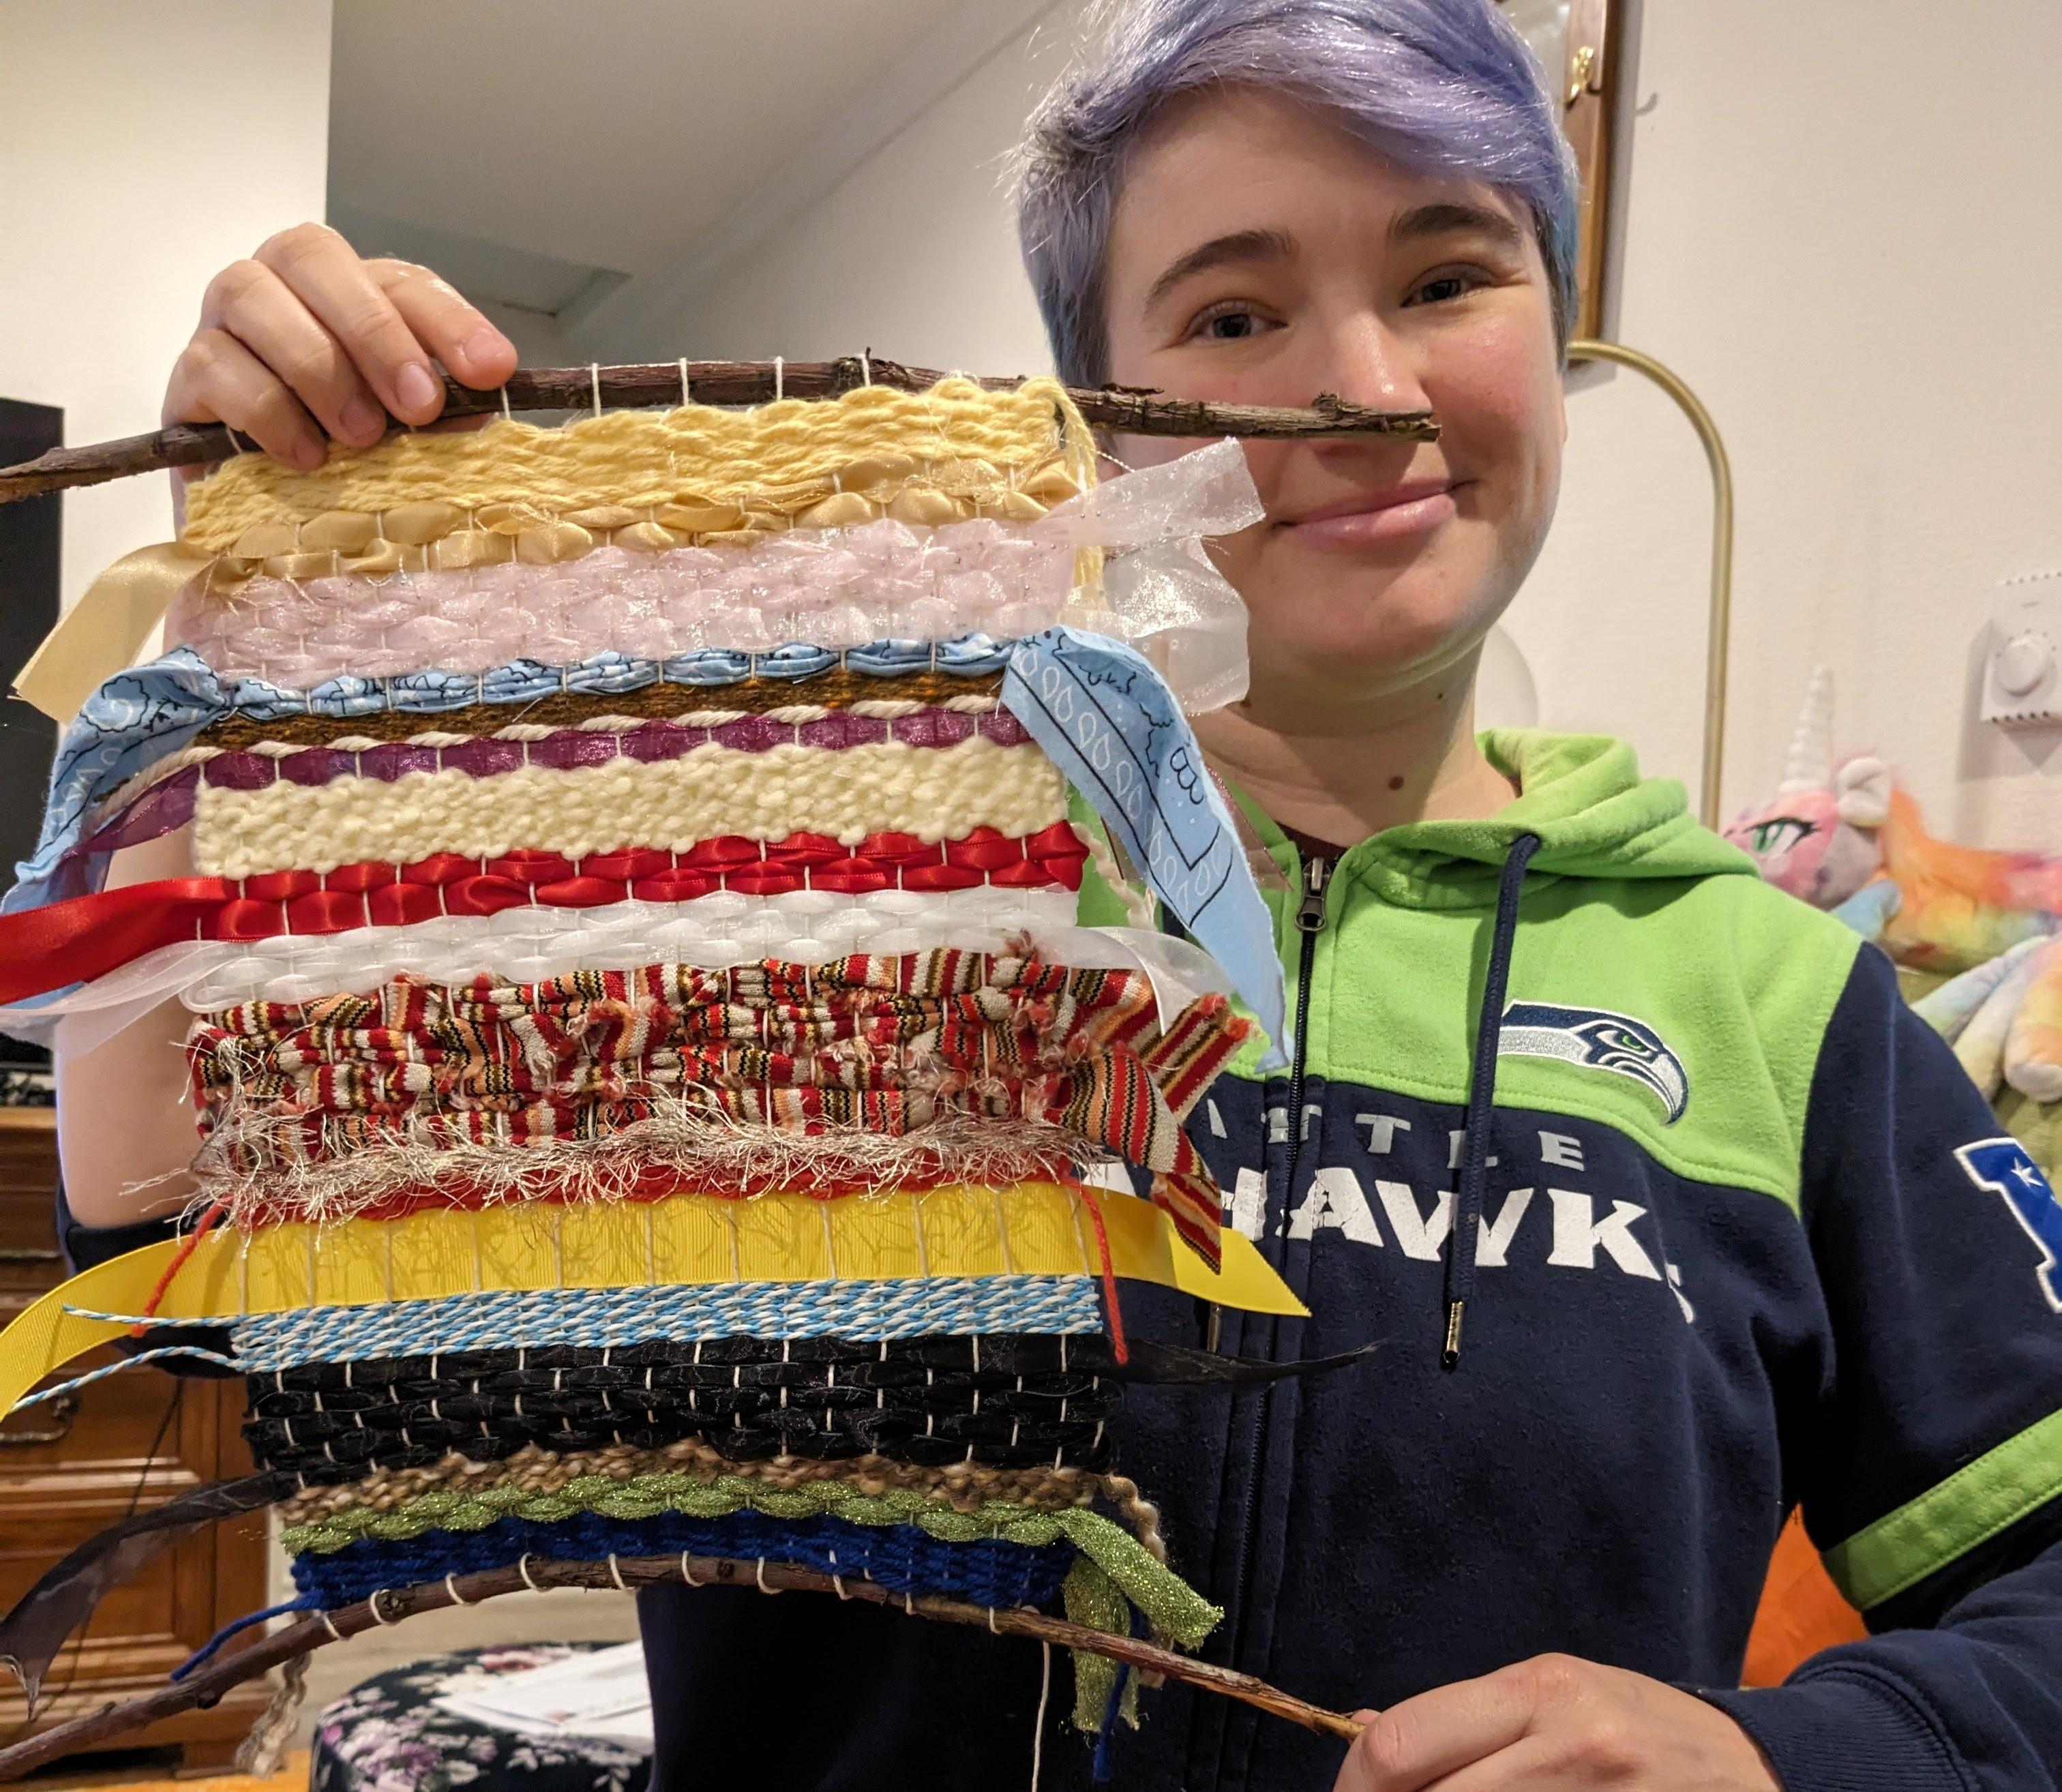
Hi! My name is Missy. I’m an artist and a blogger here at PBS KIDS Utah. This week we celebrate Indigenous People’s Day. These are the many groups of people that lived in North America before Christopher Columbus and other explorers arrived. Indigenous people have their own beautiful arts and crafts. One nearby tribe, called the Navajo, are known for their weaving. I’m going to teach you a weaving technique inspired by the Navajo people. 

Supplies

Filer image
  • Cotton string
  • Yarn, ribbons, fabric strips, etc
  • A piece of cardboard about 12”x16”
  • A ruler
  • A pencil
  • Scissors
  • 2 sticks or dowels at least 14” long

Instructions

Build you loom:

  1. Measure along the 12” side (top) of your cardboard. Use your pencil to mark every ½”.
  2. Do this on the other 12” side (bottom) too.
  3. Measure ½” down from the top on either side and make a pencil mark. Use your ruler to connect those marks with a line.
  4. Measure ½” up from the bottom on either side and make a pencil mark. Use your ruler to connect those marks with a line.
  5. Use your scissors to make ½” cuts (down to the line) on each mark you made along the top.
  6. Do the same on the bottom.
  7. Now take your cotton string and tie a knot in the end. Tuck the knot end behind the cardboard, wedged in the top left cut.
  8. Wrap the string down to the bottom, leftmost cut, around the back, and back up through the second leftmost cut (still on the bottom).
  9. Now wedge the string in the second leftmost cut up top, around the back, and back up through the third leftmost cut (one the top).
  10. Continue this all the way across the whole cardboard. These strings make up the “warp” of your loom.

Start weaving:

  1. Take a piece of yarn, ribbon or strip of fabric (the “weft”) and start in the top right corner of the loom going over and under, over and under. This is called weaving!
  2. When you get to the left side, you can turn around and weave the other way (making sure your weft is going over and under the opposite warp strings it did on the last pass), or you can cut your weft, leaving a 2 inch tail.
  3. Keep weaving with different colors and textures of yarn, ribbon and fabric.
  4. When you fill up your loom, take one of your sticks and carefully remove the warp loops on the top of the loom, one by one, moving them onto the stick. This takes time and patience.
  5. Do the same with the bottom warp and your second stick.
  6. Now you have a beautiful woven wall hanging!


Wrap Up

You learned to make your own loom and use it to weave! Great job! There are endless possibilities in weaving. You can make scarves or pot holders or blankets. You can add beads. Practice, practice, practice. Be creative and have fun!

STREAM ANYTIME, ANYWHERE