There’s something comforting about knowing your garden is currently covered in a blanket of snow that will soon melt, revealing beautifully rich soil ripe for planting. However, in the meantime, why not grow some nutritious and delicious greens right from your kitchen countertop. You can grow your own microgreens in 2 - 4 weeks and your sprouts will be ready in 4 days!
This is Part 2 of our 3 part series on growing your own microgreens and sprouts. In this post, we go over planting, placement, and watering.
Video: Growing Microgreens And Sprouts Part 2: Planting And Watering
Filling Your Microgreens Trays And Sowing Your Seed
Fill each 1020 tray or 5x5 insert with either a soilless potting mix or hydroponic material. If using a coir or soilless potting mix, fill it all the way to the top so it’s easier to cut the microgreens when it comes time to harvest them.
Pat the coir or soilless potting mix down making sure there’s an even surface. In the video, we cover some of the pros and cons of using a hydroponic or soilless potting mix medium.
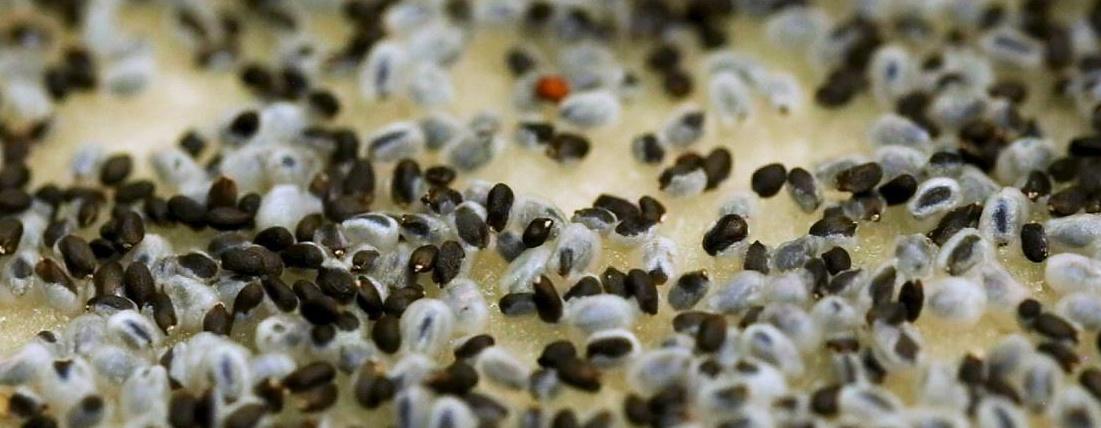
Wet the surface of the growing medium with a spray bottle. Sprinkle a generous amount of seeds so that there is an even layer of seeds, making sure they’re not on top of one another.
You don’t need to cover the seeds with more potting mix, but you can gently spray them with the spray bottle to give them a little moisture.
Microgreen 1020 tray with 5x5 inserts filled with potting mix.
If you are using a hydroponic material that is already cut to 5x5 squares, lay them in the bottom of the 5x5 inserts, wet them with the spray bottle and sprinkle an even layer of seeds on top.
You can use your fingers to evenly spread out the seeds, but be sure to wash your hands first to help prevent bacterial contamination of the seeds.
Radish seeds on hydroponic paper. Day 1.
While we were filling and wetting our microgreen trays we noticed how rich and delicious it smelled, similar to the smell of fresh rain in a forest. Enjoy the planting process!
Where To Place Your Microgreens Tray
Your microgreen sprouts will be perfectly happy in a room with indirect sunlight. Keeping your tray at room temperature about 60 ~ 75 °F is ideal.
Your microgreen trays do not need to be in direct sunlight. In fact, direct sunlight can burn them or dry the growing medium out, even in the wintertime. If you’re planning on placing your microgreen in your window sill be sure to draw the blinds or cover the window with tissue paper or other light diffusing material.
For longer “leggy” greens you can even grow them in dark areas, which causes them to grow tall as they search for sunlight. In the video, you’ll see that this is what happened with our corn shoots.
You can also grow them under grow lights. Most garden centers will have growing lights. Because we were in an office and didn’t have a lot of natural light we grew ours under a grow light.
Our hydroponic (L) and soilless potting mix (R) microgreen trays.
When To Water Your Microgreens
You can directly water your microgreens with a watering canister, but you just want to be gentle when applying the water so as not to disturb the seeds and seedlings, since they are simply resting on top. Spraying them with a water bottle will help keep the seeds moist as well.
"The key is to keep the seed and seedlings damp but not soaking."
- Robb Baumann
Depending on how dry your climate is will determine how often you will need to water. You can also spray the inside of the 1020 clear plastic lid and put it on your tray for extra moisture; the humidity will treat the tray like a mini greenhouse.
We implemented the “bottom watering” method by carefully lifting the edge of the 5x5 inserts and pouring water directly into the bottom of the 1020 tray. The water will seep up into the growing medium or hydroponic material and should keep your microgreens sufficiently watered. The 1020 trays are usually ribbed so just make sure you have enough water to seep into the 5x5’s.
Bottom watering method with ribbed 1020 tray.
Starting And Growing Your Sprouts
Clean and sanitize your jars and lids. Add 1 tablespoon of seed to the quart-sized jar. You can soak your seeds for 4 – 8 hours in water to start the germination process, but it’s not necessary.
Sprouting jars with stainless steel lids.
Some people will rinse their seeds with a water and hydrogen peroxide mixture to kill any bacteria that might be on the seeds. But because we’re using good quality organic seeds, we skipped this step.
You’ll also want a bowl large enough to hold your jar upside down so all the water can drain after you’ve rinsed them.
Soaking our sprout seeds.
Where To Place Your Sprouts
Sprouts are similar to microgreens, they don’t require a grow light. They really only need indirect sunlight and can even be grown in the dark.
When To Rinse Your Sprouts
Rinse the seeds 2 – 3 times a day. On the 4th day, they should be ready to eat.
Rinsing the sprouts.
This concludes our post for Part 2. Stay tuned for Part 3: Growing and Eating, where we cover some easy mistakes, our takeaways, more helpful tips, and finally our harvesting and tasting party.
If you live in Utah and have a garden or garden project that you'd like to be featured on Modern Gardener, click here!


.jpg)