Hi friends! My name is Missy, artist and blogger for PBS KIDS Utah. Earlier this year I bought my niece some scratch art paper for her birthday. She loved it and used up every page in the pack eagerly. I started thinking about it and decided to experiment in making my own scratch art paper. I trial-and-errored a bit and came up with this easy way to make your very own DIY scratch art paper!
Supplies:
- Cardstock
- Crayons
- Dish soap
- Black craft paint
- Small mixing bowl
- Foam paintbrush
- Wooden chopsticks
Instructions:
- Use your crayons to color the ENTIRE piece of cardstock. Random small areas of color work best. Press hard and make the page very waxy.
- In your mixing bowl, pour equal amounts dish soap and black craft paint. Mix them up using your foam brush.
- Paint the crayon covered cardstock completely black, using long strokes all the way across the page.
- Let the paint/soap mixture dry on the paper.
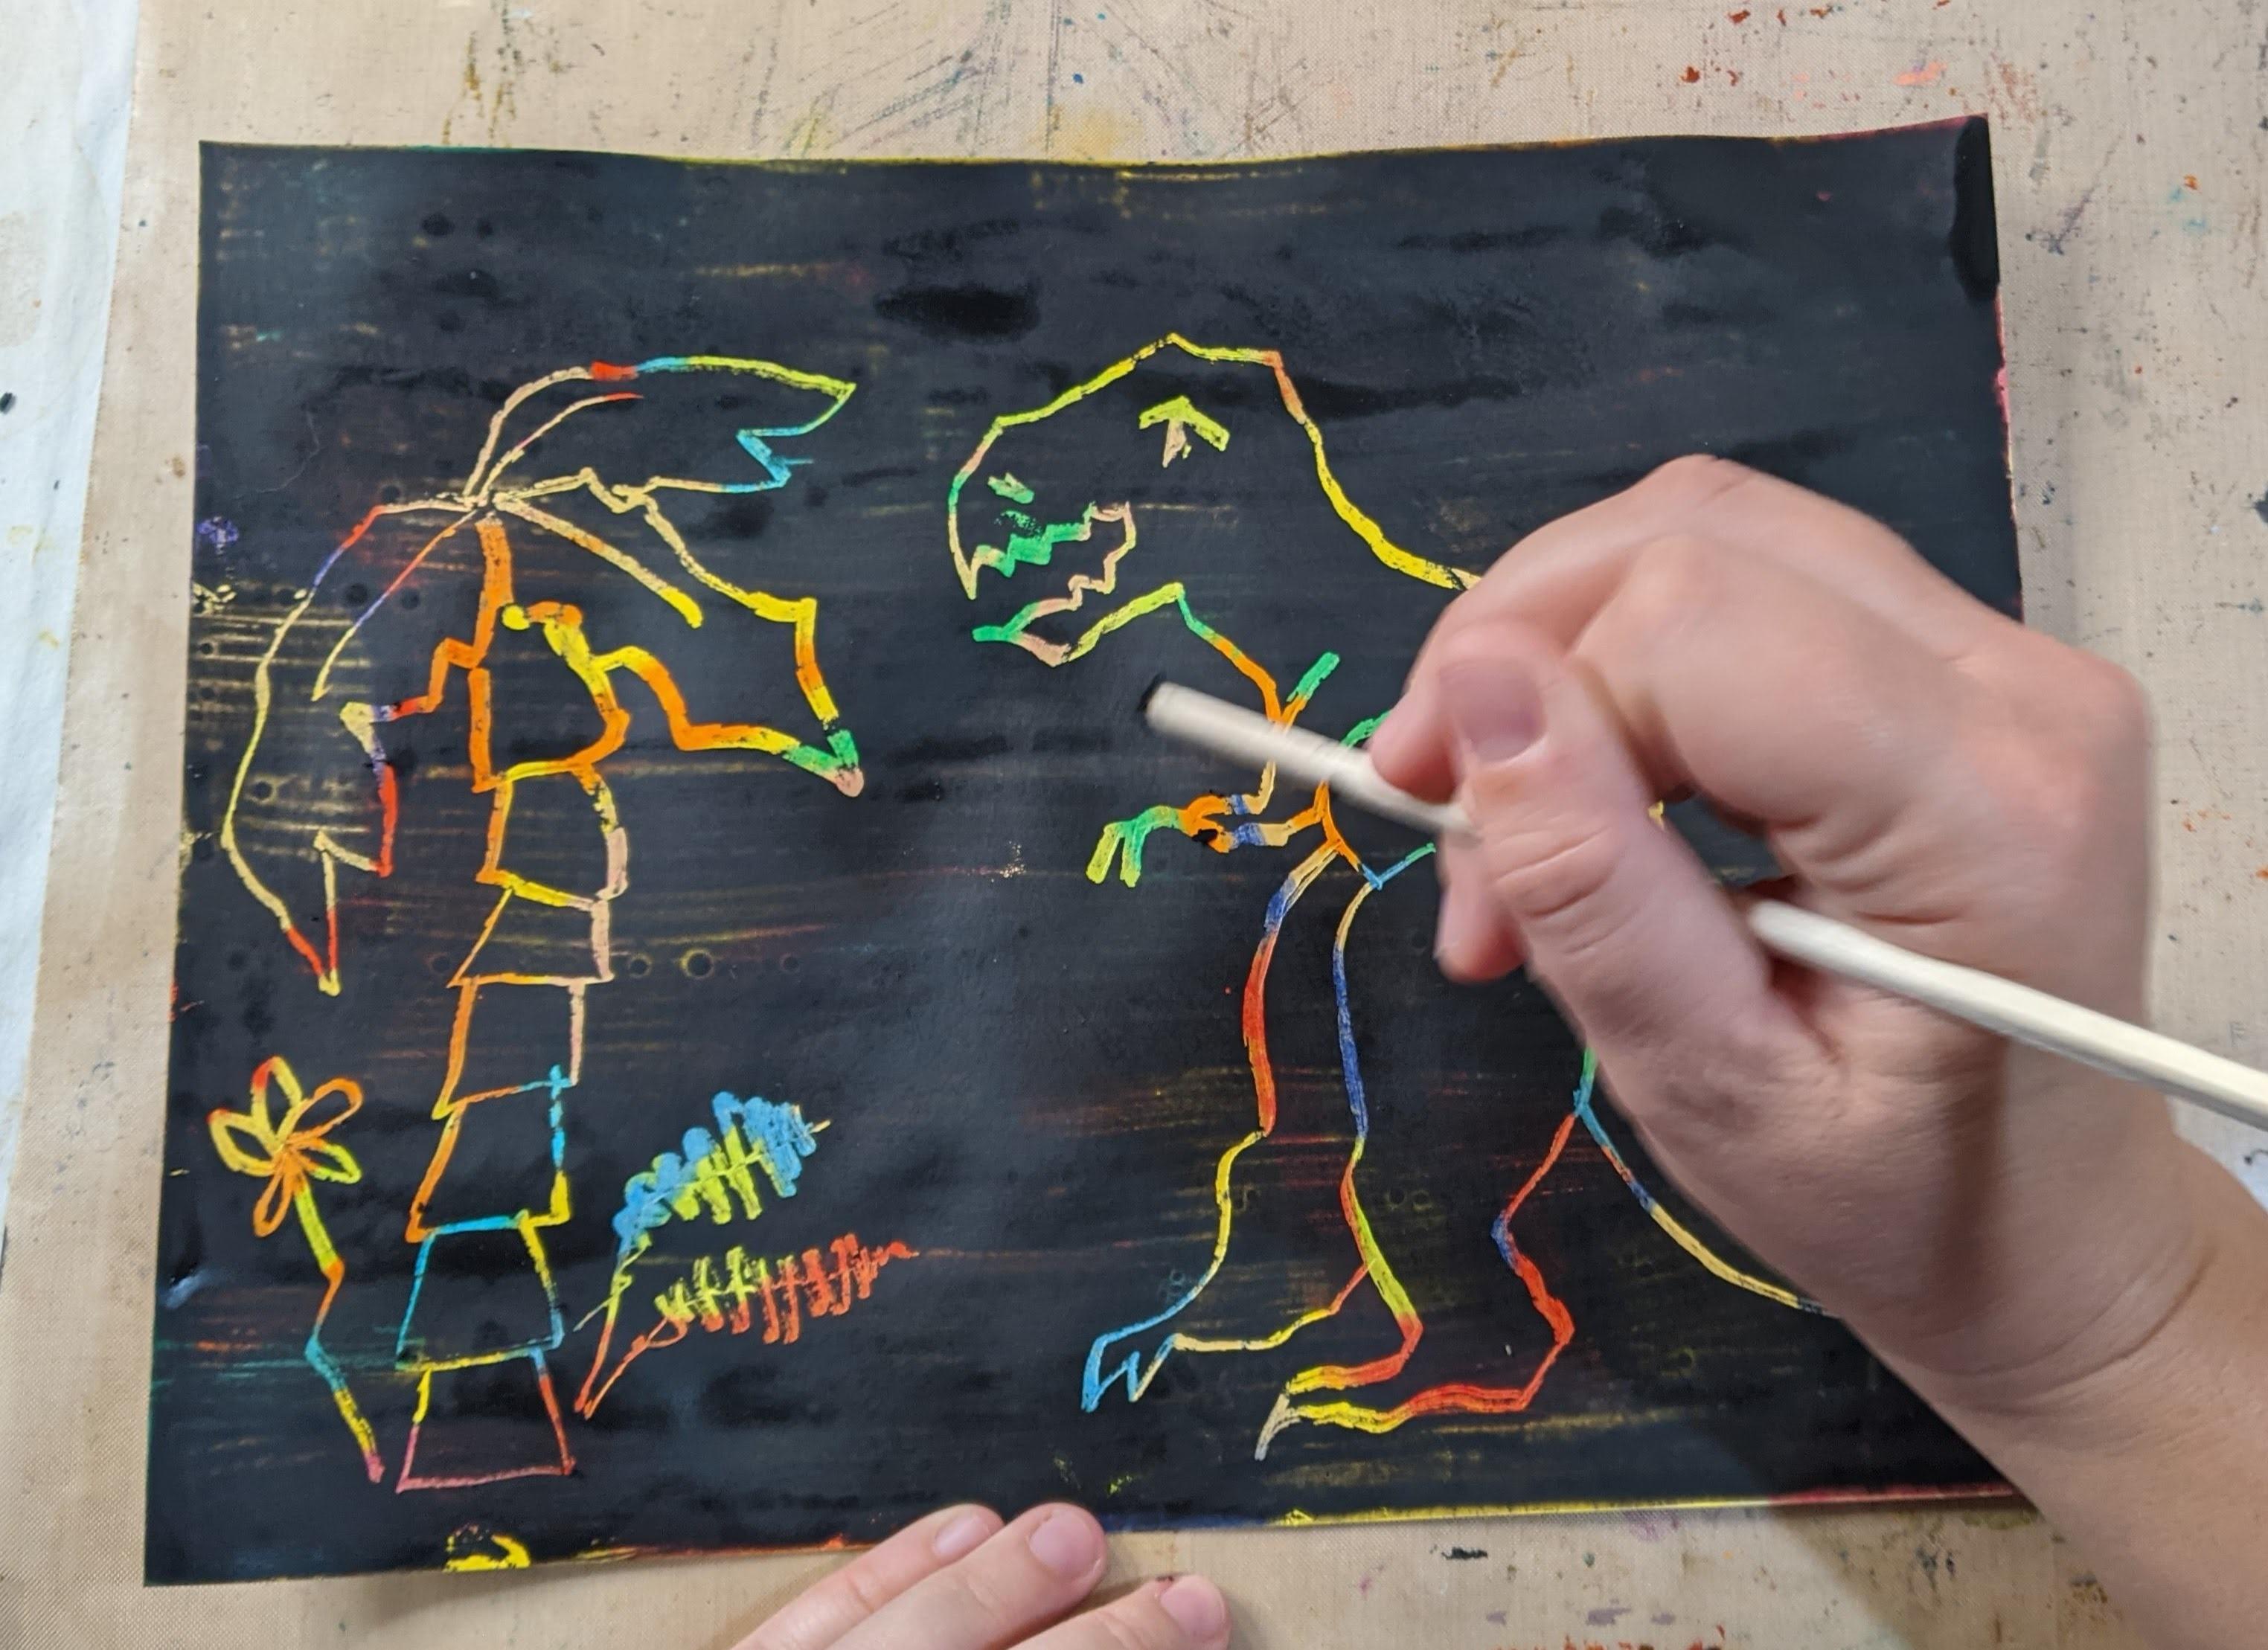
- Now you have your own scratch art paper! Use a chopstick like a pencil to scratch a drawing into the black paint.
Wrap-up:
Making your own art supplies is one of my favorite things to do. It saves money, trips to the store and makes you more invested in the outcome. When I make my own art supplies, I notice I am more likely to plan and be thoughtful about the way I use them. I tend to love and cherish them more. Be creative and have fun!

.jpg)